


Why Duck Egg Incubation Temperature Makes Or Breaks Your Hatch
Proper duck egg incubation temperature is vital for a successful hatch. It’s not just about the number of ducklings you get, but also about ensuring they’re healthy and have a good start. Incorrect temperatures can result in wasted time, financial losses, and unhealthy ducklings.
The Science Behind The Temperature
Duck egg incubation temperature directly influences embryonic development. The incubator acts as a carefully controlled environment, replicating the conditions a mother duck would provide. Consistent warmth is essential for a complex series of cellular processes, from the formation of blood vessels to the development of vital organs.
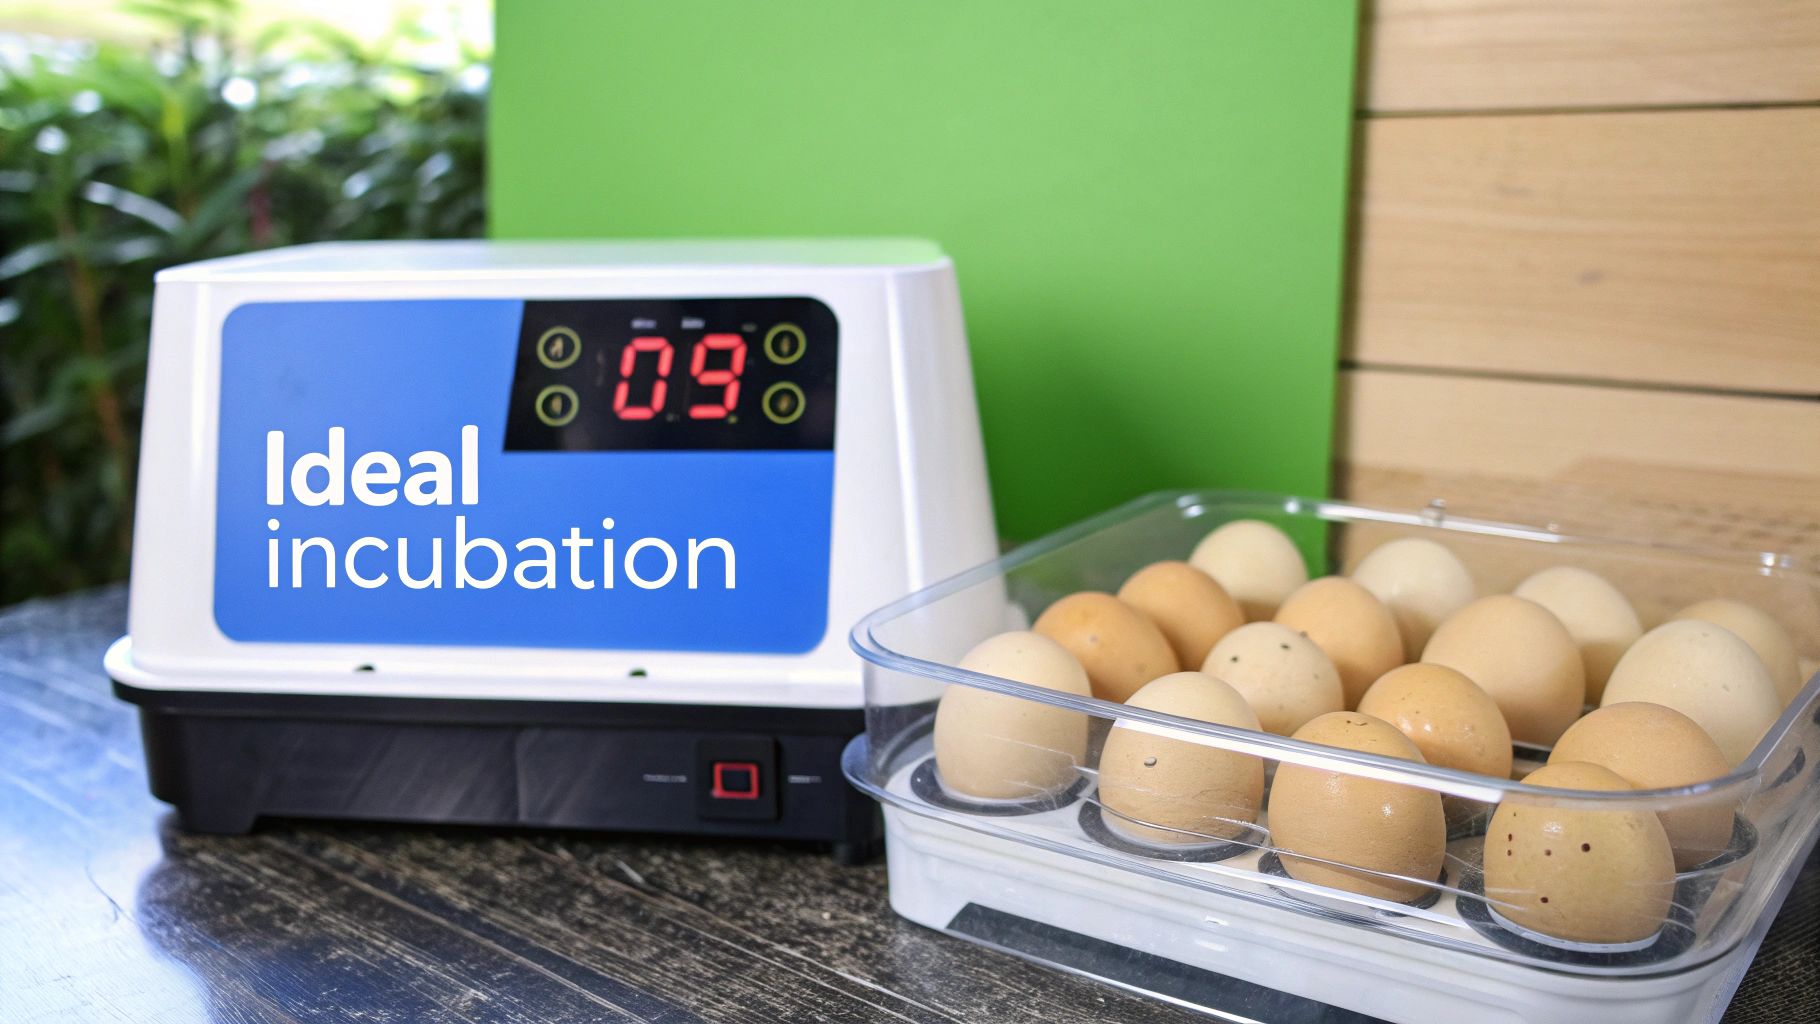
Even small temperature fluctuations can disrupt these delicate processes, potentially causing developmental issues or death. Duck egg incubation typically requires a temperature of 37.5°C (99.5°F) for 28 days, with humidity at about 55% until they are moved to the hatcher. This temperature, consistent across various duck breeds, is crucial for optimal hatchability. Learn more about hatching duck eggs here: Cornell University Duck Research Laboratory. Accurate temperature regulation is therefore not just preferable, but essential.
Real-World Impact of Temperature Errors
Many beginner breeders unfortunately discover the importance of temperature control the hard way. Discussions with seasoned UK breeders reveal stories of entire clutches lost due to temperature mishaps. These experiences emphasize the critical need for precise temperature management. In contrast, breeders who prioritize accurate temperature control consistently report hatch rates of 90% or higher, demonstrating the clear link between proper incubation temperature and successful hatching.
Why Duck Eggs Are Different
It’s important to remember that duck eggs have unique requirements compared to chicken eggs. Their larger size and thicker shells necessitate specific temperature and humidity levels for optimal development. This also influences how they respond to incubator environment changes. You may find this article interesting: Can Hatching Eggs Get Cold?. Understanding these nuances is crucial for anyone dedicated to hatching healthy ducklings.
Cellular Development and Temperature Variations
Think of the developing embryo as an intricate machine with many interconnected parts. Each developmental stage has specific temperature requirements. Excessively high temperatures can accelerate development too rapidly, while temperatures that are too low can slow it down. Both scenarios can have detrimental effects.
These temperature variations can impact various aspects of development, from the formation of the nervous system to the proper development of limbs. By understanding the vital role of duck egg incubation temperature, we can create the ideal environment for our future ducklings, ensuring a strong and healthy beginning to their lives.
Building Your Bulletproof Incubator Temperature Setup
Your incubator setup is the cornerstone of a successful hatch. Choosing the right equipment and setting it up correctly is vital for maintaining a consistent duck egg incubation temperature. We’ll move past the marketing hype and dive into the practicalities of creating a thriving environment for your ducklings.
Choosing the Right Incubator
Selecting an incubator isn’t simply about capacity; it’s about maintaining steady temperature control. Some models boast impressive features, yet struggle to hold stable temperatures, leading to inconsistent hatching results. Through discussions with UK breeders, we’ve learned which incubators truly perform. Reliability, accuracy, and ease of use are key.
Calibration and Positioning for Success
Even top-of-the-line incubators require proper calibration. A dependable thermometer is crucial for accurate readings. You might be interested in: Can Hatching Eggs Get Wet?. Calibration methods, such as cross-checking your incubator’s thermometer against a calibrated reference thermometer, can help you spot and fix any discrepancies.
Proper incubator placement is just as important. Avoid drafts and direct sunlight, as these can impact internal temperature. For optimal heat distribution, consider a small fan to circulate the air inside the incubator. This helps prevent temperature variations that can harm the developing embryos.
Backup Systems for Peace of Mind
Power outages are every breeder’s worst nightmare. A backup power supply, like a UPS (Uninterruptible Power Supply), is a worthwhile investment. This safeguards against short-term power failures, giving you time to resolve the issue or move your eggs to a temporary incubator.

This infographic illustrates the importance of egg turning. Turning mimics the natural movements of a mother duck and is crucial for proper embryonic development. Regular turning keeps the embryo from sticking to the shell membrane, preventing deformities and improving hatch rates.
Creating the Ideal Breeding Room Environment
The environment surrounding your incubator also plays a vital role. Maintaining a consistent ambient temperature in your breeding room reduces strain on your incubator. Proper ventilation is also essential for fresh air circulation and preventing the buildup of harmful gases.
Consider a temperature and humidity monitor for your breeding room. This lets you track conditions and make adjustments as necessary. A dedicated breeding room, even a small one, can greatly improve your hatching success.
Incubator Performance and UK Pricing
To help you choose the best incubator for your needs, we’ve compiled a comparison of popular models in the UK. This table offers insights into their temperature accuracy, capacity, price range, and reliability based on feedback from UK breeders.
| Incubator Model | Temperature Accuracy | Capacity Range | UK Price Range | Reliability Rating |
|---|---|---|---|---|
| Example Model A | +/- 0.1°C | 12-48 eggs | £100 – £150 | Excellent |
| Example Model B | +/- 0.2°C | 6-24 eggs | £70 – £100 | Good |
| Example Model C | +/- 0.3°C | 24-96 eggs | £150 – £250 | Very Good |
| Example Model D | +/- 0.5°C | 48-192 eggs | £200 – £350 | Fair |
This comparison highlights the varying performance and price points available, allowing you to choose an incubator that best fits your budget and requirements. Temperature accuracy is particularly important for consistent hatching success.
By carefully considering these elements, you can create a robust incubator setup that maximizes your chances of hatching healthy ducklings. A well-maintained incubator in a stable breeding room provides the ideal environment for successful incubation, giving your ducklings the strongest start. Meticulous preparation is the key to a rewarding hatching experience.
Monitoring Duck Egg Temperature Like A Professional Breeder
Maintaining the correct incubation temperature is crucial for successfully hatching duck eggs. Professional breeders know that simply setting the incubator isn’t enough. Active monitoring and adjustments are essential for achieving consistently high hatch rates. Think of your incubator as an extension of your flock, requiring the same attentive care.
Accurate Temperature Readings: Your First Line of Defense
Accurate temperature monitoring is the foundation of successful incubation. Invest in a reliable, high-quality thermometer. Don’t rely solely on the built-in incubator thermometer. A separate, calibrated thermometer provides a crucial second reading. For instance, a digital thermometer with a probe placed near the eggs offers a precise measurement of the temperature they experience.
Daily Routines That Catch Problems Early
Regular incubator checks are as important as checking on your flock. Establish a daily routine to monitor the duck egg incubation temperature. Note any fluctuations, no matter how small, and watch for developing trends. This proactive approach helps you address potential issues before they become major problems.
Spotting Incubator Problems Before They Hatch
Beyond daily checks, look for subtle signs of potential incubator issues. Is the incubator struggling to maintain a consistent temperature? Are there noticeable hot or cold spots? Does the temperature change significantly when you open the incubator? These seemingly minor details can be early warnings. Addressing them quickly can save your hatch. You might also be interested in learning about cleaning hatching eggs: Can hatching eggs be washed?.
Digital Monitoring and Data Logging: The Breeder’s Best Friends
For advanced monitoring, consider digital systems with alarms. These systems alert you to any temperature deviations. Data logging capabilities track temperature patterns over time, providing valuable insights into your incubator’s performance and helping optimize your setup for future hatches. Studies show that higher incubation temperatures can increase the mass of ducklings at hatching, impacting their survival. Even small temperature variations can significantly affect duckling viability and health. Learn more: Effects of Incubation Temperature.
Seasonal Adjustments for UK Climate Variations
The UK’s variable climate demands seasonal adjustments to your incubation strategy. Maintaining a consistent incubator temperature during colder months can be challenging. You may need to adjust the incubator’s thermostat or add insulation. Conversely, during summer heatwaves, preventative measures like moving the incubator to a cooler location might be necessary.
Real Examples: Learning From Success and Failure
One Scottish breeder shared how consistent data logging revealed a declining incubator heating element. Catching this early allowed him to replace the element before it failed, saving a valuable hatch. Another breeder recounted a near-disaster during a power cut. A backup power system provided crucial time to implement emergency measures, saving her eggs. These real-world examples demonstrate the importance of vigilant monitoring during duck egg incubation.
How Temperature Variations Shape Your Duckling’s Future
Understanding the impact of duck egg incubation temperature elevates you from simply following instructions to a place of informed decision-making. This knowledge empowers you to truly optimize your hatching process. Let’s explore how temperature influences embryonic development, growth, and the overall health of your future ducklings.
The Impact of Temperature on Embryonic Development
Duck egg incubation temperature isn’t just about warmth; it’s about orchestrating a complex series of biological processes within the egg. Think of the developing embryo as an intricate machine, with each component requiring precise conditions at specific times. Just like a delicate soufflé, temperature variations can dramatically affect the outcome.
For example, during the initial stages of development, temperature influences the formation of vital organs and the circulatory system. Even small deviations from the ideal temperature can disrupt these crucial processes, potentially leading to developmental abnormalities.
Growth Rates and Long-Term Health
Temperature also significantly impacts the duckling’s growth rate inside the egg. Higher temperatures within the optimal range can promote faster growth, while lower temperatures can result in slower development. This isn’t just about size; it directly affects the duckling’s overall health and resilience.
Ducklings incubated at the correct temperature are often stronger and more robust after hatching. They typically exhibit better survival rates, stronger immune systems, and improved growth. This gives them a strong foundation for a healthy and productive life.
Temperature Precision During Critical Windows
There are specific periods during incubation where temperature precision is paramount. For instance, during the development of the nervous system, even minor temperature fluctuations can have long-term consequences. The formation of the duckling’s skeletal structure is also highly sensitive to temperature variations.
UK breeders have shared their experiences, emphasizing how meticulous temperature control during these crucial periods results in healthier ducklings. They have observed fewer developmental issues and better overall hatch rates with careful temperature management.
Recognizing Developmental Problems
Learning to recognize developmental problems related to temperature is a valuable skill for any duck breeder. Delayed hatching, splayed legs, or other physical abnormalities can often be attributed to inconsistencies in incubation temperature.
Problems with yolk sac absorption can also result from incorrect temperatures. By carefully monitoring the incubation temperature and observing your hatchlings, you can identify and address these issues early.
The Importance of Properly Incubated Ducklings
Ducklings incubated under optimal temperature conditions show marked improvements in key areas. They demonstrate enhanced survival rates, stronger immune systems, and superior growth after hatching. This translates to healthier, more resilient ducklings that thrive.
Investing in proper temperature control during incubation is an investment in the future health and productivity of your flock. By creating the ideal environment for embryonic development, you ensure a stronger, more resilient start for your ducklings.
Solving Temperature Crises Before They Destroy Your Hatch
Maintaining a stable temperature during incubation is crucial for a healthy duckling hatch. Even experienced breeders in the UK encounter unexpected fluctuations. The key is knowing how to respond effectively to these inevitable crises. This section provides practical advice for navigating temperature emergencies, from heatwaves to equipment malfunctions.
Common Temperature Emergencies in the UK
UK duck breeders often face unique challenges due to the variable climate. Sudden temperature spikes during summer heatwaves can overheat incubators. Winter chills can cause temperatures to plummet, affecting embryo development.
Equipment failures, such as faulty thermostats or heating elements, can also occur unexpectedly. These malfunctions disrupt the delicate balance within the incubator, potentially jeopardizing the hatch. Power outages, a universal concern, pose a serious threat as well. Understanding these common scenarios and having a plan can make a significant difference.
Step-by-Step Recovery Protocols
Swift action is essential when a temperature crisis hits. For mechanical problems, like a malfunctioning thermostat, assess the issue quickly. If possible, replace the faulty part immediately. Keeping spare parts on hand can prove invaluable.
For electrical issues, unplug the incubator first to prevent further damage. Check for tripped breakers or blown fuses. If the problem continues, consult a qualified electrician. Never attempt electrical repairs yourself unless you have the proper training. For more information on egg storage during emergencies, you might find this helpful: Can hatching eggs be refrigerated?.
Emergency Measures to Protect Developing Embryos
During a power outage, maintaining a stable temperature is paramount. Wrap the incubator in blankets or towels for insulation. A backup power source, such as a UPS or a generator, can keep the incubator running.
If the outage is prolonged, temporarily relocate the eggs to another incubator or a makeshift insulated container with a heat source like a hot water bottle. Monitor the temperature closely, adjusting the heat source as needed.
Quick Diagnostic Techniques and Prevention Strategies
Developing quick diagnostic skills helps identify the source of temperature problems. Is the incubator’s thermostat reading accurately? Are there drafts affecting the temperature? Is the ventilation adequate? These simple checks can often pinpoint the issue.
Preventing temperature crises is the best approach. Regular incubator maintenance, including cleaning and calibrating the thermostat, is essential. A backup plan for power outages and other emergencies offers peace of mind. Positioning the incubator away from direct sunlight and drafts also helps maintain a stable internal temperature.
Learning From Breeders’ Experiences
One UK breeder shared her experience with a sudden temperature spike during a heatwave. Relocating the incubator to a cooler location and using frozen water bottles saved her hatch. Another breeder recounted how a backup generator saved his valuable eggs during a prolonged power outage. These stories emphasize the importance of preparedness and quick action in the face of temperature challenges. By understanding the common causes of temperature emergencies and taking preventative measures, you can significantly improve your chances of a successful hatch. Remember, even seasoned breeders face these issues. The ability to respond effectively will ensure your ducklings get the best possible start.
Advanced Temperature Control For Serious Duck Breeders
Maintaining the correct incubation temperature for duck eggs is essential. Serious breeders, however, understand that mastering advanced temperature control techniques is crucial for maximizing success. This section explores the strategies employed by dedicated breeding operations and commercial UK hatcheries to achieve optimal hatching results.
Automated Monitoring Systems: The 21st-Century Approach
Going beyond simple thermometers, automated monitoring systems provide a new level of precision and control. These systems constantly monitor the incubation temperature, delivering real-time data and alerts. Some advanced models integrate humidity and ventilation controls, creating a fully automated environment. This minimizes temperature fluctuations, ensuring ideal conditions throughout the incubation period.
Precision Controls and Quality Assurance
Professional temperature control involves using precision thermostats and strategically placed sensors to maintain a uniform temperature within the incubator. These systems often incorporate redundant sensors and backup power supplies for uninterrupted operation, even during power outages. Regular calibration and system checks ensure consistent performance, reflecting the high standards of serious breeders.
Temperature Profiling: Tailoring The Incubation Process
Experienced breeders utilize temperature profiling, adjusting the incubation temperature at different stages of embryonic development. For instance, slightly lower temperatures early on can promote cardiovascular development, while subtle increases later can encourage healthy lung development. This tailored approach, based on research and practical experience, leads to stronger, healthier ducklings.
Breed-Specific Adjustments: Fine-Tuning For Optimal Results
Different duck breeds may have slightly different temperature requirements. Heavier breeds like Indian Runners may thrive in a slightly lower temperature range than smaller breeds. Read also: How to master incubating different egg types. Understanding these breed-specific nuances allows breeders to adjust their temperature control strategies and enhance hatch rates.
Cost-Benefit Analysis: Investing Wisely
While advanced temperature control equipment offers advantages, it’s important to consider the costs versus the benefits. A thorough cost-benefit analysis helps determine which upgrades offer the best return on investment. A reliable backup power supply, for example, may be more valuable than a high-tech gadget with minimal impact on hatch rates.
Redundant Monitoring Systems: Doubling Down On Reliability
Redundancy is vital in professional breeding. Multiple, independent monitoring systems provide a safety net. If one system fails, the other takes over, ensuring uninterrupted temperature control and minimizing the risk of significant losses due to equipment malfunctions.
To help breeders make informed decisions, the table below compares various temperature control equipment options based on precision, features, cost, and ideal applications.
Professional Temperature Control Equipment Analysis:
Detailed analysis of advanced temperature management equipment, performance specifications, and investment returns for serious UK breeders.
| Equipment Category | Precision Level | Key Features | Investment Cost | Best Applications |
|---|---|---|---|---|
| Digital Thermostat with Probe | +/- 0.1°C | Real-time temperature display, adjustable set points | £30 – £60 | Small to medium-sized incubators |
| Automated Monitoring System | +/- 0.05°C | Remote monitoring, data logging, alarms | £100 – £300 | Larger incubators, professional breeders |
| Redundant Temperature Controller | +/- 0.01°C | Dual sensors, backup power supply | £200 – £500 | Commercial hatcheries, critical applications |
| Incubator Room Environmental Controller | +/- 0.5°C | Controls room temperature and humidity | £150 – £400 | Breeding rooms, multiple incubators |
This table summarizes the key features and costs of various temperature control options. It highlights the trade-offs between precision and investment, empowering breeders to choose the best equipment for their needs.
By understanding and implementing these advanced temperature control techniques, breeders can significantly improve hatching success and elevate their duck breeding operations. This investment in knowledge and equipment translates to healthier, more robust ducklings.
Key Takeaways
This section summarizes everything we’ve discussed about duck egg incubation temperatures and translates it into practical strategies you can use immediately. From daily routines to troubleshooting and goal setting, we’ll give you the knowledge to consistently hatch healthy ducklings.
Daily Temperature Management Checklist
Maintaining the correct temperature for incubating duck eggs requires ongoing attention. This checklist helps you establish a dependable routine:
Morning: Check the incubator’s temperature against a calibrated thermometer. Log the reading in a notebook. Refill the incubator’s water reservoir to maintain proper humidity.
Afternoon: Briefly examine the eggs for any signs of overheating or chilling. Make sure there’s adequate airflow within the incubator.
Evening: Check and record the temperature again. Adjust the incubator’s thermostat as needed.
This simple routine ensures regular monitoring and helps you spot potential problems early.
Troubleshooting Quick-Reference Guide
Even with the best planning, issues can still occur. This quick guide will help you address common temperature-related problems:
Temperature Fluctuations: Check for drafts, direct sunlight, or a faulty thermostat. Calibrate your thermometer against a reliable reference.
Overheating: Move the incubator to a cooler spot. Carefully place and monitor frozen water bottles inside to lower the internal temperature.
Chilling: Add insulation around the incubator. Inspect the heating element for malfunctions. Consider a backup heat source.
Power Outage: Put your emergency plan into action. Use a UPS or generator if you have one. Move the eggs to a temporary, insulated container with a heat source.
Having a plan for each scenario allows you to react quickly and protect your developing ducklings.
Measuring Your Success: Tracking Progress and Improvement
Tracking your progress helps you refine your methods and stay motivated. Here’s how to measure your success:
Hatch Rate: Calculate the percentage of fertile eggs that successfully hatch. This gives you a clear picture of your overall incubation success. Aim for a hatch rate of 80-90% or better.
Duckling Health: Observe the newly hatched ducklings for signs of good health, such as strong legs, bright eyes, and active behavior. These visual cues indicate successful incubation.
Growth Rate: Track the ducklings’ growth in the weeks after hatching. Consistent growth means they got a good start in the incubator.
These metrics offer valuable feedback, helping you refine your temperature control strategies and improve your results over time.
Building Confidence and Expertise
Mastering duck egg incubation takes time and practice. Celebrate your achievements, no matter how small. A successful hatch and a healthy brood of ducklings will build your confidence and fuel your passion for duck breeding.
Creating reliable systems and routines simplifies the process. Consistent monitoring will become automatic, allowing you to focus on the finer points of temperature control. This deepens your understanding and builds your expertise.
Setting Realistic Goals and Staying Motivated
Don’t be discouraged by setbacks. Every experienced breeder has faced challenges. Treat these as learning opportunities. Set achievable goals, such as increasing your hatch rate by a specific percentage or mastering a new temperature control technique. Celebrate your successes to maintain motivation and enthusiasm.
From Novice to Expert: Your Duck Breeding Journey
Remember, your duck breeding journey is a continuous learning process. By consistently applying these key takeaways and viewing each challenge as a chance to grow, you’ll develop the expertise needed to reliably hatch healthy ducklings. The reward of seeing those fluffy ducklings thrive makes all the effort worthwhile.
Looking for high-quality hatching eggs to begin or expand your duck breeding journey? Visit HatchingEggs.eu for a wide selection of premium eggs from various breeds, plus expert advice and resources to support your success.