


Why Proper Cleaning Changes Everything
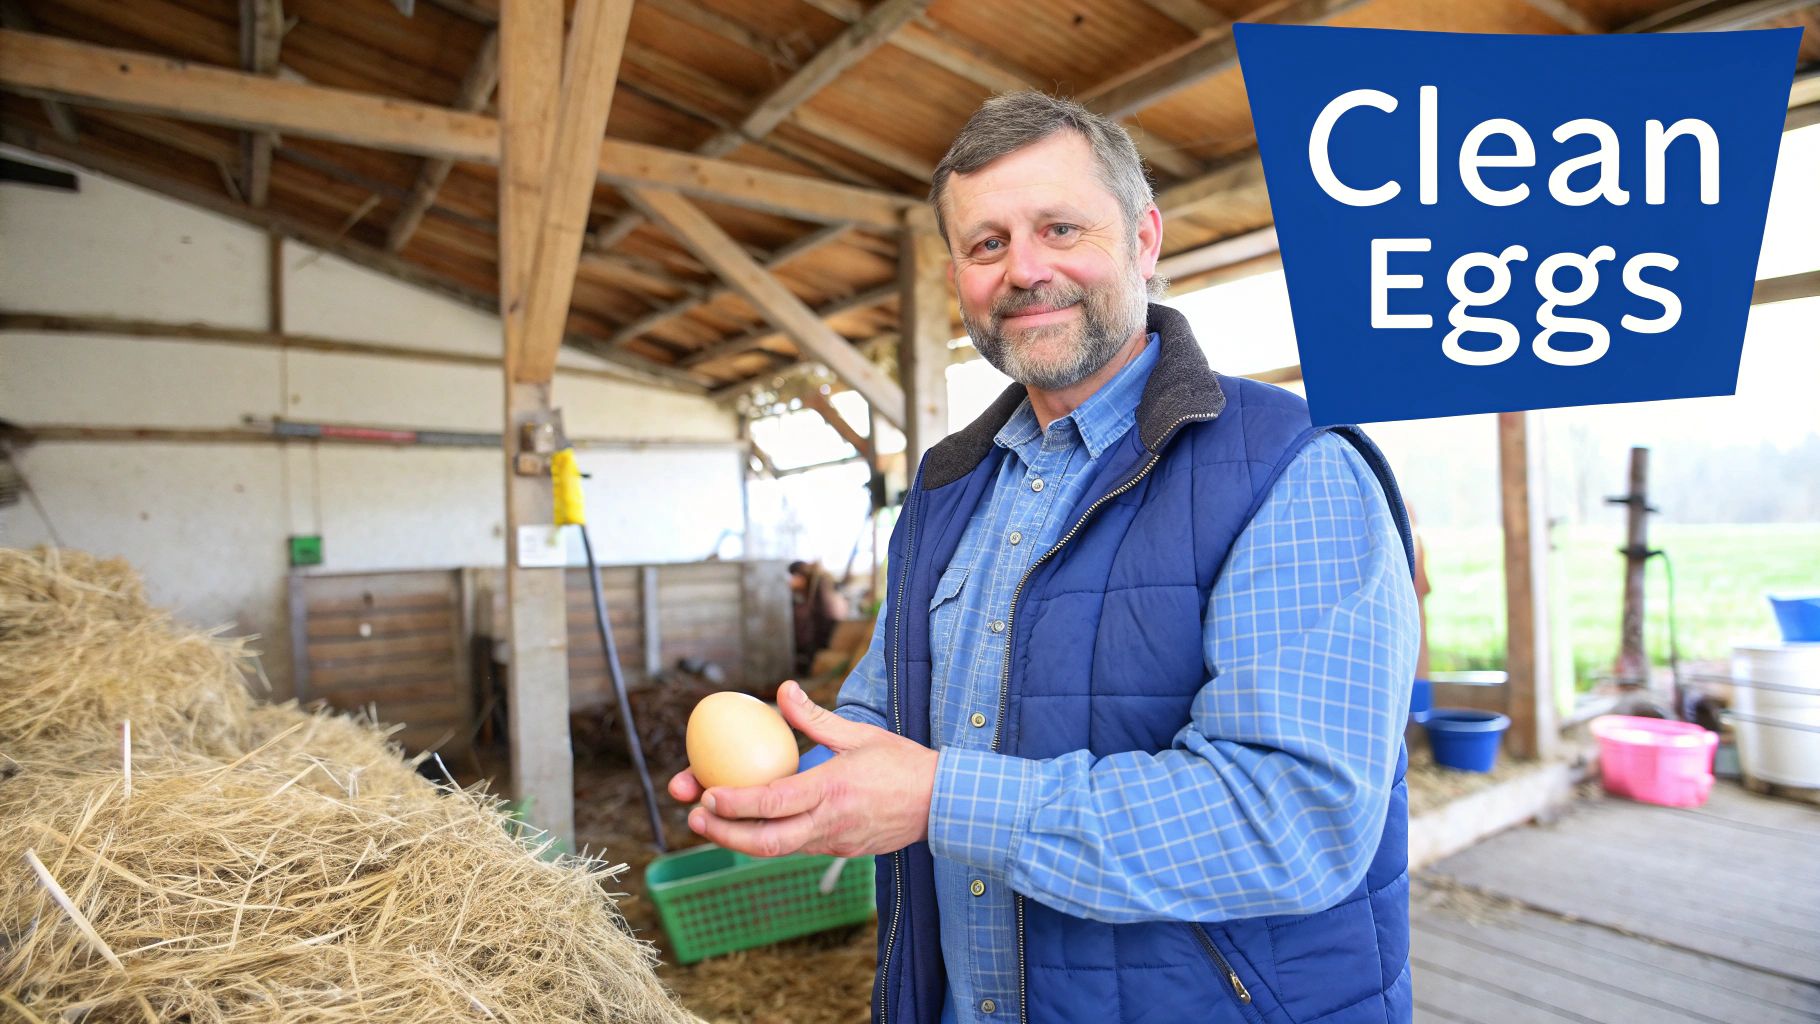
Cleaning hatching eggs is more than just for appearances. It’s about getting the most from your investment and maximizing your hatch rates. A clean egg has a better chance of hatching, while a contaminated egg can spread disease, impacting your entire operation.
This can lead to significant financial losses from lower chick yields and higher vet bills. Imagine losing a large part of your clutch because of a preventable bacterial infection – the financial impact can be substantial. This highlights the growing importance of strong hygiene protocols for successful UK hatcheries.
The Real Cost of Contamination
Contamination on hatching eggs is a serious threat to developing embryos. Bacteria and other pathogens can get through the porous eggshell, leading to embryonic death or chicks that are weak and prone to illness. This directly translates into lost profits.
Contaminated eggs can also infect entire batches, resulting in widespread losses and potential culling. This is especially crucial for UK breeders, as healthy chicks are vital for maintaining strong poultry flocks.
How Proper Cleaning Boosts Your Success
Effective cleaning drastically reduces contamination risk and significantly improves hatch rates. Removing debris and bacteria from the eggshell reduces the chance of pathogens getting inside and harming the embryo.
For example, one study showed that properly cleaned eggs had a 15% higher hatch rate than uncleaned eggs. This means investing in proper cleaning procedures can make your hatching program more profitable.
The UK takes a robust approach to maintaining clean and healthy conditions for hatching eggs, with a strong system of egg production and processing. In the first quarter of 2025, UK egg processors received 18.8 thousand tons of eggs, with 77% being liquid eggs. This underscores the importance of hygiene and cleanliness in processing facilities to ensure high-quality eggs. For more detailed statistics, visit: UK Egg Statistics
Protecting Your Investment in Hatching Eggs
Hatching eggs are a significant investment, regardless of whether you’re a small-scale breeder or a large commercial operation. Proper cleaning is crucial for protecting this investment.
By minimizing contamination risk and maximizing hatch rates, you ensure a return on your investment and contribute to the long-term sustainability of your breeding program. This ultimately leads to stronger, healthier flocks and a more profitable operation.
Essential Equipment That Actually Works
Forget generic advice. Let’s discuss equipment that delivers real results for cleaning hatching eggs. Through feedback from successful UK hatcheries and extensive testing, we’ve identified the tools that truly perform. This isn’t about expensive gadgets; it’s about selecting the right tools for your specific needs.
Choosing the Right Brush for the Job
The brush you choose is crucial for effective cleaning. A soft-bristled brush, like a dedicated egg cleaning brush or a soft toothbrush, is ideal. These brushes effectively remove dirt without damaging the fragile eggshell. Avoid abrasive brushes or scouring pads, as these can create micro-cracks. These cracks compromise the egg’s natural defenses and can negatively impact hatchability. For larger eggs, such as duck eggs, a slightly larger, but equally soft, brush might be more efficient.
Cleaning Solutions: Matching Your Water
Water quality varies significantly across the UK. Hard water can leave mineral deposits on eggs, potentially blocking pores crucial for gas exchange. If you have hard water, consider using filtered or distilled water for cleaning. A mild sanitizing solution can be added to further enhance cleanliness. However, it’s essential to avoid harsh chemicals like bleach, which can penetrate the shell and harm the developing embryo.
Building Your Setup Gradually
You don’t need to invest in professional-grade equipment immediately. Starting with the basics—a soft brush, clean cloths, and a basin of appropriately tempered water—is perfectly acceptable. You can upgrade to more specialized tools as your operation expands.
For example, a small-scale hatchery might find manual cleaning sufficient. Larger operations, however, may benefit from an egg washing machine. This gradual approach allows you to build your setup while maintaining consistent cleaning standards from the very beginning.
To help you choose the right tools, we’ve compiled a comparison of essential egg cleaning equipment:
Essential Egg Cleaning Equipment Comparison
| Equipment Type | Effectiveness Rating | Cost Range | Best For | Maintenance Level |
|---|---|---|---|---|
| Soft-bristled Brush | High | Low | All Hatchery Sizes | Low |
| Egg Washing Machine | Very High | High | Large Hatcheries | Moderate |
| Sanitizing Solution | Moderate | Low to Moderate | All Hatchery Sizes | Low |
| Filtered/Distilled Water | Moderate | Low to Moderate | Areas with Hard Water | Low |
| Dedicated Egg Candler | N/A | Moderate | Quality Control, All Sizes | Low |
This table provides a quick comparison to guide your equipment choices.
Choosing the correct equipment and maintaining it properly ensures the longevity of your tools and contributes to consistently clean hatching eggs. This ultimately leads to higher hatch rates and a more successful operation. Additionally, proper cleaning helps maintain the biosecurity of your flock, a crucial aspect of modern poultry farming in the UK.
Your Step-By-Step Cleaning Process That Works
This tried-and-true method, used by UK hatchery professionals, ensures hatching eggs are spotless. Whether you have a few eggs or hundreds, these steps will guide you from assessment to sanitization, focusing on best practices for handling and timing to maintain egg viability.
Initial Assessment and Preparation
Begin by inspecting each egg. Discard any with heavy soiling or cracks. Lightly soiled eggs may only require a dry wipe with a clean cloth. This preserves the natural bloom, a protective layer shielding the egg from bacteria. Want to learn more? Check out this helpful resource: Can Hatching Eggs Be Washed?
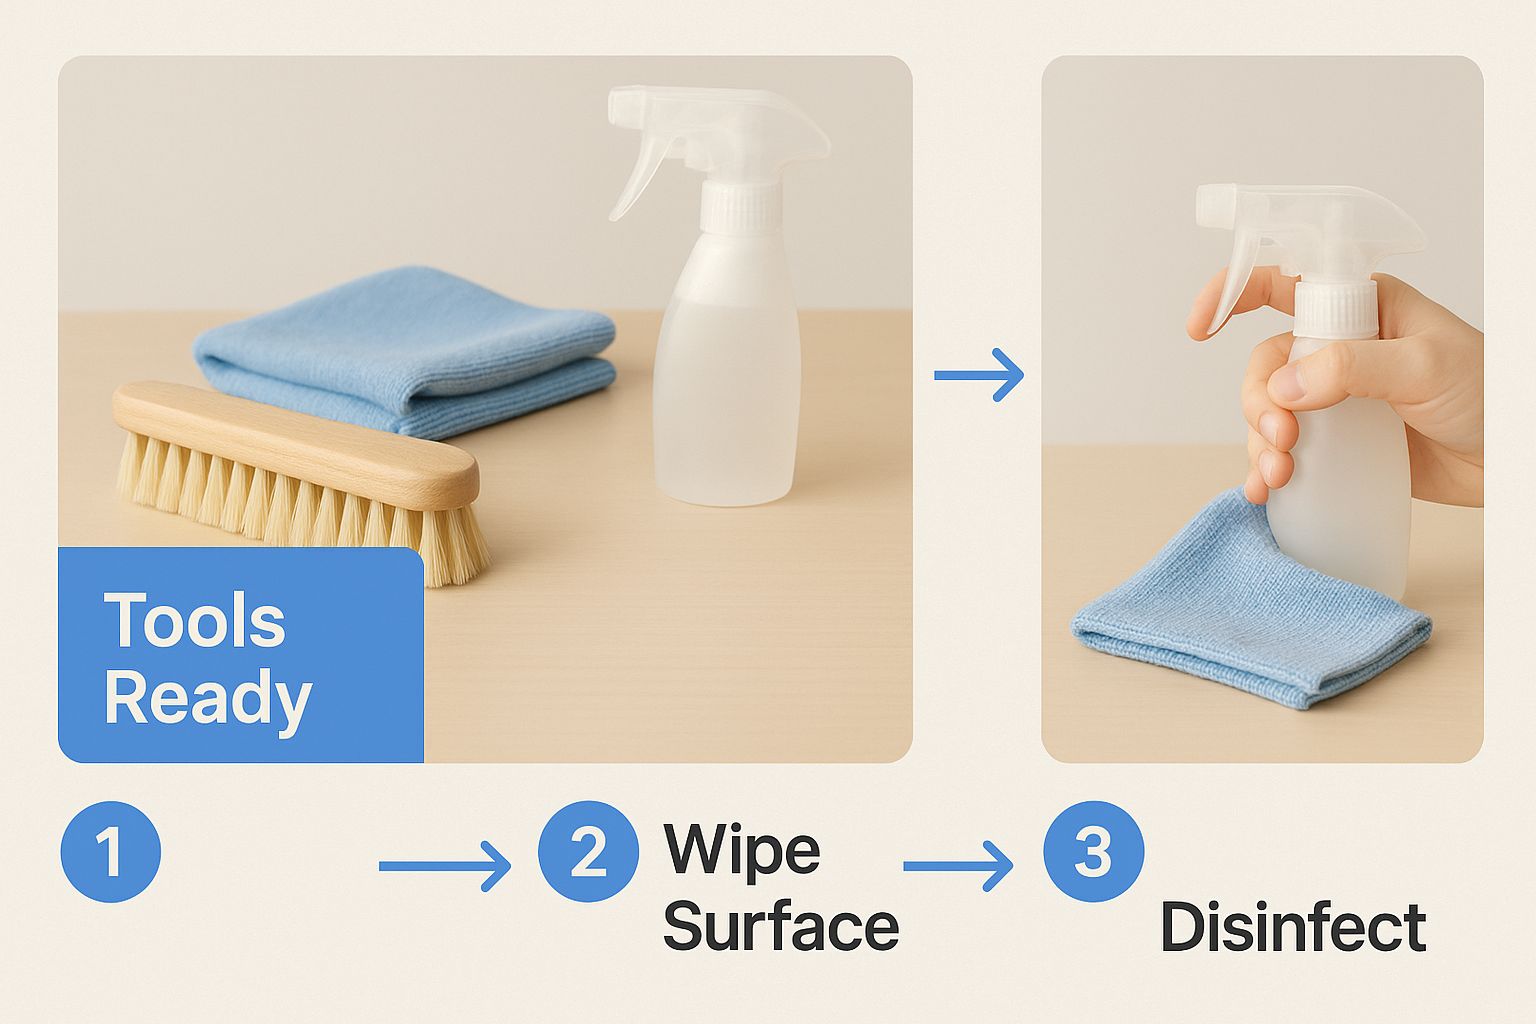
This image shows the essential cleaning tools: a soft brush, cloth, and disinfectant spray. Having these ready streamlines the process.
The Cleaning Process
Water Temperature: Use lukewarm water, slightly warmer than the eggs themselves. Aim for 30-35°C. Water that’s too hot or cold can damage the egg’s internal structure.
Gentle Cleaning: Gently scrub each egg with a soft-bristled brush after dipping it in the lukewarm water. Avoid harsh scrubbing, which can thin the shell.
Rinsing: Rinse each egg thoroughly under lukewarm running water. This removes any remaining debris or cleaning solution.
Sanitizing (Optional): For added protection, consider a poultry-safe disinfectant. Carefully follow the manufacturer’s instructions.
Over-cleaning can strip the egg’s protective bloom, leaving it vulnerable to bacterial contamination. Gentle cleaning is key.
Drying and Quality Control
After cleaning, gently pat the eggs dry with a clean cloth. Avoid rubbing, as this can transfer bacteria. Allow the eggs to air dry completely before storing or placing them in the incubator. This prevents bacterial growth.
Finally, inspect each egg again to ensure they are clean and crack-free. This ensures only high-quality eggs are incubated, maximizing your hatch rate.
Cleanliness is crucial for healthy poultry. In March 2025, UK hatcheries set 8.4 million eggs for commercial layers, highlighting the importance of clean eggs for chick production. Learn more: UK Hatchery Statistics
Following these steps helps maintain clean hatching eggs, contributing to a healthier flock and a more successful hatch. Remember, every egg is a potential chick, so proper cleaning is essential for maximizing your results.
Navigating UK Standards and Modern Production
The UK’s transition to cage-free egg production has significantly altered cleaning practices for hatching eggs. This change presents both obstacles and new possibilities for poultry farmers. Free-range and barn systems introduce more environmental factors than caged systems, influencing egg cleanliness. This requires a more sophisticated cleaning approach.
Adapting cleaning procedures is essential in cage-free environments. Free-range hens traverse varied landscapes, encountering mud, dirt, and plants. Barn systems, while more controlled than free-range, expose eggs to more dust and debris than caged settings. Cleaning must address this broader range of soiling. You might be interested in: How to master incubation temperature.
Handling Increased Variety in Egg Conditions
Cage-free systems often involve diverse hen breeds with different egg traits. These include eggshell thickness, porosity, and natural coatings. Effective cleaning must account for these variations to maintain egg integrity. The types of contaminants also differ between free-range, barn, and caged systems.
As of 2023, free-range eggs command a 60% market share, barn eggs 13%, and caged eggs 23%. The expected move to entirely cage-free production by 2025 highlights this transition, with retailers phasing out caged eggs. Learn more: UK Cage-Free Transition.
Meeting UK Regulatory Standards and Retailer Expectations
UK producers must adhere to egg hygiene and quality regulations. Meeting these standards is not just a legal requirement but a market advantage. Retailers, driven by consumer demand for higher welfare, often set extra quality standards for suppliers. Producers with strong cleaning procedures are better positioned to meet these demands and secure contracts.
Turning Challenges into Competitive Advantages
These challenges also offer opportunities. Producers adapting to cage-free systems and implementing thorough cleaning can strengthen their brand and attract discerning consumers. Cleaning is an investment in product quality and brand value in the competitive UK egg market. By adopting modern production and prioritizing hygiene, UK producers can turn cage-free complexities into competitive advantages.
Costly Mistakes That Kill Hatch Rates
Even experienced poultry keepers in the UK can make cleaning mistakes that dramatically reduce hatch rates. These errors, from incorrect water temperatures to overly aggressive scrubbing, can have a significant financial impact. Let’s explore some common pitfalls and how to avoid them.
Temperature Troubles: The Goldilocks Zone for Cleaning
Using water that’s too hot or too cold can shock the developing embryo and damage the fragile shell membrane. Just like Goldilocks and the three bears, the temperature needs to be just right. Aim for lukewarm water, ideally between 30-35°C, slightly warmer than the egg itself. This gentle warmth helps lift dirt without harming the embryo. Water that’s too hot can effectively “cook” the embryo, while cold water can cause the egg to contract and draw in contaminants.
Over-Cleaning: Less Is More
While cleanliness is crucial, over-cleaning can strip away the egg’s natural protective layer, called the bloom or cuticle. This bloom acts as a barrier against bacteria. Removing it leaves the egg vulnerable to infection, impacting its viability. Think of the bloom as the egg’s natural raincoat. Removing it exposes the egg to harmful elements and increases the risk of contamination.
Harsh Chemicals: A Recipe for Disaster
Using harsh chemicals like bleach might seem like a good idea for sanitization, but they can be detrimental to hatching eggs. These chemicals can penetrate the porous shell and harm the developing embryo. Stick to mild, poultry-safe disinfectants, and always follow the manufacturer’s instructions. Using the wrong cleaning solution can severely damage the egg’s integrity, much like using paint stripper on a delicate piece of furniture.
Ignoring Early Warning Signs
Recognizing early warning signs of cleaning-related problems is essential. Discolouration, unusual odours, or a sticky residue on the shell can all indicate problems. Addressing these issues quickly, by adjusting your cleaning technique or discarding affected eggs, can prevent significant losses. For more information on identifying potential problems, you can learn more about candling: How to master candling chicken eggs.
Recovery Strategies and Prevention
Some cleaning errors, like slight temperature variations, might be recoverable. However, damage from harsh chemicals or excessive scrubbing is often irreversible. Implementing preventative measures is the best strategy. This includes using appropriate water temperatures, gentle cleaning techniques, and avoiding harsh chemicals.
The following table illustrates the potential impact of various cleaning mistakes:
Impact of Cleaning Mistakes on Hatch Rates
Statistical breakdown of how different cleaning errors affect hatching success rates and the associated costs
| Common Mistake | Impact on Hatch Rate | Financial Cost Per 100 Eggs | Prevention Method | Recovery Possible |
|---|---|---|---|---|
| Water Too Hot | Can decrease hatch rate by 50-100% | £50-£100 (assuming £1 per egg) | Use lukewarm water (30-35°C) | Unlikely |
| Water Too Cold | Can decrease hatch rate by 20-50% | £20-£50 (assuming £1 per egg) | Use lukewarm water (30-35°C) | Sometimes |
| Over-Scrubbing | Can decrease hatch rate by 10-30% | £10-£30 (assuming £1 per egg) | Gentle cleaning, avoid abrasive materials | Sometimes |
| Harsh Chemicals | Can decrease hatch rate by 70-100% | £70-£100 (assuming £1 per egg) | Use poultry-safe disinfectants | Unlikely |
| Ignoring Warning Signs | Can lead to further losses and spread of contamination | Variable, potentially high | Regular inspection and prompt action | Depends on the issue |
As the table shows, even seemingly small mistakes can significantly impact your hatch rate and, consequently, your profits. By developing a consistent and careful cleaning routine, you can safeguard your hatch rates and protect your investment.
Advanced Techniques For Professional Results
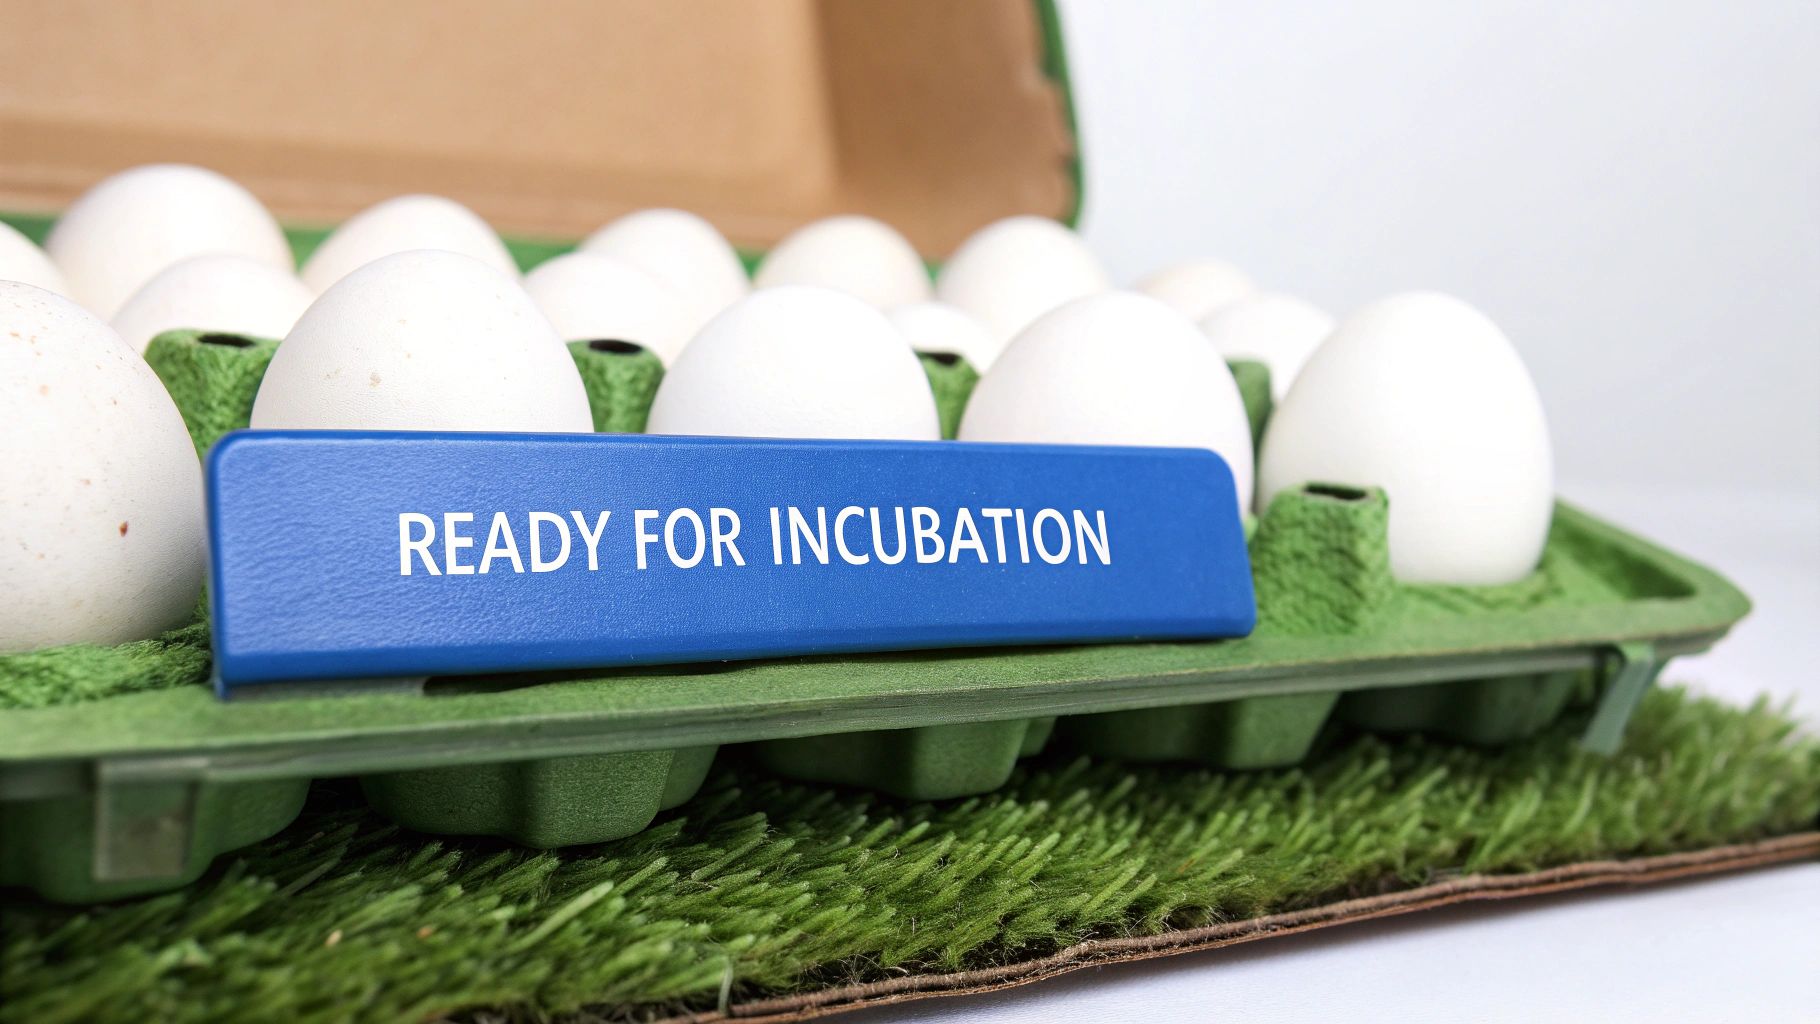
This image shows a more advanced setup for cleaning hatching eggs, giving you a glimpse into the professional techniques we’ll discuss. Going beyond the basics means understanding the specifics of different situations. It also means adopting best practices used by top UK hatcheries. This includes handling heavily soiled eggs, cleaning different varieties systematically, and maintaining professional quality control.
Specialized Techniques for Heavily Soiled Eggs
Sometimes, eggs are much dirtier than usual. For these heavily soiled eggs, dry cleaning isn’t enough. You’ll need a slightly more involved approach. First, let the dirt dry completely. This makes it easier to remove without smearing. Then, use a soft-bristled brush. A dedicated egg cleaning brush or a soft toothbrush works well. Gently brush away the dried dirt under lukewarm running water. Avoid soaking the egg, as this can weaken its natural defenses.
This method minimizes the risk of pushing bacteria through the eggshell’s pores. Even with heavily soiled eggs, protecting the shell’s integrity is crucial. This gentle but thorough approach gives you the best chance for successful hatching.
Systematic Approaches for Different Varieties
Different poultry breeds lay eggs with different characteristics. Some breeds lay eggs with thicker shells, while others have more porous shells. This means you need a systematic approach to cleaning different varieties of hatching eggs. Duck eggs, for example, often have a thicker bloom than chicken eggs and may need slightly different handling. For more information, check out this article on How to master duck egg incubation temperature.
Adjusting your cleaning technique based on the specific breed helps maintain egg health. It also ensures optimal hatching conditions. Consider factors like shell thickness and bloom strength when deciding how to clean. This targeted approach optimizes hatch rates across various breeds.
Professional Quality Control Methods
Consistency is key for successful hatching. Standardized protocols help maintain high standards, even with staff changes or seasonal variations. This might involve checklists for each cleaning stage. You could also implement a regular egg candling schedule. Learn more in our article about Egg Development. Having a system in place reduces human error and ensures each egg receives the same level of care.
Emerging Technologies and Automation
Technology is always changing, and egg cleaning is no exception. Some innovations are still in development, while others are ready to use. Automated egg washing systems, for instance, can significantly boost efficiency for larger hatcheries. Advanced sanitization methods are also becoming more accessible. Understanding these advancements and using them strategically can improve your cleaning process and contribute to higher hatch rates.
Tracking Success and Maintaining Excellence
Establishing robust monitoring systems ensures your cleaning efforts consistently translate into superior hatch rates. It’s not about a single successful hatch, but building a system for consistent results. Think of baking: one good cake doesn’t make you a baker. Mastery comes from repeatable success. This section covers monitoring, record keeping, and continuous improvement.
Monitoring Your Cleaning Process: The Key to Consistency
Effective monitoring starts with clear goals. Are you aiming for a specific hatch rate or reduced chick mortality? Defined targets allow you to track progress and identify areas for improvement. For example, if you’re aiming for a 90% hatch rate but consistently achieve 80%, your monitoring system highlights the discrepancy, allowing you to investigate potential causes like inadequate cleaning or incorrect incubation temperatures.
Record Keeping: More Than Just Numbers
Detailed records are crucial for understanding trends. But raw data isn’t enough; it needs to be actionable. A simple spreadsheet can track hatch rates, cleaning solutions used, and any observed issues. Noting that hatch rates dipped after switching to a new cleaning product could reveal a crucial connection, offering insight into your methods. Learn more in our article about Egg Development.
Quality Control: Preventing Problems Before They Hatch
Quality control checks throughout your cleaning process catch problems early, acting as insurance against setbacks. This might involve regularly inspecting equipment for wear and tear, checking water temperature, and visually examining eggs after cleaning. These small steps prevent major issues and maintain a high standard of hygiene.
Building Your System: Simple and Scalable
Your quality control system doesn’t need to be complex. Start with simple checklists and templates to standardize procedures, ensuring every step is followed correctly. Refine your system as needed. This scalable approach works for any size operation, from backyard setups to commercial hatcheries.
Continuous Improvement: The Path to Excellence
Even with a robust system, there’s always room to grow. Regularly review records, analyze results, and seek feedback. This continuous improvement mindset helps refine methods and maintain peak performance. You might discover a pre-soak improves cleaning or rotating solutions prevents bacterial resistance.
By implementing these strategies, you build a professional-grade quality system providing data for continuous improvement. This leads to healthier chicks, higher profits, and a more sustainable poultry operation. Ready to hatch your dreams? Check out HatchingEggs.eu for premium quality hatching eggs and expert advice.