


Why Quail Hatching Has Everyone Hooked
There’s something truly magical about watching a tiny quail chick break free from its shell. It’s no wonder that hatching quail eggs has become so popular, especially here in the UK. Beyond the undeniable charm of these fluffy little birds, there’s a deeper connection that draws people in. Families are finding it’s a fantastic hands-on learning experience, and even seasoned poultry keepers are discovering that quail offer a unique and rewarding alternative to chickens.
This isn’t just a passing fad, either. Backyard quail keeping is experiencing a real resurgence, and for good reason. It reconnects us with a practice that’s been around for centuries, bringing a sense of purpose and accomplishment to our modern lives. You quickly fall into the rewarding rhythm of caring for these tiny creatures, and you gain a deeper appreciation for the intricate processes of nature.
And let’s be honest, the practical benefits go beyond just cuteness. Quail eggs are packed with nutrients and become a delicious reward for your efforts. Plus, the quail themselves can actually help create a more sustainable garden by controlling pests.
Interestingly, more and more UK families are trying their hand at hatching quail eggs, sometimes from surprising sources. Back in 2020, two siblings, Ray and Pearl Moorhead, managed to hatch 12 quail chicks from a box of 24 supermarket eggs. This unexpected success, even though the eggs weren’t meant for hatching, shows that even non-traditional sources can produce chicks with the right incubation setup. Read more about this incredible story!
Dispelling Common Misconceptions
One common misconception is that hatching quail eggs is overly complicated and requires specialized, expensive equipment. While having the right setup is important, it doesn’t have to break the bank. There’s a real sense of satisfaction in learning to adapt and improvise, making the whole process accessible to anyone with a little patience and determination.
Another myth is that hatch rates are always low. By understanding the factors that influence hatching success, and by focusing on good quality eggs and consistent incubator management, you can achieve surprisingly impressive results.
Embracing the Quail Hatching Journey
At its heart, hatching quail eggs isn’t just about producing chicks. It’s about connecting with nature, learning by doing, and finding joy in the small wins. It’s about sharing the wonder of life with your family, teaching children about responsibility, and experiencing the unique satisfaction of nurturing something from a tiny egg to a fluffy chick. The rewards are both tangible and intangible, enriching your life in ways you might never expect. So, as you begin your quail hatching adventure, remember that every pip, every peep, and every fluffy new arrival is a testament to the amazing resilience of nature and the magic of new beginnings.
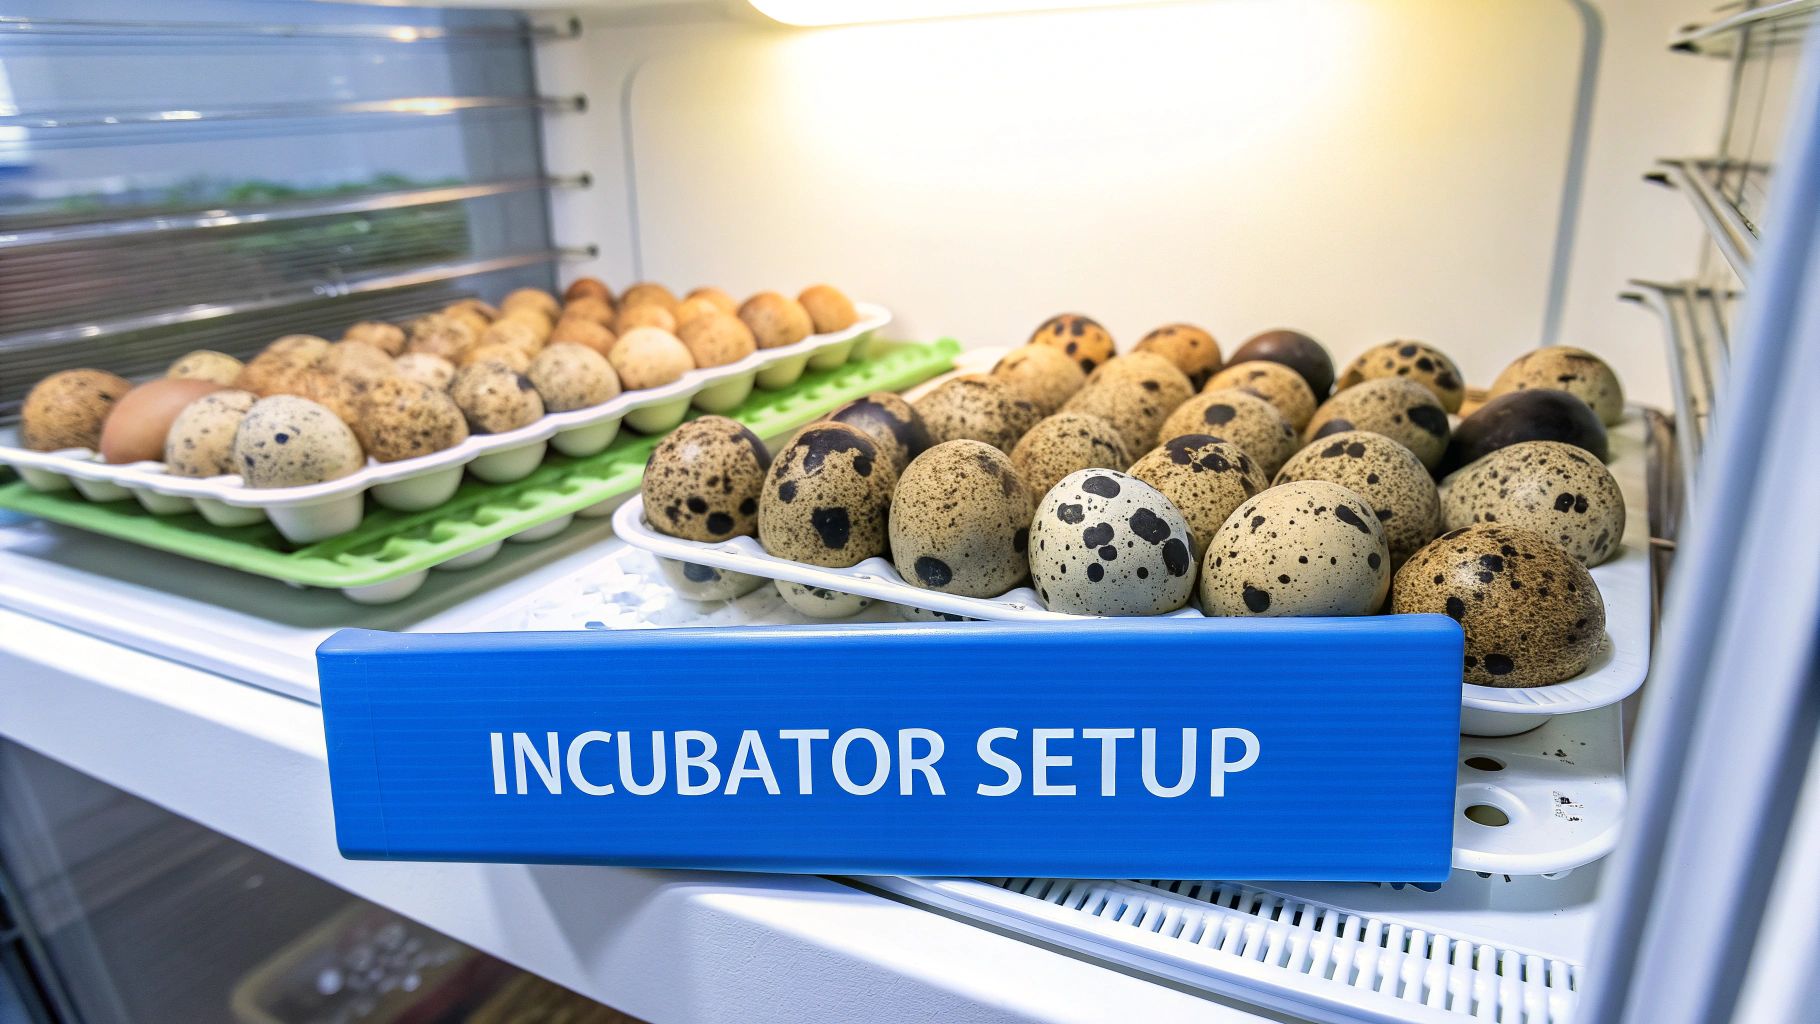
Finding Eggs That Actually Want to Become Chicks
Let me tell you a secret about quail eggs: not every one is going to hatch. It’s a harsh reality, but one that many new quail keepers discover the hard way. After years of working with various suppliers (and a few personal hatching disappointments!), I’ve learned a thing or two about picking eggs with chick potential.
Fertile Versus Table Eggs: Understanding the Difference
First things first: those cute little quail eggs at the supermarket? They’re meant for salads, not incubators. These are table eggs – they’ve never even met a rooster. For hatching, you need fertile eggs from a breeding pair. Sounds obvious, right? You’d be surprised how many people try hatching grocery store eggs!
Sourcing Quail Eggs in the UK: Navigating the Options
Finding a reliable source of fertile quail eggs in the UK can be a bit of an adventure. You’ll find everything from small breeders on local online marketplaces to larger poultry farms. My advice? Don’t just shop on price. Look for suppliers who are open about their breeding practices and clearly care about the health of their birds.
The Art of Egg Examination: What to Look For (and What to Avoid)
Don’t just chuck your eggs straight into the incubator when you get them. Take a minute to give them a good look. You want eggs that are consistently shaped and sized, with clean, unblemished shells. Avoid anything cracked, oddly shaped, or unusually large or small. Think of it like picking out the best fruits and vegetables – you want the cream of the crop!
Hatch Rates: Setting Realistic Expectations
Now, let’s talk hatch rates. We all dream of a perfect 100% hatch, but the reality is a little different. Quail eggs are delicate and need precise conditions to hatch successfully, even more so than chicken eggs. Commercial operations like Fayre Game focus on maximizing hatchability through careful genetic selection and perfect environmental control. They report hatch rates of 80-83%, which is impressive. Compare that to the average hatch rate of around 50% for shipped eggs, and you start to see the difference. Here’s a great guide with more details about quail egg hatching. Even with the best eggs and perfect incubator management, some eggs simply won’t develop. It’s perfectly normal. Setting realistic expectations upfront will prevent disappointment later.
Before we go further, let’s look at a handy table summarizing some quail egg sources:
Quail Egg Source Comparison
A comparison of different quail egg sources, their typical hatch rates, costs, and reliability factors to help you make the best choice for your hatching project.
| Source Type | Average Hatch Rate | Cost Range | Pros | Cons |
|---|---|---|---|---|
| Local Breeders | Varies widely (50-70%) | Moderate | Can be fresher, support local businesses | Hatch rates less consistent, availability can fluctuate |
| Online Marketplaces | Varies widely (40-60%) | Moderate to High | Wide selection, convenient | Higher risk of poor quality, shipping can impact hatch rate |
| Poultry Farms | Generally higher (60-80%) | Moderate to High | Often higher quality, more consistent supply | Can be less fresh if shipped, may have minimum order quantities |
| Specialist Hatcheries | Highest (70-90%+) | High | Highest hatch rates, specialized breeds available | Most expensive, may have limited availability |
As you can see, choosing the right source requires balancing cost, convenience, and the desired hatch rate. Think about what’s most important for your project.
Insider Tips for Success: Timing, Storage, and Supplier Relationships
Here are a few insider tips I’ve picked up along the way. Freshness is key! The sooner you incubate your eggs after they’re laid, the better your chances of success. Store your fertile eggs pointy end down in a cool, dry place, ideally between 8-12°C (45-55°F). You might also want to check out this info on duck incubation periods, just for comparison. Finally, building a good relationship with a reliable supplier is invaluable. They can offer advice, answer questions, and even help you troubleshoot problems. A trusted supplier is like having a quail hatching mentor – it makes a world of difference.
Creating Your Perfect Hatching Environment
Let’s face it, picking an incubator can feel overwhelming. I’ve been there, experimenting with everything from basic still-air models to those fancy, multi-level cabinets. Over time, I’ve realized many “must-have” features are just expensive bells and whistles. Finding the right incubator for quail eggs doesn’t have to be so complicated.
Matching Your Incubator to Your Needs
So, how do you choose an incubator that gets the job done without costing a fortune? Start by considering your available space. If you’re tight on room, a small, still-air incubator works wonders, especially for smaller batches of quail eggs. For bigger hatches, a fan-assisted incubator provides more consistent temperature distribution, which is crucial. Think of it like baking – even heat is key for a successful rise, and the same goes for happy, healthy chicks.
Calibration and Placement: Two Crucial Factors
Don’t just plug in your new incubator and expect miracles. Calibration is essential! Even slight temperature variations can significantly impact your hatch rate. Use a reliable thermometer and hygrometer to verify the incubator’s readings. Trust me, a degree or two can make all the difference. For more information, check out this helpful resource on incubating quail eggs: learning more about incubating quail eggs.
Where you place your incubator matters, too. Avoid drafty spots, direct sunlight, and areas with temperature swings. A stable environment is key. Think of it as creating a cozy, consistent nest for your eggs.
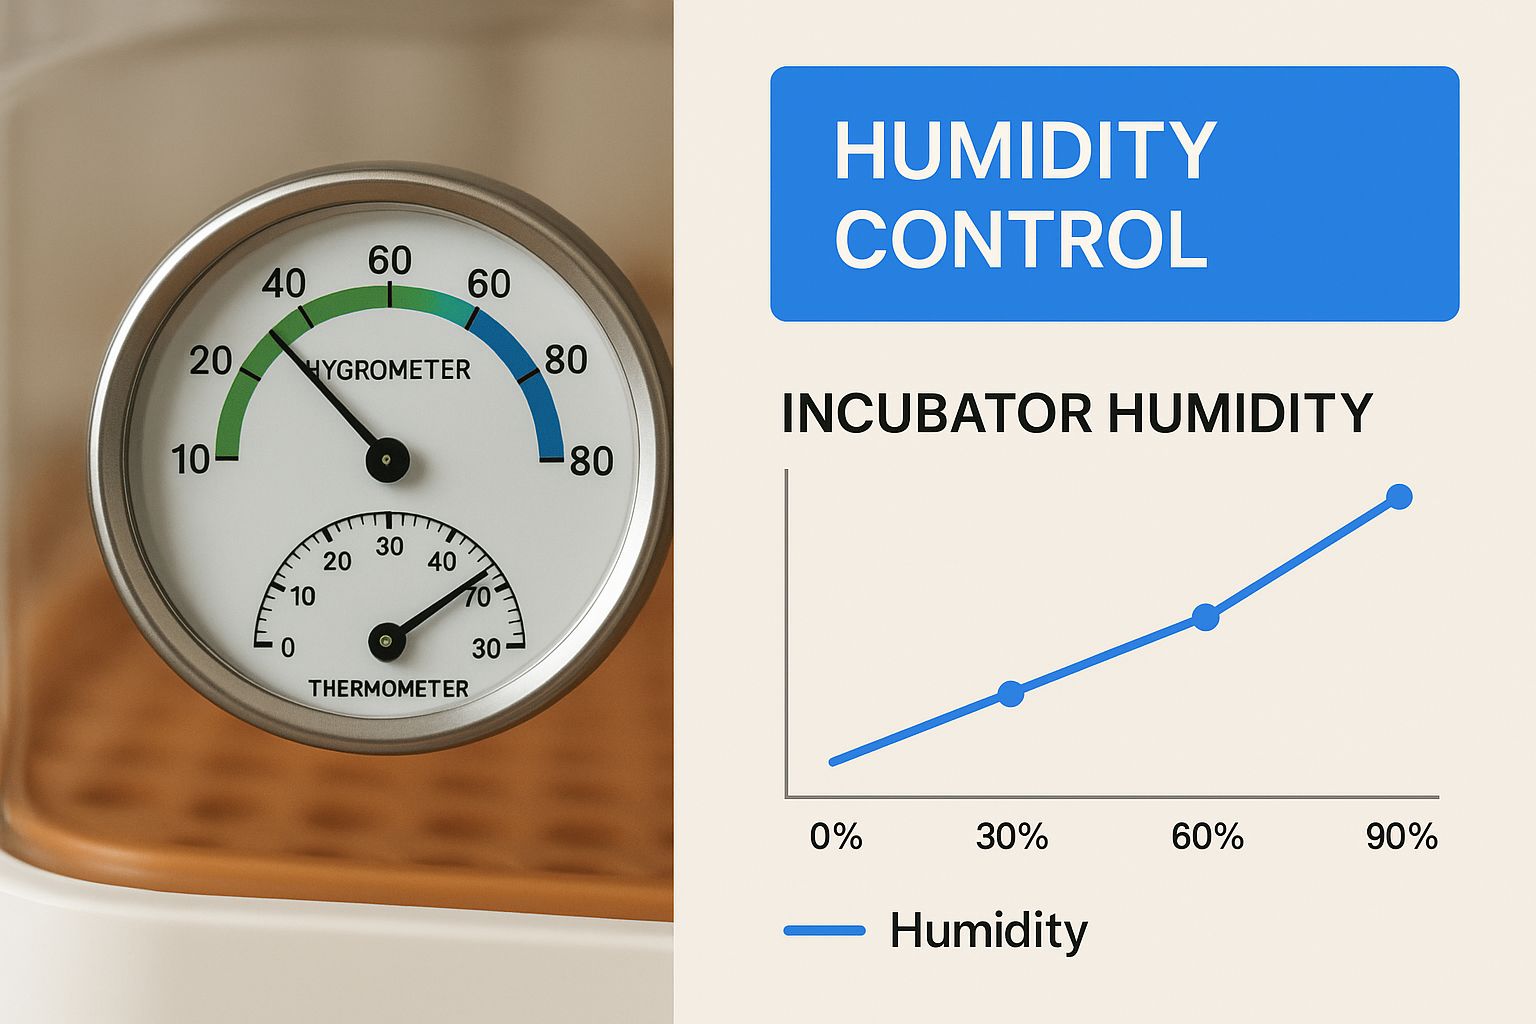
This image shows a hygrometer and thermometer inside an incubator. It really highlights how important precise monitoring is to ensure those ideal hatching conditions. Remember, humidity is just as crucial as temperature when hatching quail eggs.
Power Outages and Backup Plans
Power failures happen, and they can be devastating for a hatch. A backup power source, even a simple UPS (Uninterruptible Power Supply), can be a lifesaver. Also, think about what you’ll do if your incubator malfunctions. A backup incubator, even a small, inexpensive one, is a worthwhile investment. I learned this the hard way when a faulty thermostat almost wiped out my entire batch of Coturnix eggs. Thankfully, a friend lent me their spare incubator, saving the day!
Simple Tweaks for Better Hatches
Here are a few budget-friendly modifications that have significantly improved my hatch rates. Adding a small fan to a still-air incubator improves air circulation and distributes heat more evenly. A shallow pan of water inside boosts humidity, preventing the eggs from drying out. These simple changes can make a real difference.
Beyond Temperature and Humidity
While temperature and humidity are vital, other factors can influence your hatch. I’ve noticed that incubators in quieter areas of my home tend to produce better results. Vibrations and loud noises can stress developing chicks. It’s like trying to sleep in a noisy room – not exactly conducive to rest and growth!
Incubator Temperature and Humidity Guide
This table outlines the ideal temperature and humidity levels for each stage of quail egg incubation, along with some troubleshooting tips for common issues.
| Incubation Stage | Temperature (°C) | Humidity (%) | Duration | Key Actions |
|---|---|---|---|---|
| Days 1-14 | 37.5 | 45-50 | 14 days | Turn eggs regularly |
| Days 15-Hatch | 37.5 | 65-70 | Approximately 3 days | Stop turning eggs, increase humidity |
| Hatching | 37.5 | 65-70 | 24-48 hours | Maintain humidity, monitor chicks |
This table provides a quick reference for maintaining the perfect incubator environment. By following these guidelines, you’ll be giving your quail chicks the best possible start.
Your Daily Ritual: Turning, Checking, and Connecting
Success with hatching quail eggs isn’t about being perfect. It’s about consistency and understanding what your little chicks need. Let’s create a daily routine that works for you while giving those eggs the best possible start.
The Art of Egg Turning
From my own experience, turning quail eggs is a bit of an art. You’re not just flipping them over – the real goal is to keep the developing embryo from sticking to the membrane. Imagine basting a chicken – you’re constantly redistributing the “juices” inside for even cooking. It’s the same principle here.
Aim to turn your eggs three to five times a day, spaced out during your waking hours. Some folks mark the eggs with an “X” to keep track. Automated egg turners can be helpful, but I’ve always preferred turning by hand. It lets me gently check each egg and really connect with the process.
Monitoring Without Obsessing
The right incubator conditions are key, but don’t go overboard. You don’t need to constantly check the temperature and humidity! Once your incubator is calibrated and stable, trust it. A couple of checks a day is plenty, with adjustments only as needed.
Remember, little fluctuations are perfectly normal. Think of the weather outside – it changes throughout the day, but as long as it stays within a reasonable range, life goes on.
The Importance of Record-Keeping
Especially when you’re starting out, keeping good records can be a game-changer. Write down your temperature and humidity readings, turning frequency, and any observations you make. This logbook helps you spot patterns, troubleshoot any hiccups, and refine your methods for future hatches. It’s like keeping a garden journal – a record of your successes and what you’ve learned along the way.
Connecting With the Process (and Managing Your Emotions)
Let’s face it: hatching quail eggs can be an emotional rollercoaster. Excitement, anticipation, and a little worry are all part of the ride. Stay engaged, but try not to stress. Trust your gut, celebrate the small wins, and don’t hesitate to reach out to other quail enthusiasts if you have questions.
Not every hatch will be perfect. Sometimes, despite our best efforts, things happen. It’s all part of the learning curve. Learn from each experience, adapt your approach, and keep going. Seeing those fluffy chicks makes it all worthwhile.
Preparing for Lockdown
As hatching day gets closer, you’ll need to prepare for “lockdown.” Around day 15 for most quail breeds, you’ll stop turning the eggs and raise the humidity. This mimics a natural nest and gets the chicks ready to hatch. It’s like creating a warm, humid nursery inside your incubator.
This transition is important, so make the change gradually to avoid stressing the little ones. A stable environment during lockdown can significantly boost your hatch rate and produce healthy, vigorous chicks. Patience is key in this final stage.
Candling: Reading the Story Inside Each Egg
Candling. It sounds a bit mysterious, right? It’s actually like having a sneak peek into the development of your little quail chicks inside their eggs. What starts as simply shining a light through the shell becomes a fascinating experience as you begin to understand the story unfolding inside. Let’s go beyond the basics and really explore what you’re seeing at each stage.
This simple technique is powerful. It helps you see the difference between healthy growth and potential problems, so you know when to celebrate those first little kicks and when to investigate any concerns. Believe me, being able to make informed choices about each egg makes you feel so much more confident throughout the whole incubation process.
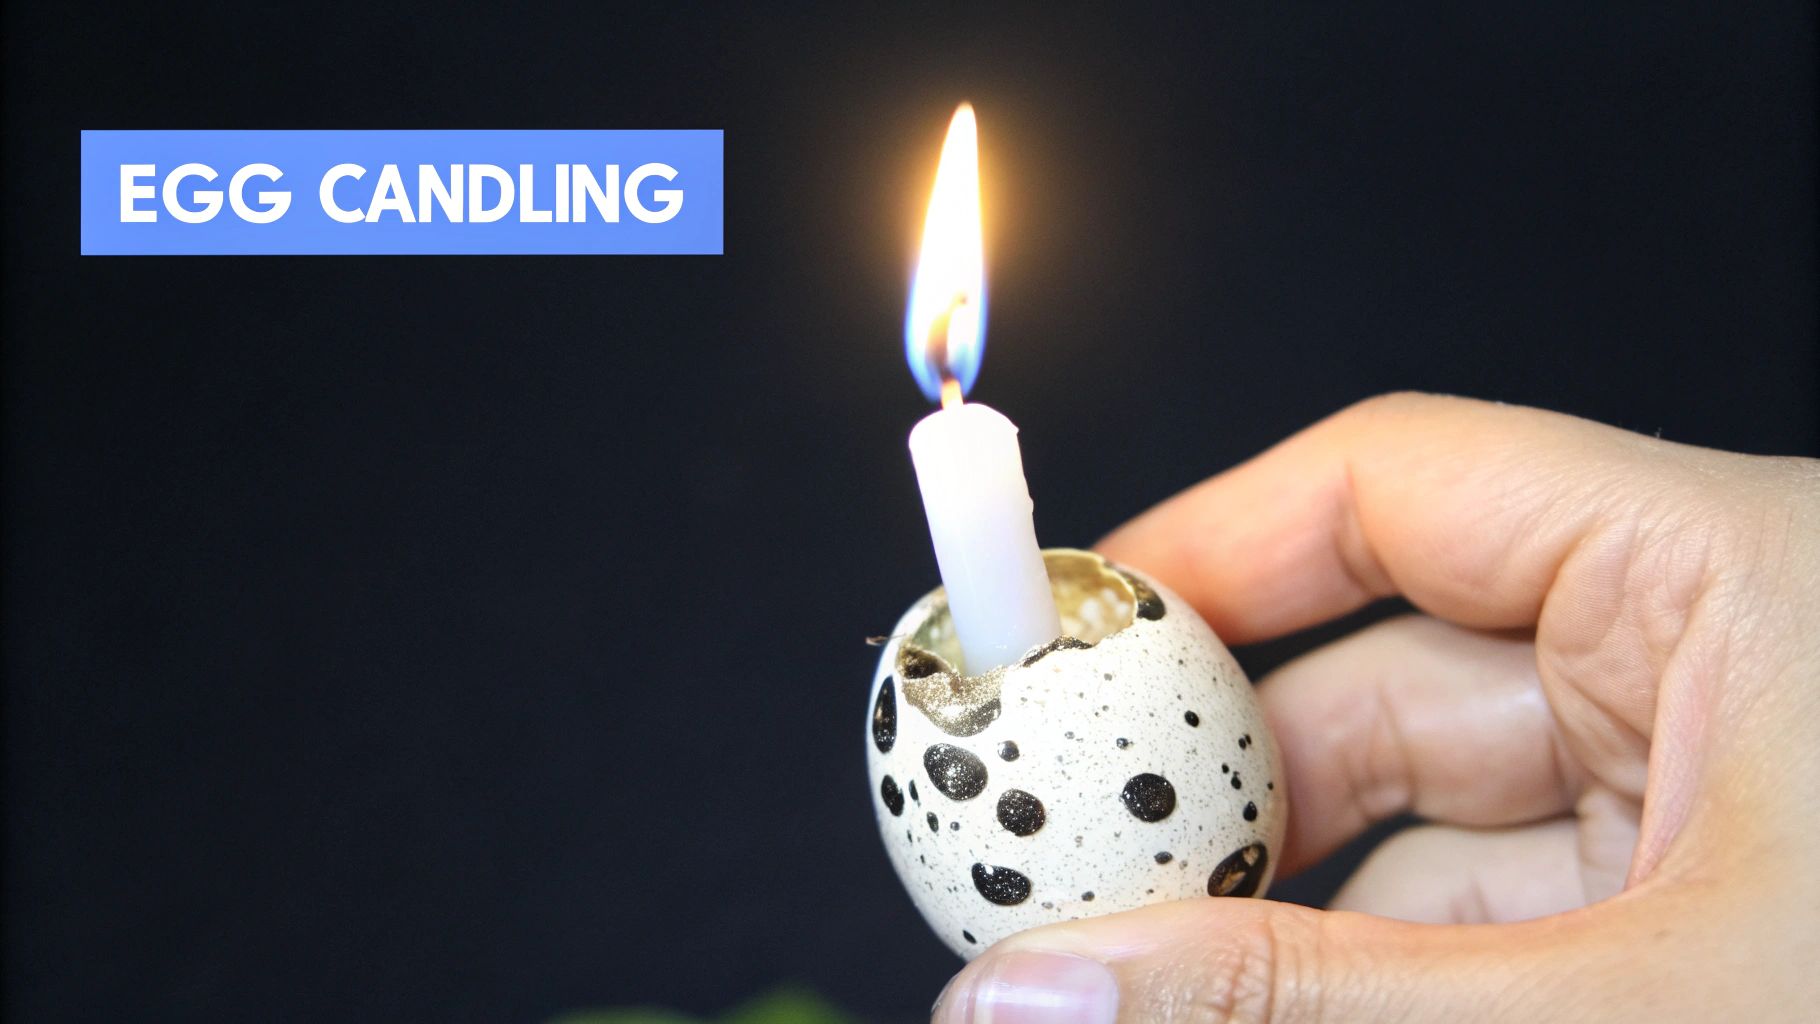
This image shows a basic candling setup. See how the bright light illuminates the inside of the egg? That dark area inside is the developing chick! As it grows, this area gets bigger, and eventually, you’ll even see movement!
Setting Up Your Candling Station: Simple and Effective
You don’t need a fancy lab to create a good candling station. Honestly, a dark room and a bright, focused light are all you need. When I first started, I used a regular LED flashlight and a cardboard box with a hole cut in it. Worked like a charm! Play around with different lights until you find one that gives you a clear view without being too harsh. You can always get a special candling lamp later, but starting simple is perfectly fine.
For a more detailed look at incubating quail eggs, including candling techniques, check out this helpful guide: Check out our guide on incubation of quail eggs.
Timing Your Candling Sessions: Less Is More
It’s tempting to check your eggs constantly, but try to resist! Too much handling can stress the developing embryos. I’ve found that candling around day 7 and day 14 gives you the most important information without disturbing the process.
The first session lets you see if the eggs are fertile and if things are progressing as they should. The second session allows you to check on late-stage development and spot any potential issues before hatching. Of course, if you think something might be wrong, a quick peek won’t hurt. Just trust your gut!
Interpreting the Shadows: A Developing Story
Understanding what you see during candling takes a little practice. At first, you’ll mostly see a dark shadow (the growing embryo) and a network of blood vessels. As the chick grows, this shadow gets larger, and you’ll start to see movement. Seeing those little kicks for the first time is truly amazing!
Dealing With Disappointment: It’s Part of the Process
Sadly, not every egg will develop, and that’s okay. Candling will sometimes reveal “clear” eggs with no signs of development, or eggs where development stopped early. It’s always disappointing, but it’s a normal part of hatching. Removing these eggs keeps them from rotting and potentially affecting the healthy eggs in your incubator.
The Emotional Side of Candling: From Celebration to Acceptance
Candling is more than just a technique; it’s an emotional rollercoaster! Celebrating those first signs of life, accepting the disappointment of infertile eggs, and finding the right balance between observation and letting nature take its course—it’s all part of the experience. Embrace it all, and remember, every hatch is a learning opportunity.
The Big Day: From Pip to Peep
Hatching day. It’s a cocktail of excitement and nerves, isn’t it? Anyone who’s hatched eggs knows exactly what I’m talking about! Let’s dive into those crucial hours, from that first tiny crack to fluffy chicks finding their feet.
The First Pip: A Sign of Things to Come
That initial pip—that tiny break in the shell—is like the starting bell. The hatching process has officially begun! Now, this is where patience is key. I’ve learned (sometimes the hard way) that interfering too early can actually hurt more than it helps. Those little quail chicks need time to work their way out. It’s a bit like a butterfly emerging from its chrysalis—it’s a delicate dance that can’t be rushed.
From Pip to Zip: The Hatching Process Unfolds
After the first pip, you’ll see more cracks as the chick rotates inside, gradually creating a larger opening. It’s often called “zipping,” because the cracks resemble a zipper opening up the egg. It’s mesmerizing to watch, and honestly, it never gets old. Resist the urge to help, even if it looks like the chick is struggling. They are surprisingly strong!
Knowing When to Help (and When to Hands Off)
Knowing when to step in and when to let nature take its course is probably the trickiest part of hatching quail eggs. Sometimes, a chick might get stuck, especially if the humidity isn’t ideal. If you notice a chick that has pipped but hasn’t made any progress for a full 24 hours, you might need to gently assist. I’ll cover how to do that safely in the next section. But 99% of the time, the best thing you can do is wait. Let nature do its thing.
The Hatching Environment: Keeping Things Stable
During hatching, the right temperature and humidity are absolutely vital. Aim for 37.5°C (99.5°F) and 65-70% humidity. This keeps the membranes from drying out and sticking to the chick. Think of it like keeping a newborn baby warm and cozy. The incubator is their intensive care unit – stability is key.
What’s Normal (and What’s Not)
It’s helpful to recognize normal hatching behavior so you can spot potential problems. Healthy chicks will pip, zip, and emerge pretty quickly, usually within 24-48 hours of the first pip. They might look a little wet and tired, but they should be active and alert. If a chick is bleeding, has a deformed leg, or seems unusually lethargic, it might need extra attention.
A Warm Welcome: Setting Up the Brooder
While your chicks are busy hatching, prepare their brooder. This is their new home, so make it comfy! A simple cardboard box or plastic tub works great. Line it with absorbent bedding, like paper towels or pine shavings (avoid cedar—it’s toxic to chicks). A heat lamp provides essential warmth, like a mama hen. Aim for a temperature around 35°C (95°F) for the first week, then gradually reduce it as they grow.
The Emotional Rollercoaster: It’s All Part of the Process
Hatching day can be an emotional ride! One minute you’re over the moon, the next you’re worried. It’s totally normal. Hatching quail eggs is challenging but incredibly rewarding. Celebrate the wins, learn from any setbacks, and enjoy the amazing journey!
When Things Don’t Go According to Plan
Let’s be honest, every quail raiser has a story (or several!) about a hatch that went sideways. It’s practically a badge of honor. So, let’s dive into some real-world hatching challenges and talk practical solutions – advice from the trenches, not just textbook theories.
Troubleshooting Common Hatching Problems
Temperature swings, humidity nightmares, disappointing hatch rates, and chick health worries… we’re covering it all. From chatting with other quail folks here in the UK, I’ve learned that some problems are easily avoided, some are fixable with a little know-how, and some are just part of the learning curve.
For example, a power outage mid-incubation can be a disaster. That’s why a backup power supply, like a UPS, is a smart investment. Another common headache is fluctuating humidity, which can dry out the membranes and stick to the chicks. A simple trick is adding another water source inside your incubator, like a damp sponge. And, of course, proper sanitation is key! You might find this helpful: cleaning hatching eggs to prevent contamination and boost your hatch rates.
Knowing When to Persist (and When to Accept)
One of the toughest lessons in quail hatching is knowing when to keep pushing and when to call it a day. Not every hatch will be a smashing success. Sometimes, despite your best efforts, things just won’t work out. Developing the confidence to make those hard decisions is crucial.
Decoding the Signs: Normal Variations Versus Real Problems
Knowing the difference between a normal hiccup and a serious problem can save you a lot of stress. A slight temperature dip overnight might not be a big deal, but a consistent temperature below 37°C is definitely a red flag. I once had a batch where the temperature kept dropping because of a faulty thermostat. Luckily, I caught it in time and saved most of the hatch.
Realistic Perspectives on Hatching Success
What does a “successful” hatch actually look like? It isn’t always about a 100% hatch rate. Sometimes, a 50% hatch rate with healthy, strong chicks is a win, especially with shipped eggs. Even commercial hatcheries don’t have perfect hatches every single time.
Building Resilience and Learning From Every Hatch
Every hatch, good or bad, is a learning opportunity. Every challenge you overcome adds to your experience and makes you a better quail raiser. Don’t be discouraged by setbacks. Embrace the learning process, connect with other quail enthusiasts, and celebrate each fluffy chick that hatches. These little birds are incredibly resilient, and so are you!
Ready to hatch your own dreams? HatchingEggs.eu offers top-notch hatching eggs from carefully selected breeding stock, giving you the best chance at healthy chicks and high hatch rates. Visit HatchingEggs.eu today and start your quail hatching adventure!