


Understanding Duck Incubation Period Essentials
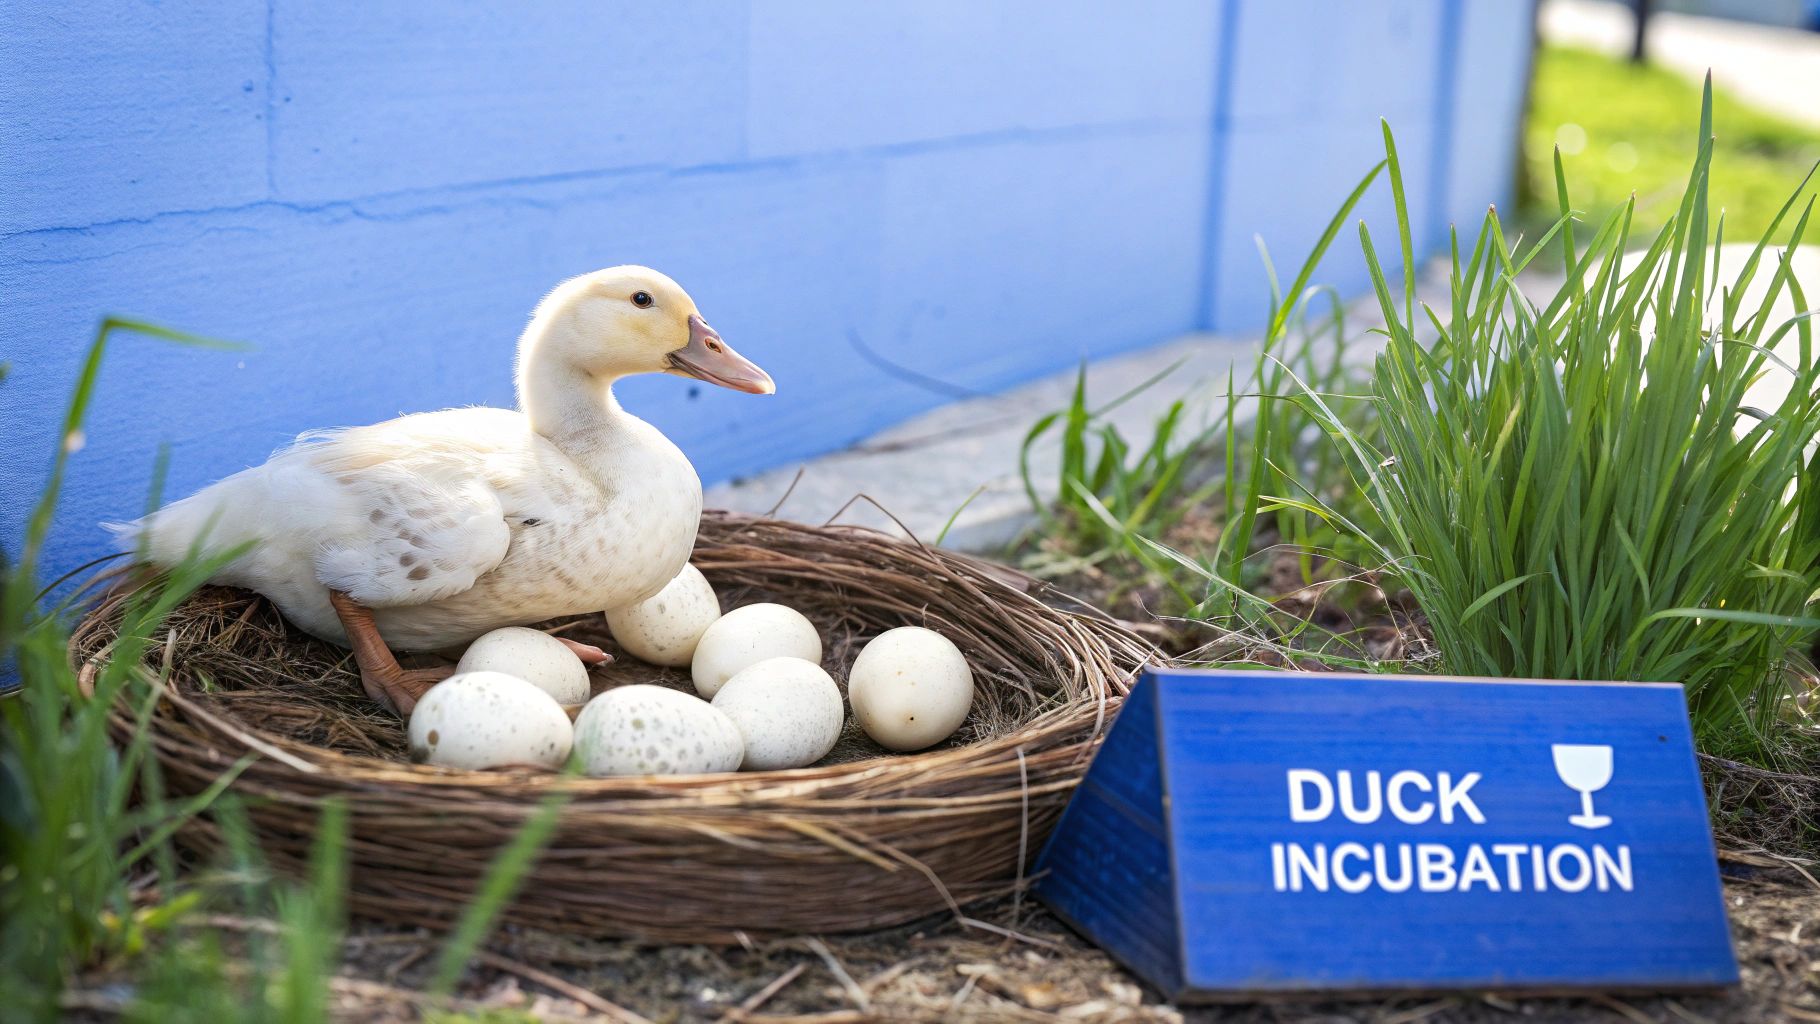
The duck incubation period is a delicate biological process, much more than simply waiting. For UK duck breeders, understanding this period is vital for a successful hatch. It’s not just about counting days; it’s about nurturing life within the egg. This knowledge separates successful hatches from disappointing ones.
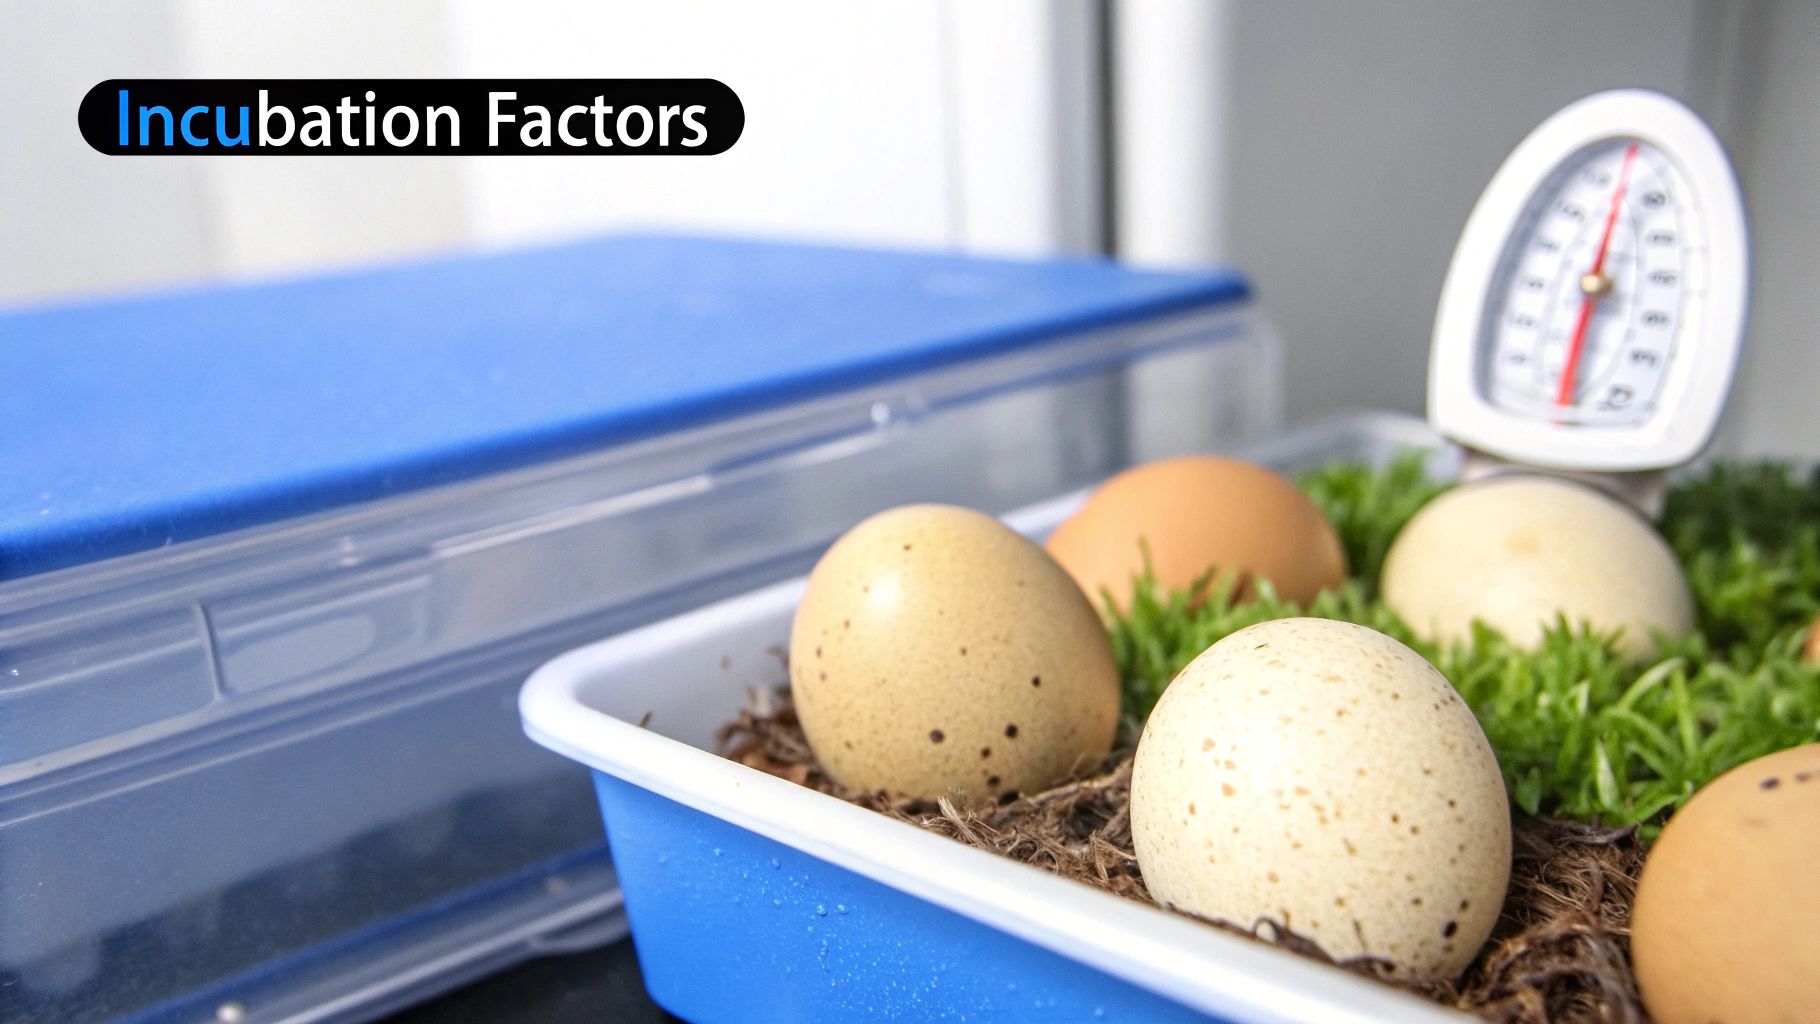
Factors Influencing Incubation Time
Several factors influence the length of the duck incubation period. Breed is a key factor. Just as dog breeds vary in size and temperament, duck breeds have unique incubation timelines. For instance, a smaller Call duck’s incubation period may differ from a larger Indian Runner.
Environmental conditions also play a crucial role. Temperature fluctuations, especially in the UK’s variable climate, can significantly impact incubation. Imagine baking a cake: oven temperature changes affect the outcome. Similarly, even small incubator temperature variations influence duckling development. In the UK, most domestic duck species, like Aylesbury and Shetland ducks, have incubation periods ranging from 26 to 31 days, averaging around 28 days.
Maintaining a stable incubator temperature is paramount. Learn more about duck incubation periods here.
The Importance of Consistent Conditions
Consistency throughout the entire incubation period is crucial. This includes temperature and humidity, affecting the egg’s moisture content. Too much or too little humidity hinders development.
Regular egg turning, simulating a mother duck’s movements, is also essential. This prevents the embryo from sticking to the shell and ensures even heat distribution. Find further tips on incubation here. These seemingly minor details significantly affect hatching success.
These elements are interconnected. A change in one, like temperature, impacts other aspects of the incubation environment. For example, a temperature drop might require a humidity adjustment to maintain the correct balance for the developing embryo. Grasping these subtle yet crucial relationships is key to successful duck incubation.
UK Duck Breeds And Their Incubation Differences
While warmth, humidity, and turning are fundamental to the duck incubation period, each UK breed has its own quirks. Traditional breeds like the Aylesbury and Silver Appleyard ducks often need slightly different temperature and humidity levels compared to modern hybrids. The Welsh Harlequin, meanwhile, has its own unique seasonal breeding patterns. Understanding these breed-specific needs is key to maximizing your hatching success.
Experienced farms across Britain carefully monitor these subtle variations. For instance, Aylesbury duck eggs typically incubate for 28 days but require higher humidity, especially in the spring. Silver Appleyard eggs hatch within 26–30 days with moderate airflow. Welsh Harlequin eggs, often hatching around the 28-day mark, benefit from a gentler turning schedule.
To illustrate these differences, let’s take a look at the following comparison table:
UK Duck Breeds Incubation Comparison: This table compares the incubation periods and characteristics of popular UK duck breeds.
| Breed | Incubation Period (Days) | Egg Size | Breeding Season | Special Requirements |
|---|---|---|---|---|
| Aylesbury | 28 | Large (70 g) | Feb–Sep | High humidity (55–60%) |
| Silver Appleyard | 26–30 | Medium (60 g) | Mar–Sep | Moderate ventilation |
| Welsh Harlequin | 27–29 | Small (50 g) | Feb–Aug | Short cooling breaks |
As the table shows, each breed has its optimal incubation environment. Aylesburys need high humidity, Silver Appleyards prefer moderate ventilation, and Welsh Harlequins benefit from short cooling breaks.
Breed-Specific Incubation Traits
Each heritage duck’s biology plays a role in successful incubation.
Aylesbury eggs have thicker shells, which naturally minimizes moisture loss.
Silver Appleyard embryos thrive with stable temperature fluctuations of ± 0.5 °C.
Welsh Harlequin eggs require shorter cooling breaks to mimic the natural brooding behavior of the hen.
All duck eggs should be turned gently at least 5 times a day to prevent the membranes from sticking to the shell.
Understanding these traits will help you fine-tune your incubator settings and maintain the ideal duck incubation period.
Seasonal Breeding Patterns
Timing your clutches within the February to September window significantly improves hatching success.
Early clutches (Feb–Apr) may need supplemental humidity to counteract dry air.
Mid-season clutches (May–Jul) often benefit from the more stable daytime temperatures.
Late-season clutches (Aug–Sep) require careful heat management as daylight hours decrease.
Avoid hatching during particularly stormy periods to protect your power supply and equipment.
Planning around British weather patterns can increase hatch rates by up to 15%, according to long-term data collected by farms.
Insights From Multi-Generational Keepers
Experienced breeders offer valuable practical advice.
Rotate your breeding females every other year to maintain high egg quality.
Clearly label each clutch with the breed and date for accurate record-keeping.
Log your hatch results along with daily temperature and humidity readings.
Monitor egg weight loss and adjust incubator conditions accordingly, aiming for 12–14% moisture reduction.
For more information on incubation, check out this resource: How to master chicken egg development stages
By respecting the unique incubation profiles of heritage breeds, you can often achieve better results than with hybrid ducks. Mastering each breed’s needs, from airflow to cooling, is crucial for consistently high hatch rates.
Wild Duck Incubation Patterns In British Wetlands
Observing wild ducks in their natural British habitats reveals fascinating incubation strategies. These observations offer valuable insights for domestic duck breeding, especially for those interested in conservation or naturalistic incubation setups. Species like Mallards, Teal, and Gadwall, flourishing in UK wetlands, have adapted to challenging conditions, showcasing remarkable resilience.
Adapting to Predation and Weather
Wild duck incubation in the UK isn’t just about the length of time; it’s a constant struggle for survival. Predation significantly influences nest site selection and incubation behavior. For example, Mallards often choose hidden nests amongst reeds to protect their eggs. This natural camouflage minimizes losses to predators like foxes and crows.
Weather also plays a crucial role. Extremes, from heavy rain to cold spells, demand resilience. Ducks have developed strategies like using their own down feathers for insulation, maintaining consistent egg temperatures despite fluctuating external conditions.
This adaptability extends to the incubation period itself. Wildfowl like the Ruddy Duck have a documented incubation period of approximately 23.2 days (±0.4 days), based on UK wetland studies. This relatively short period, compared to some domestic breeds, is likely an evolutionary response to predation pressures. A shorter incubation means less time spent vulnerable in the nest.
Seasonal Variations and Breeding Success
Seasonal changes impact duck incubation and breeding success in Britain. Breeding typically occurs from spring to early summer, aligning with abundant food and milder weather. This timing maximizes duckling survival rates.
Even within this timeframe, ducks display adaptability. Teal, known for their later breeding, time their clutches to coincide with the late summer insect bloom, providing a vital food source for hatchlings.
Learning From Wild Ducks
These wild adaptations provide valuable lessons for domestic duck breeders. By incorporating aspects of wild duck incubation, we can create more natural and successful breeding programs. This includes providing sheltered nesting areas, allowing for some natural temperature fluctuations, and considering seasonal food availability.
For instance, providing nesting materials that allow ducks to build insulated nests, similar to their wild counterparts, can improve hatching success and chick health.
These observations of wild ducks highlight the vital role of the environment in incubation. Applying these principles to domestic breeding, whether for conservation or personal interest, can greatly improve the well-being of our ducks. Understanding these evolutionary strategies allows breeders to work with, rather than against, natural instincts.
Mastering Temperature Control For British Conditions
Maintaining a steady temperature throughout the duck incubation period is vital for consistent results. In the UK’s unpredictable weather, you need to look beyond just setting the dial. True control means planning ahead for any disruption that could throw off your hatch rates.
Why Small Fluctuations Matter
Even a couple of degrees one way or the other can affect embryo development. Like baking, too cool and the process drags; too warm and the risk of deformities or mortality jumps.
- Slow Development at lower temps can extend incubation by days.
- Heat Stress at higher temps may lead to physical issues or failed hatches.
- Field studies report an average incubation temperature of 36.2°C (±0.4°C), with natural shifts between 34.8°C to 37.8°C.
These figures highlight the need for precise monitoring in a climate that swings between cold snaps and warm spells. Read the detailed study on incubation temperatures.
Creating Reliable Backup Systems
Unexpected power cuts or equipment faults can happen at any time. Have a plan that covers short and long interruptions:
- A secondary incubator on standby
- A backup power source like a generator
- Simple fixes such as hot water bottles wrapped in towels
By preparing these options in advance, you keep eggs in their optimal temperature range even when things go wrong.
Choosing the Right Equipment
The right incubator can make a real difference in your hatch rates. Your choice will depend on scale:
- Hobbyists: Compact units with basic temperature control
- Small-scale breeders: Mid-range incubators with humidity and heat adjustment
- Large operations: Professional models featuring alarms and automatic egg turners
Check out our guide on How to Master Duck Egg Incubation Temperature for more on key features. Talk to seasoned breeders and read user reviews to find the best match for your needs.
Adapting to British Seasonal Challenges
UK seasons can test any incubator. In winter, look out for heat loss; in summer, watch for overheating. Keep a close eye on:
- Thermostat readings
- Ventilation levels
- External room temperature
By adjusting your setup for colder days and warmer stretches, you stay on track all year. This kind of flexibility mirrors how wild ducks manage incubation in our local wetlands.
Effective Monitoring and Candling Techniques
Successful duck incubation relies heavily on careful monitoring. Understanding what’s happening inside each egg without disrupting the delicate development process is crucial. This section explores effective techniques employed by top UK breeders, giving you the knowledge to confidently manage the duck incubation period.
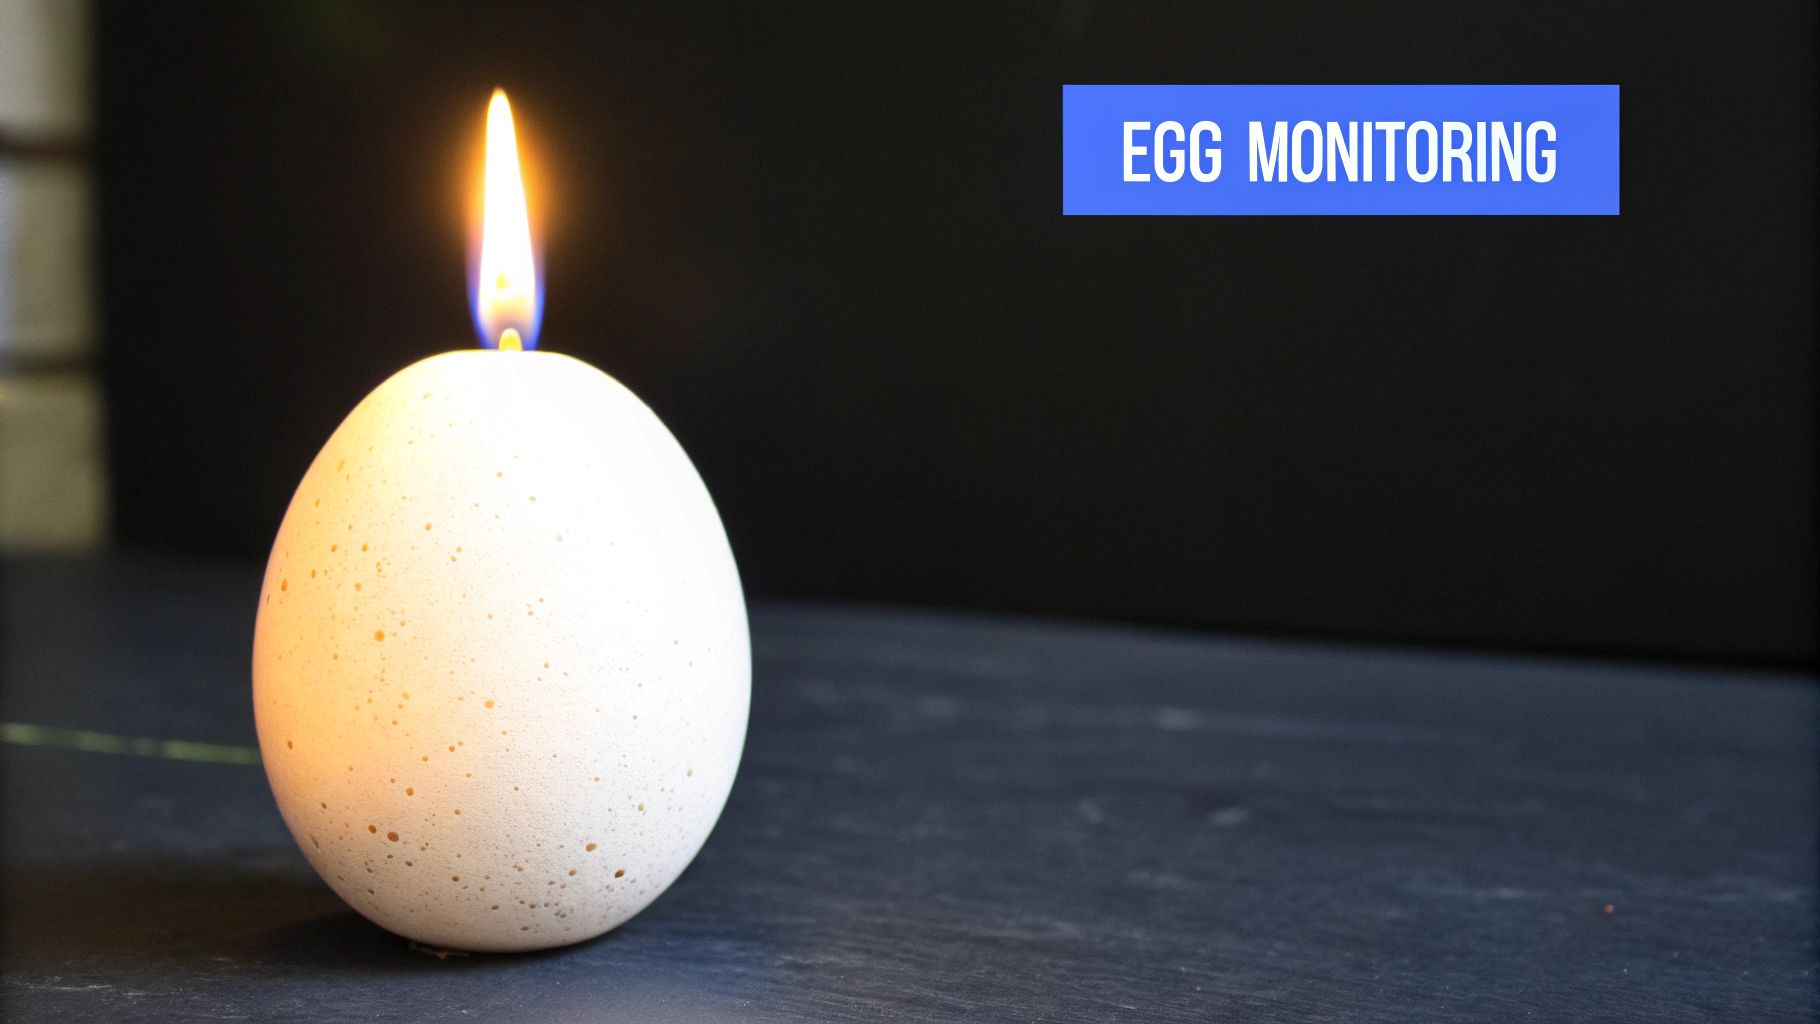
Candling: A Window Into the Egg
Candling involves shining a bright light through the egg to observe its contents. This helps identify fertile eggs, track embryo development, and spot potential problems early. Learn more about this process: When to candle chicken eggs.
- Early Stages (Week 1): A network of blood vessels appears, indicating a fertile egg.
- Mid-Incubation (Week 2): The developing embryo becomes clearer, and you may even observe movement.
- Later Stages (Week 3-4): The air sac expands, and the duckling’s outline is readily visible.
Candling Schedule and Photo Comparisons
Top UK breeders typically follow a candling schedule similar to this:
- Day 7: The first candling takes place to identify fertile eggs and discard any clear ones.
- Day 14: A second candling assesses embryo development and identifies any abnormalities.
- Day 21: The final candling checks for proper air sac development and duckling positioning.
Detailed photo comparisons, readily found online and in breeding guides, can assist you in interpreting your candling observations. These visuals showcase examples of healthy development at each stage, making it simpler to identify potential issues.
Monitoring Equipment: What Really Matters
While advanced monitoring gadgets are available, a few basic tools offer the most significant value during incubation:
- A good quality candler: This provides clear, bright light without excessive heat.
- A reliable thermometer and hygrometer: These ensure accurate temperature and humidity readings.
- A notebook and pen: These are essential for detailed record-keeping of candling observations, temperature, and humidity.
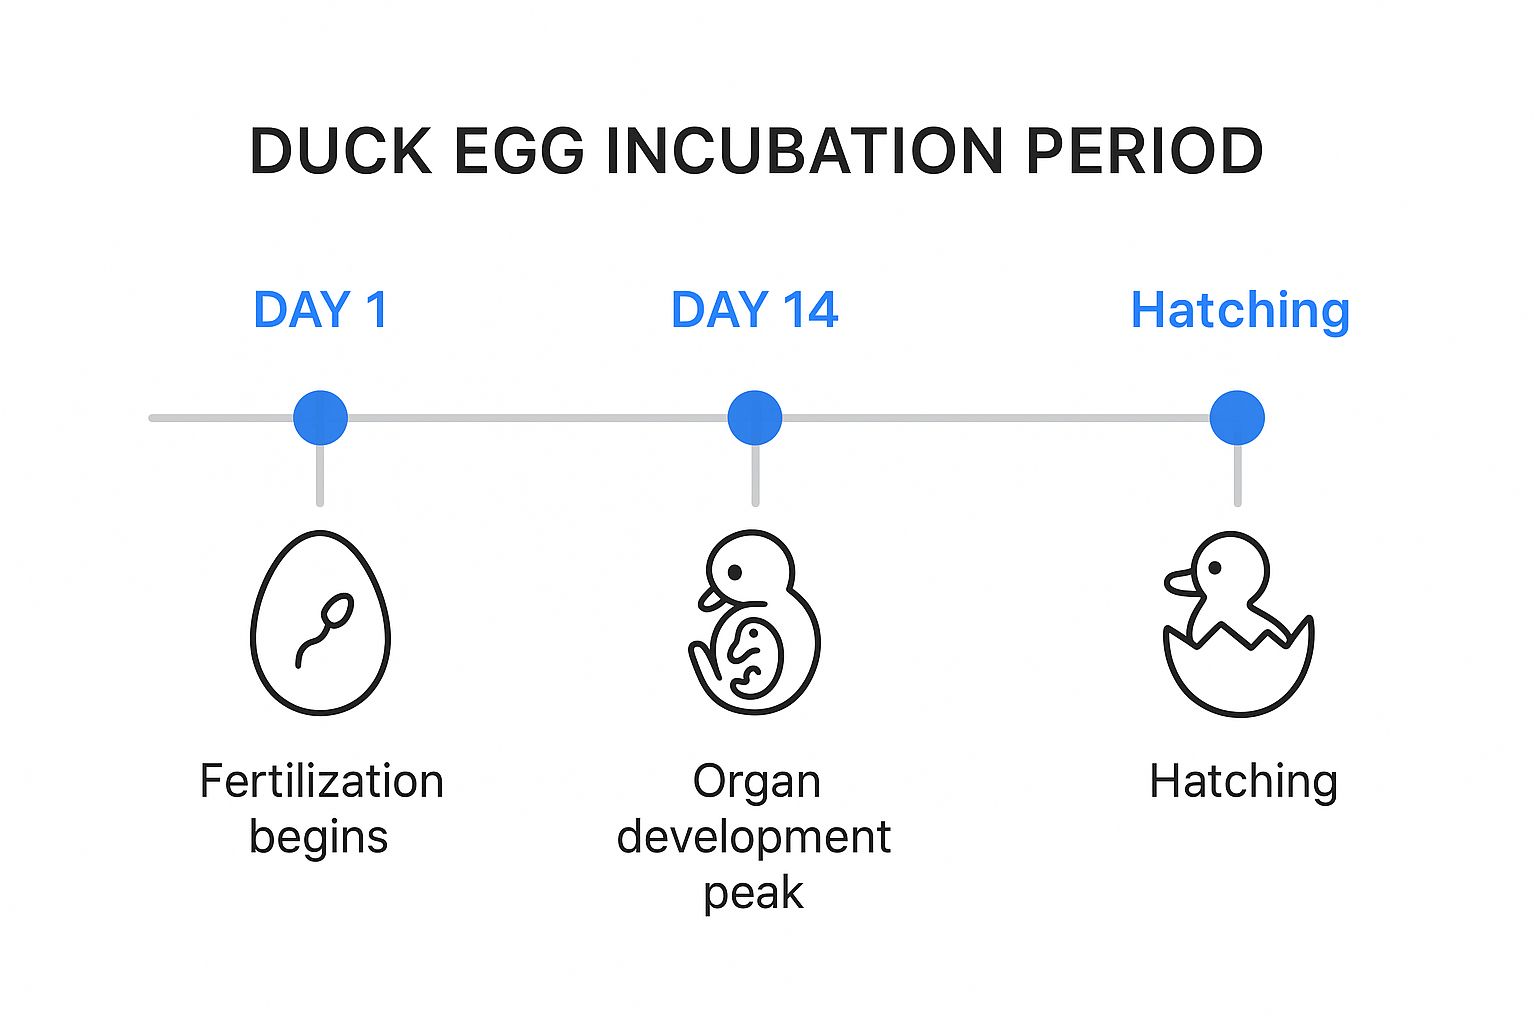
This infographic illustrates the 28-day duck egg incubation period, marking key milestones: fertilization around Day 1, peak organ development around Day 14, and hatching on or around Day 28. These points signify important changes in the duckling’s growth, from initial cell division to organ formation, and ultimately, hatching.
The following table provides a more detailed breakdown of the duck egg development timeline. It outlines what to look for during candling and any necessary actions to take each week.
Duck Egg Development Timeline
| Week | Development Stage | Candling Observations | Action Required |
|---|---|---|---|
| 1 | Initial cell division, circulatory system begins to form | Blood vessels visible | Remove clear (infertile) eggs |
| 2 | Major organ development, embryo grows rapidly | Embryo visible, possible movement | Ensure correct temperature and humidity |
| 3 | Embryo continues to grow, feathers begin to develop | Larger embryo, air sac visible | Monitor air sac development |
| 4 | Duckling fully formed, preparing to hatch | Duckling outline clearly visible, air sac large | Increase humidity, prepare for hatch |
This table summarizes the key developmental stages and provides practical guidance for monitoring and managing the incubation process.
Safe Egg Handling and Record-Keeping
Proper egg handling is vital throughout the incubation process. Always wash your hands before handling eggs to avoid contamination. Turn eggs gently for even heat distribution.
Maintain detailed records of your incubation process, including the date of incubation, candling results, temperature, and humidity fluctuations. This data can be extremely helpful for troubleshooting problems and improving future hatch rates. Tracking these factors allows you to identify patterns and refine your methods over time, leading to consistently successful hatches.
Navigating The Hatching Process Like A Pro
The final days of incubation are crucial for your ducklings. From the initial pip (the first crack in the eggshell) to their full emergence, careful observation is key. Knowing when to help and when to let nature take its course is vital for a successful hatch.
Understanding Lockdown Procedures
Around day 26 for many duck breeds, the incubator enters lockdown. This means you stop turning the eggs and increase the humidity. The higher humidity softens the shell, making it easier for ducklings to hatch. It also prevents the membranes from drying out and sticking to the duckling.
This creates the ideal environment for hatching. For example, Aylesbury ducks, a popular breed in the UK, benefit from around 60% humidity during lockdown.
Managing Humidity and Temperature
Maintaining correct humidity and temperature during hatching is critical. While humidity increases, the temperature should stay consistent, typically around 37.5°C. Even minor fluctuations can impact the hatch, so close monitoring is essential.
Brief temperature drops can slow the hatching process, while excessive heat can harm the ducklings. Maintaining the right balance is crucial for success.
Creating Optimal Conditions for Struggling Ducklings
Sometimes, ducklings struggle to hatch. While it’s tempting to help immediately, patience is often best. Give the duckling time to work its way out, as intervening too early can cause injury.
However, if a duckling has pipped but hasn’t made progress after 24 hours, careful assistance may be necessary. This requires a gentle approach to avoid injury or bleeding. For more information on a related topic, check out this article: How to master pheasant egg incubation.
Post-Hatching Care Essentials
Once hatched, the focus shifts to post-hatching care. This includes a few key elements:
- Initial Feeding: Provide starter crumbs or duckling feed within 24-48 hours of hatching.
- Brooding Setup: A warm, dry, and draft-free brooder with a heat lamp is essential for temperature regulation.
- Health Monitoring: Regularly check for signs of illness, like lethargy or labored breathing.
Common Hatching Challenges and Solutions
Hatching can present challenges. Some common issues include:
- Poor Hatch Rates: This can result from infertile eggs, incorrect incubation temperature, or humidity problems.
- Sticky Ducklings: This happens when membranes dry out and adhere to the duckling, often due to low humidity.
- Late Hatchers: Some ducklings hatch later, sometimes due to temperature variations within the incubator.
Record-Keeping for Improved Results
Detailed record-keeping helps refine your incubation techniques. Track key data points like:
- Incubation Dates: Record start and end dates for each batch.
- Temperature and Humidity Readings: Daily logs help identify patterns and fluctuations.
- Candling Results: Document observations during candling to monitor embryo development.
- Hatching Outcomes: Note successful hatches, any problems, and overall hatch rates.
Analyzing this data helps identify areas for improvement and achieve consistently better results. This allows you to optimize your approach for future hatches. For quality hatching eggs and expert advice, visit HatchingEggs.eu. Whether you’re an experienced breeder or just starting, quality eggs are the foundation of a successful flock.