


Why Most People Struggle With Egg Incubation (And How to Avoid Their Mistakes)
Here’s a truth that many seasoned breeders know but rarely discuss: most first-time hatching disappointments come from following outdated or incomplete advice. It’s easy to get caught up in the numbers, but conversations with commercial hatchery managers and successful backyard poultry keepers tell a different story. Consistently hitting hatch rates above 85% versus barely reaching 50% isn’t about owning the most expensive gear. It’s about understanding a few key principles that many online guides simply gloss over.
One of the most common pitfalls is obsessing over a perfect, stable temperature while forgetting the equally vital role of humidity. A slight temperature dip for an hour can often be overcome, but incorrect humidity for a long period can spell disaster for the developing embryo. This focus on one variable at the expense of another is a classic beginner’s mistake. It’s a bit like baking a cake; you need the right oven temperature, but if you get the wet ingredients wrong, you’ll end up with a brick, not a sponge. A more balanced approach to the environment is key.
The Myth of “Set It and Forget It”
Many guides suggest that incubation is a passive process. You set the machine, load the eggs, and simply wait. The reality is that successful hatching is an active, observant job. The most successful hatchers aren’t just following a rigid list of rules; they are responding to what the eggs are telling them. This requires preparation and a realistic mindset from the start.
For instance, knowing where your eggs came from is crucial. Eggs that have been shipped through the post need different handling and settling times compared to eggs collected fresh from your own flock. Here’s a look at how a developing embryo should appear during candling, which is a vital part of monitoring.
This chart shows the key stages of growth, which helps you spot if development is on track or if problems are starting to show.
Adopting a Professional Mindset
Professional breeders don’t just hope for the best; they plan for success. This means thinking about:
- Realistic Expectations: Not every single egg will hatch. Even commercial operations with finely tuned systems don’t get a 100% success rate. Different breeds also have varying typical hatch rates. For example, you might find that hatching duck eggs at home requires different humidity levels than chicken eggs.
- Strategic Timing: When you start your incubation really matters. Try to avoid starting a batch right before you’re due to go on holiday or during a week when you’ll be too busy to monitor the final, critical hatching phase.
- Using Technology (Wisely): Modern incubation has come a long way. Historically, improvements in incubation were central to the UK’s growth as a major egg producer. Early, manual incubators have been replaced by automated systems that give precise control over the environment. You can learn more about the UK’s egg production history to see how technology has shaped today’s best practices.
Ultimately, the best way to incubate eggs is to move beyond a simple checklist. It’s about understanding the ‘why’ behind the rules and developing an intuition for your flock, your incubator, and the tiny lives developing inside those shells.
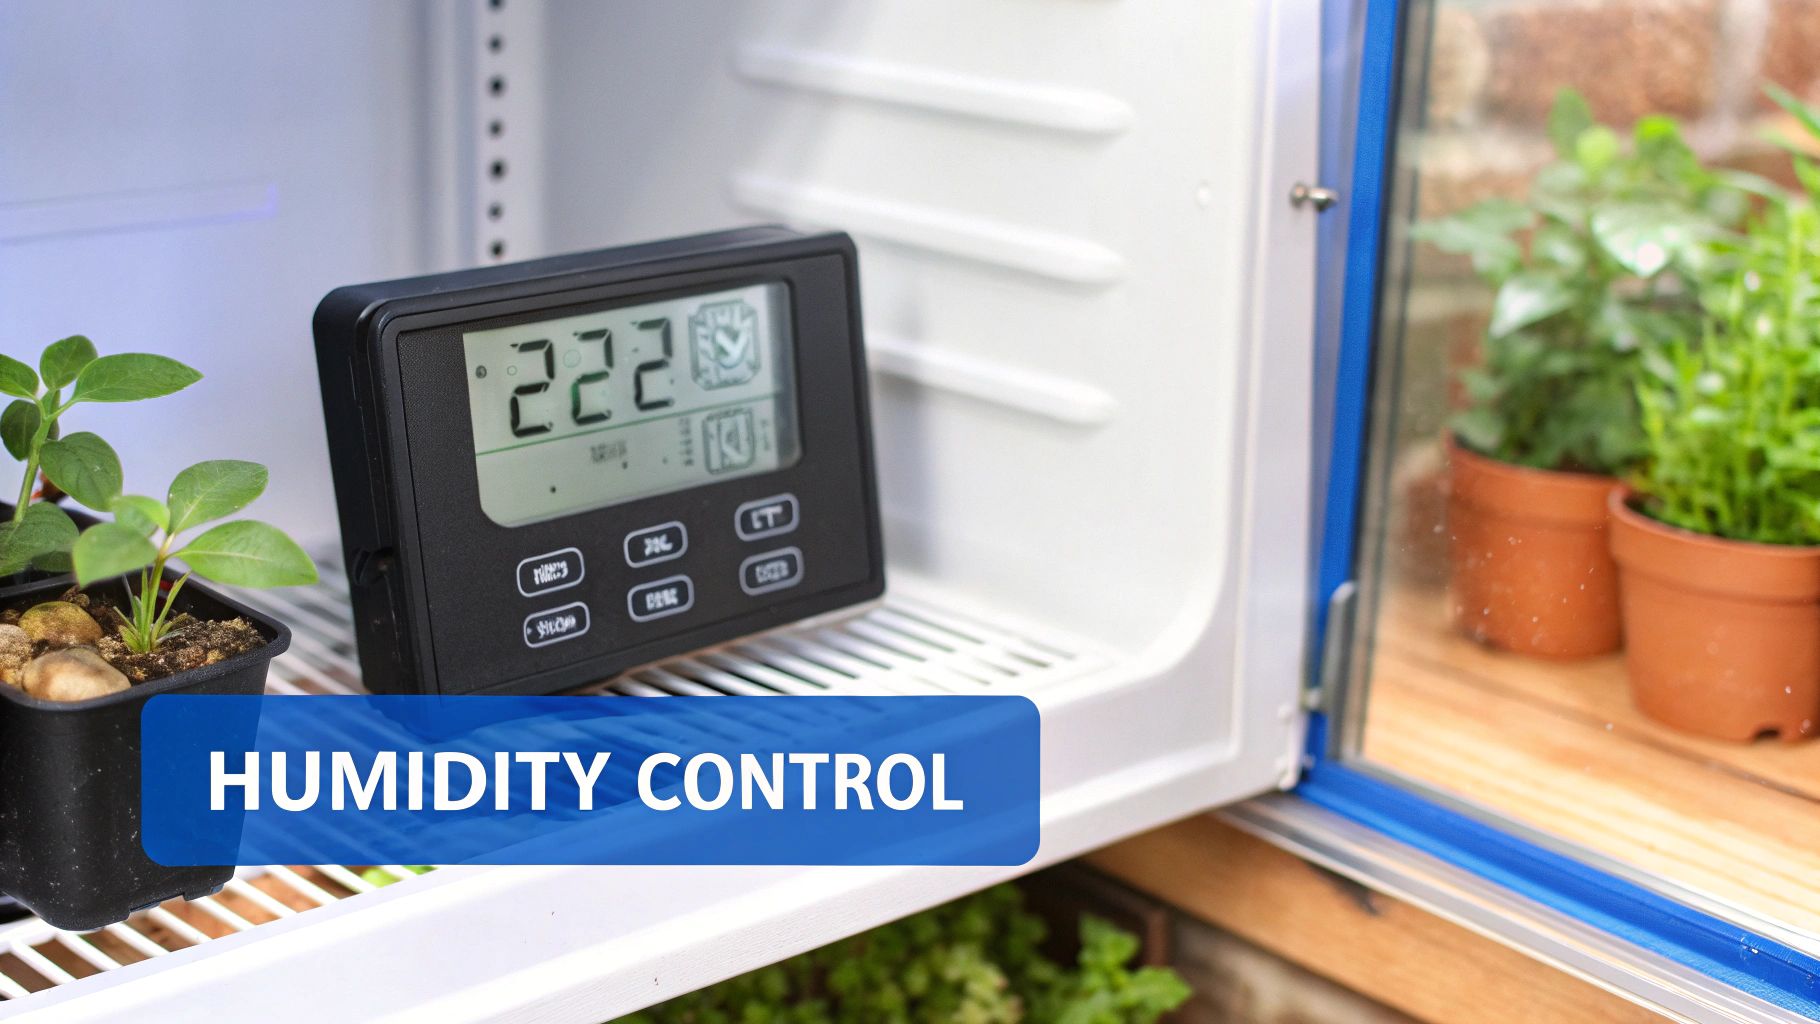
Getting Temperature and Humidity Right (Without Obsessing Over Every Degree)
When you’re trying to master how to incubate eggs, it’s easy to get fixated on temperature and humidity. Many beginners believe that success hinges on keeping the incubator at a perfect, unwavering 37.5°C (99.5°F). While temperature is vital, it’s often the humidity that secretly sabotages a hatch. A short dip in temperature when you open the lid isn’t the end of the world, but getting the humidity wrong for too long can be a disaster.
Think of it this way: temperature drives the developmental process, but humidity is what keeps all the delicate internal systems working properly. The aim isn’t to hit one magic number but to create a stable environment. What truly matters is consistency over the entire incubation journey.
As this image shows, both temperature and humidity are partners in the process, and finding the right balance between them is the key to a successful hatch.
To help you get started, here’s a quick-reference table that outlines the ideal temperature and humidity levels for some of the most common poultry types.
Optimal Incubation Parameters by Egg Type
| Egg Type | Temperature (°C) | Humidity Days 1-18 | Humidity Days 19-21 | Incubation Period |
|---|---|---|---|---|
| Chicken | 37.5°C | 50-55% | 65-75% | 21 days |
| Duck | 37.5°C | 55-60% | 70-80% | 28 days |
| Quail (Coturnix) | 37.5°C | 45-55% | 65-75% | 17-18 days |
| Turkey | 37.5°C | 50-55% | 70-75% | 28 days |
| Pheasant | 37.7°C | 55-60% | 70-80% | 24-25 days |
This table shows that while temperatures are quite similar across species, humidity needs can vary, especially during the final days before hatching.
Why Humidity Is a Bigger Deal Than You Think
Humidity directly impacts how much moisture an egg loses over the incubation period. For a chick to develop properly, the egg needs to lose about 13-15% of its starting weight. This moisture loss creates a large enough air cell inside the shell for the chick to take its first breath.
- Too much humidity: If the air is too damp, the egg can’t lose enough moisture. This results in a small air cell, and the chick may tragically drown before it can hatch.
- Too little humidity: If the air is too dry, the egg loses too much moisture. This can dehydrate the embryo and cause the inner membranes to become tough and leathery, trapping the chick inside.
Commercial hatcheries in the UK have this down to a fine art. They typically run their incubators at 37.5°C (99.5°F) with a relative humidity of around 55% for the first 18 days. You can find more details on these industry standards and data. This precision teaches us a crucial lesson: your humidity settings shouldn’t be static.
The Lockdown Shift: Adjusting for Hatching Day
The last three days of incubation are known as the “lockdown” period. This is a critical phase where you stop turning the eggs and make one final, major adjustment: you increase the humidity significantly. But why?
First, the higher humidity softens the inner shell membrane, making it much easier for the chick to break through. Second, it prevents a dangerous condition known as “shrink-wrapping.” As a chick “pips” (makes the first hole in the shell), the sudden exposure to air can cause the membrane to dry out and stick to the chick, effectively trapping it. High humidity keeps everything moist and pliable.
For chicken eggs, you’ll want to aim for a humidity level between 65% and 75% during lockdown. Achieving this doesn’t require fancy equipment. Often, it’s as simple as adding more water to the incubator’s channels or even placing a clean, damp sponge inside. If you need more practical advice, our guide on managing incubation humidity offers plenty of real-world tips.
Remember that your local environment matters. An incubator running in a damp cellar in Cornwall will need different adjustments than one in a dry, centrally-heated flat in London. Keep an eye on your ambient conditions and use an inexpensive hygrometer to get accurate readings instead of just guessing. Your main goal is stability, and a little hands-on observation will make all the difference.
Mastering Egg Turning Without Making It Complicated
Egg turning might sound simple, but it’s one of the most important things you’ll do for a successful hatch. It copies what a mother hen does naturally when she nudges her eggs around several times a day. This small action is crucial because it stops the developing embryo from getting stuck to the inside of the shell, which is a common reason hatches fail. While big commercial operations might turn eggs mechanically up to 24 times daily, you don’t need to be nearly that frequent to see great results at home.
The real secret isn’t about hitting a specific number of turns, but about being consistent. For most of us with a home incubator, turning the eggs three to five times a day is more than enough. What matters most is doing it at regular intervals. This ensures the embryo is repositioned consistently, helping all its membranes and structures to grow properly. Try to find a routine that suits your daily life, maybe turning them once in the morning, again around midday, and a final time before you go to bed.
Practical Turning Techniques and Positioning
How you turn the eggs is just as important as how often. The aim is to rotate each egg along its long axis by about 180 degrees each time. A handy tip I’ve always used is to mark one side of the egg with an ‘X’ in pencil and the other side with an ‘O’. This way, you can see at a glance which eggs have been turned. When it’s time, you just flip them from the ‘X’ side to the ‘O’ side, and the other way around next time.
Your incubator will also dictate how you handle this:
- Manual Incubators: With these, you are the automatic turner. It gives you complete control but means you have to be disciplined and remember to do it.
- Automatic Incubators: These machines do all the work for you, usually on a schedule you can set. They’re a brilliant convenience, but always double-check that the turning mechanism is actually working. A turner that has stalled can ruin a hatch if you don’t notice it quickly.
If your incubator doesn’t have dividers, arranging the eggs can feel like a game of Tetris. Lay them on their sides, making sure there’s enough room for them to be turned without knocking into their neighbours. Good positioning also helps with airflow and heat distribution, giving you a better chance of an even hatch. For a little inspiration, this picture of a healthy rooster reminds us of the vibrant life we’re helping to create.
Knowing When to Stop
There is a definite end point for all this turning. For chicken eggs, you must stop turning them completely around day 18, which is about three days before they’re due to hatch. This final stage is known as the “lockdown.”
Stopping the rotation lets the chick get into the right position for hatching, with its head tucked under its wing and pointed towards the air cell at the blunt end of the egg. If you keep turning during lockdown, the chick can become disoriented and might not be able to break through the shell correctly. Make sure to circle this date on your calendar; it’s a critical moment in the incubation journey.
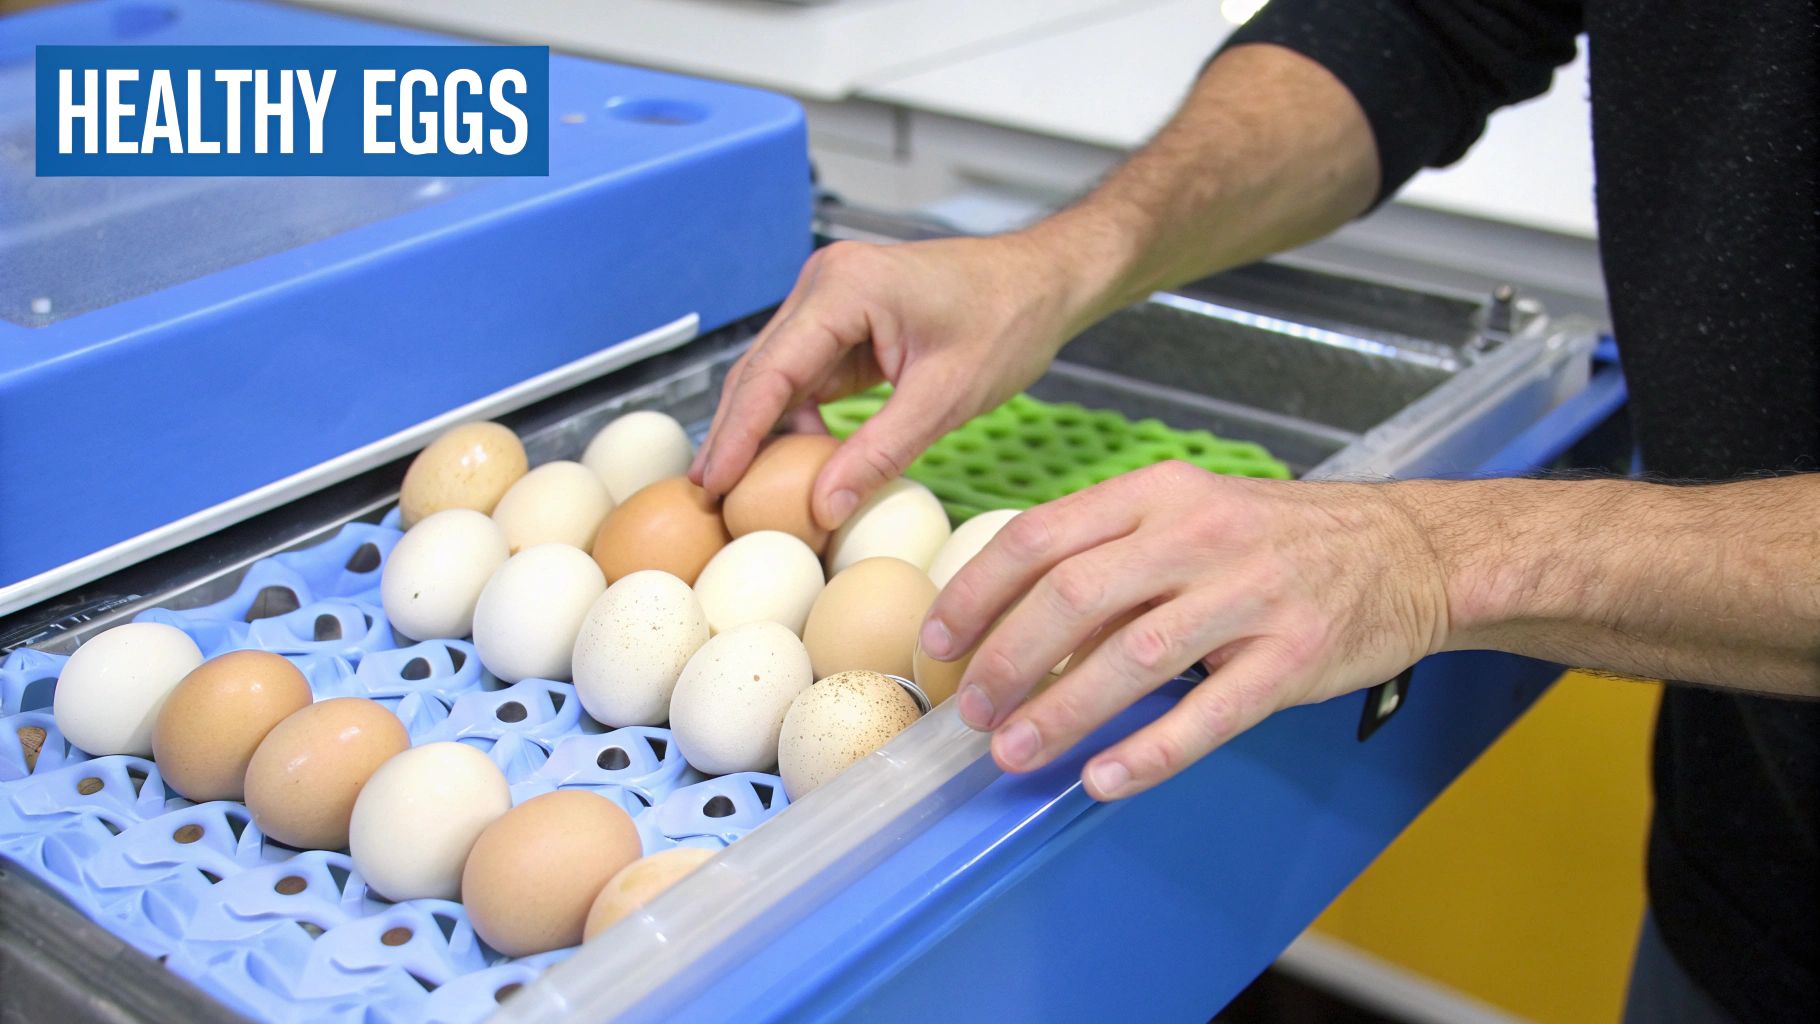
Choosing Eggs That Actually Want to Hatch
The success of your hatch is often decided long before you even switch on your incubator. Finding the right eggs is the first, and arguably most important, part of the process. It’s a step that commercial breeders invest heavily in, and for good reason—it dramatically improves your odds. You don’t need special equipment, just a keen eye and a gentle touch.
Your first move should be to source your eggs from a reputable supplier or from your own healthy, well-maintained flock. If you’re buying them, don’t be shy about asking questions. Enquire about the parent flock’s age, health, and the male-to-female ratio, as these factors all directly influence fertility. Once the eggs arrive, or after you’ve collected them, it’s time for a thorough but gentle inspection.
What to Look For: A Visual and Tactile Guide
The perfect hatching egg isn’t always the most pristine-looking one, but there are clear signs that point to a strong candidate. Here’s what you should be checking for:
- Shell Quality: Gently run your fingers over the shell. It should feel smooth and strong, without any thin spots or chalky textures. Set aside any eggs with cracks, even tiny hairline ones, as these are open doors for bacteria and let precious moisture escape too quickly. Misshapen eggs, like those that are overly round or oddly pointed, often struggle to hatch properly.
- Size and Shape: Look for eggs that are a uniform, average size for the breed you’re hatching. Unusually large eggs, which are often double-yolkers, rarely develop into a viable chick, while very small eggs can produce weak chicks. Consistency is what you’re aiming for.
- Cleanliness: Ideally, your eggs should be naturally clean. Resist the urge to wash dirty eggs, as this removes the protective outer layer, known as the bloom or cuticle. This invisible shield is nature’s way of guarding against infection. If you absolutely must clean them, use a dry cloth or a bit of sandpaper to gently buff off small spots of dirt.
Sourcing and Storing for Success
Once you have your eggs, how you handle and store them becomes your next priority. If your eggs have been shipped, they need a rest period of at least 24 hours to let the internal air cell settle back into place. Always store hatching eggs with the pointed end down in a clean egg carton. This simple trick keeps the yolk nicely centred and the air cell stable.
The sweet spot for storage is a cool, slightly humid environment, somewhere around 12-15°C (55-60°F) with about 75% humidity. A cellar or a cool pantry often works perfectly. Whatever you do, don’t store them in your kitchen fridge; it’s far too cold and dry, which can easily kill the embryo. It’s also interesting to know where your eggs might come from. In the UK, data shows that around 74% of shell egg production is from free-range systems. While these eggs often have stronger shells, they might need a bit more careful selection. You can find out more about these UK production statistics to understand their journey.
The age of the egg is another make-or-break factor. Fertility begins to drop quite noticeably after about seven days in storage. For the best possible results, try to set your eggs within a week of them being laid. Before they go into the incubator, let them sit at room temperature for a few hours. This gradual warm-up prevents temperature shock and gives the embryos the gentle start they need. Taking these careful preparation steps is fundamental when you’re raising chickens from eggs, as it sets the stage for everything that follows.
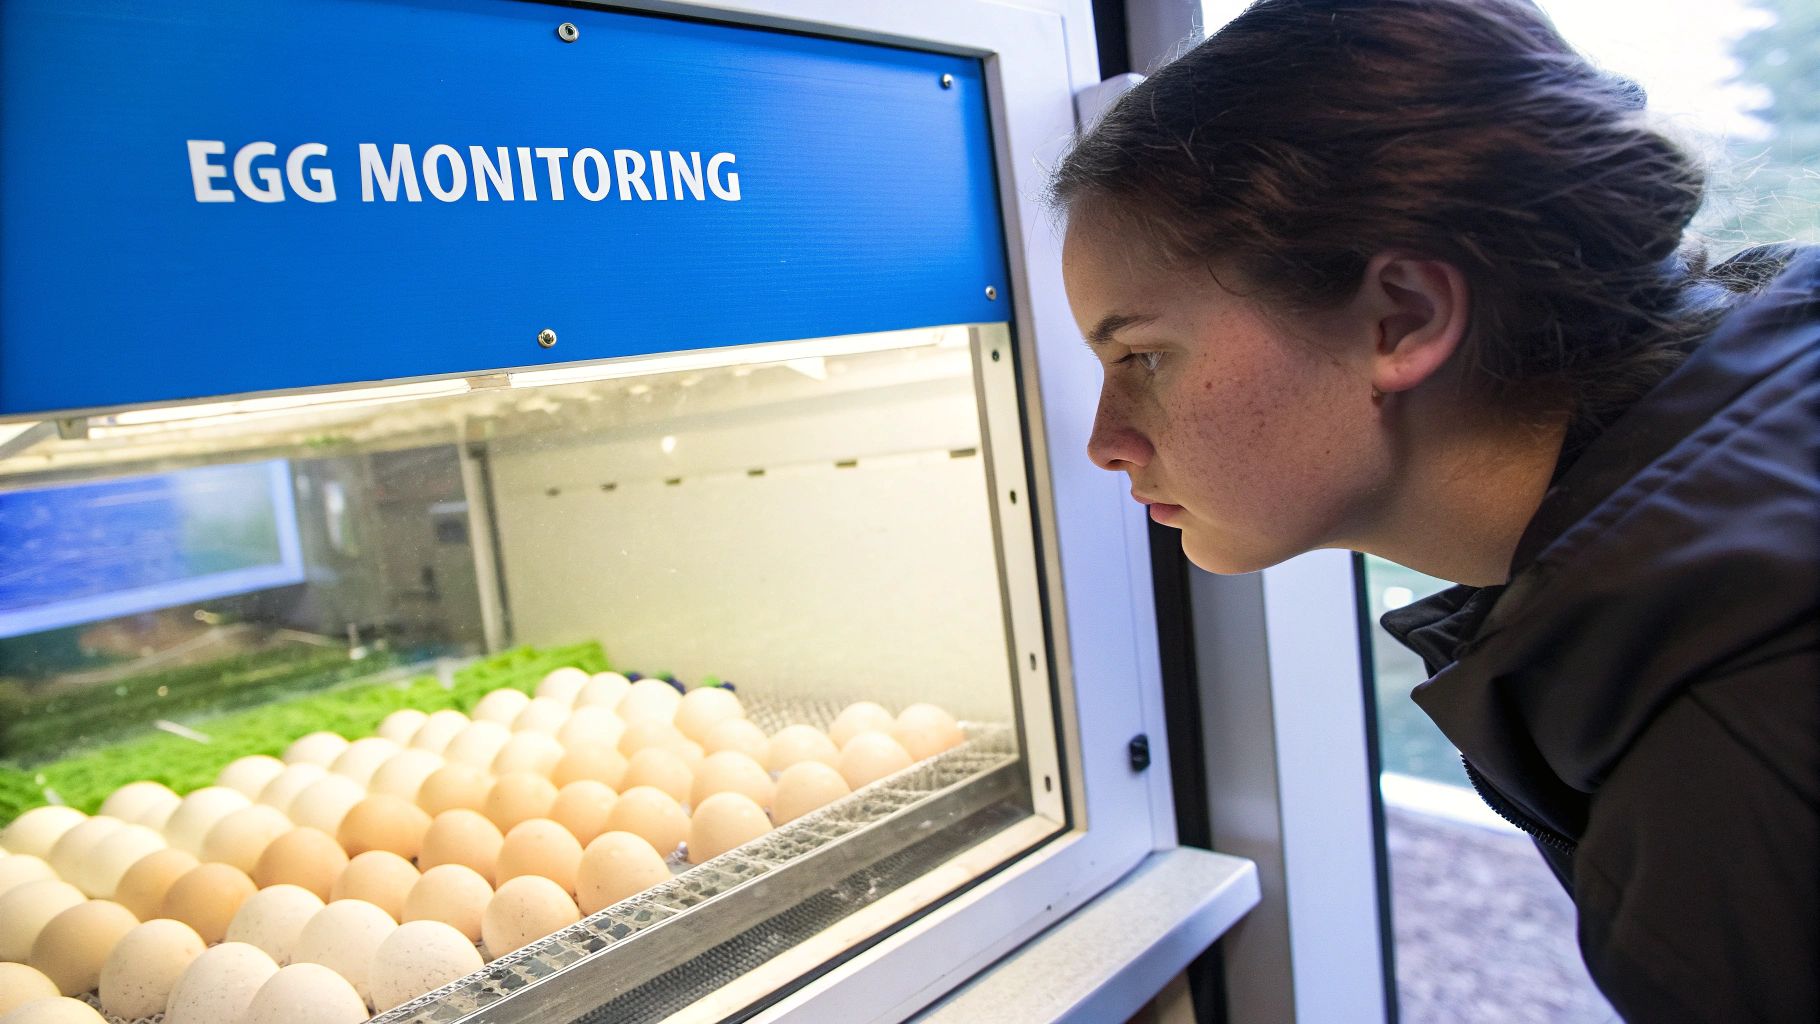
Reading Your Eggs Like a Pro (Without Stressing Them Out)
Great incubation isn’t just about setting your incubator and walking away; it’s also about knowing what’s happening inside those precious shells. The key to this is a simple but vital technique called candling. This involves shining a bright light through the egg to get a glimpse of the embryo’s world, all without causing any stress. It’s your way of checking on progress, spotting any issues early, and making sure everything is on track.
Think of candling as a gentle ultrasound for your eggs. You’re simply looking for signs of life and healthy growth. If you’re just starting out, a good rhythm is to candle on day 7 and then again on day 14. This timing is perfect because it gives the embryo enough time to develop visible structures, but it’s frequent enough to catch problems before they can impact the whole batch.
What to Look For and What to Fear
When you first candle a healthy egg around day seven, you’re hoping to see a small, dark spot—that’s the embryo! From it, a network of tiny blood vessels should be spreading out, looking a bit like a spiderweb. This is the “Aha!” moment you’ve been waiting for. At the blunt end of the egg, the air cell should be small and clear. As the days pass, the embryo will get bigger, and the inside of the egg will become darker. By day 14, it will mostly be a dark mass with a much larger, well-defined air cell.
This visual guide gives you a great idea of what you might see at different stages.
The image here clearly shows the difference between a developing day 9 embryo and an infertile egg, highlighting that vascular network you’re looking for. But sometimes, you’ll see something less promising. A “blood ring” is a distinct, reddish circle just inside the shell. This is a sign that the embryo began to develop but died very early on; the blood vessels have detached and floated to the edge. These eggs must be removed straight away because they won’t hatch and could go bad, spreading bacteria to your healthy eggs.
Likewise, any eggs that are completely clear after a week of incubation are infertile (sometimes called “yolkers”). These should also be taken out to give the others more space and to keep the incubator environment clean and stable.
To help you get confident with candling, here’s a table that breaks down what you should see at key milestones and what to do if things don’t look right.
Embryo Development Milestones and Troubleshooting Guide
Key development stages with normal indicators and common problems to watch for during candling
| Incubation Day | Normal Development | Warning Signs | Possible Causes | Recommended Action |
|---|---|---|---|---|
| Day 7 | Small dark spot (embryo) with a visible network of blood vessels. Small, distinct air cell. | No visible blood vessels, clear yolk (“yolker”). | Infertile egg, improper storage, or very early death. | Remove the egg from the incubator. |
| Day 7 | — | A distinct red or brown ring visible inside the shell. | Embryo has died; blood vessels have detached. | Remove the egg immediately to prevent decay. |
| Day 10 | Embryo is larger, more active, and looks like a dark, moving mass. Air cell has grown. | Blood ring still present, or development has not progressed since day 7. | Embryo death due to temperature/humidity issues or genetic defects. | Remove the egg from the incubator. |
| Day 14 | Egg is mostly dark and opaque. The embryo fills most of the shell. Air cell is significantly larger. | A “sloshy” or cloudy appearance. Bad odour. | Bacterial contamination or late-stage embryo death. | Remove the egg carefully. Check incubator hygiene. |
| Day 18 | Embryo is in position for hatching (piping). Air cell takes up about 1/3 of the egg. | No movement. Smaller-than-expected air cell. | Low humidity, weak embryo, or incorrect positioning. | Increase humidity slightly. Avoid turning the egg. |
This table should help you quickly diagnose common issues and decide on the best course of action. Learning to read the signs just takes a bit of practice, but it’s a skill that will massively improve your hatching success. For a more in-depth look, our guide on when to candle chicken eggs provides a detailed day-by-day breakdown. Remember, the aim isn’t to interfere constantly. Most of the time, the best thing you can do is trust the process, keep your incubator stable, and let nature work its magic.
Hatching Day Reality Check (And What Comes Next)
The final three days of incubation, what many call the “lockdown” period, are a rollercoaster of excitement and nail-biting anxiety. This is the home stretch where all your hard work is about to pay off, but it’s also when you can easily do more harm than good. The number one rule? Trust the process and fight the urge to interfere. Opening the incubator at this stage causes a sudden, dramatic drop in humidity, which can be a disaster for a chick that’s just started to break through its shell.
After you stop turning the eggs on day 18, the chick gets into its final position, pointing its head toward the air cell. The first sign you’ll see is the pip—a tiny, star-like crack on the shell. From that first little crack to a fully hatched chick can take anywhere from 12 to 24 hours, sometimes even a bit longer. This isn’t a quick sprint; it’s a marathon. The chick is taking much-needed rests, absorbing the last of the yolk sac, and drawing its blood vessels back from the shell membrane. If you try to “help” too early, you risk causing severe bleeding that the chick cannot survive. This struggle is essential, building the strength it needs for life on the outside.
Knowing When to Step In (And When Not To)
So, when should you actually intervene? The short and honest answer is: almost never. Your job during this final stage is to maintain the perfect environment and then simply watch and wait. Genuine signs that a chick is in trouble are rare and very specific. For example, if a chick has pipped but has shown absolutely no progress for over 24 hours and the membrane looks dry and leathery, you might consider offering a tiny bit of assistance.
If you find yourself in a genuine emergency, here’s how to proceed with extreme caution:
- Boost the Moisture: Using a pair of clean tweezers, gently chip away a minuscule piece of shell right around the existing pip. Immediately add a single drop of sterile water to the exposed membrane to help rehydrate it.
- Check for Blood Vessels: Never, ever peel a membrane if you can see any blood vessels. This is a clear sign the chick isn’t ready, and interfering will cause it to bleed.
- Give It Time: After providing this minimal help, close the incubator and leave it for at least another six to eight hours. The chick must do the rest of the work itself to build its strength.
Life After the Hatch
Once a chick has finally made its grand entrance, don’t be in a rush to move it. It’s best to let it stay in the incubator for at least 12 to 24 hours. This gives it time to dry off completely, fluff up its down, and gain some stability from the consistent warmth. You’ll notice these new arrivals stumbling around, cheeping up a storm, and sometimes even encouraging their unhatched siblings to get a move on.
Once they are dry, fluffy, and active, they are officially ready for the brooder. This is their first home, where they’ll need a reliable heat source, fresh water, and a high-quality chick starter feed. Remember, the journey doesn’t end when the shell breaks; it’s just the beginning of a whole new chapter.
Building Your Hatching Success Foundation
Going from a few lucky hatches to consistently full brooders isn’t about magic; it’s about creating a solid system you can trust. Think of it like building a house – you need a strong foundation before the walls go up. The secret to successful incubation, whether it’s your first attempt or your hundredth, is moving beyond just following the manual and starting to think like an experienced breeder.
True expertise comes from paying close attention and refining your process over time. This is where keeping a hatching journal becomes one of your most powerful tools. Don’t leave things to memory; write everything down. A detailed journal helps you connect the dots between your actions and the final hatch.
Key Metrics to Track for Improvement
So, what should you be writing down? Start with the essentials and add more detail as you go. Before long, these notes will show you patterns you would have otherwise completely missed.
- Egg Source and Age: Where did your eggs come from? How old were they when you placed them in the incubator? Eggs from your own flock often perform differently to those that have travelled through the post.
- Incubator Readings: Make a habit of logging the temperature and humidity at least twice a day. This helps you get to know your machine’s personality and see how it reacts to changes in the room’s atmosphere.
- Candling Observations: Keep detailed notes on development around day 7 and day 14. How many were infertile (clears)? How many had blood rings? How many embryos looked strong and active?
- Hatch Day Data: Once the hatch is over, record the final numbers. Note how many chicks hatched successfully, how many pipped the shell but didn’t make it out, and how many never developed at all. It’s also useful to record when the first and last chicks hatched.
This kind of detailed tracking isn’t just for making records; it’s an active way to improve. For example, you might notice your hatch rates dip in the winter. Looking back at your journal, you might realise your incubator struggles to keep humidity stable when the central heating is blasting. Now you know to add an extra water channel next time. If you’re searching for a dependable machine to start with, an automatic egg incubator can manage many of these variables for you.
Ultimately, building this foundation of knowledge gives you the power to adapt. You’ll learn how to adjust your methods for different breeds, seasons, or even personal goals, whether you’re aiming for a productive flock or helping to conserve rare breeds. It’s this commitment to careful observation that leads to consistently full brooders.
At HatchingEggs.eu, we believe that success begins with quality. Our premium hatching eggs are sourced from expertly managed flocks, giving you the best possible start. Explore our diverse range of breeds and begin your hatching journey with confidence today!