


What Makes Eggs Actually Fertile (Beyond the Basics)
So, you’re picturing a rooster strutting around, and baskets overflowing with fertile eggs, right? Well, hold your horses. Like most things in life, it’s not quite that simple. Having a rooster is essential, sure, but it’s not a magic bullet. I’ve talked to countless chicken keepers over the years, and the consensus is clear: several factors contribute to getting truly viable eggs.
Timing, for one, is key. It’s not just about the rooster being there; it’s about when he’s spending quality time with the hens.
Stress also plays a huge role, often more than folks realize. Think heat waves, unexpected cold snaps, or even just an overcrowded coop – all these can tank a hen’s fertility. I remember one scorching summer when my hen’s egg production was normal, but fertility plummeted, even with a healthy, active rooster. Things only bounced back when the weather cooled down. It really brought home how sensitive these biological systems are to outside factors. A comfy, stress-free environment is just as vital as the rooster himself.
Then there’s the hen’s individual genetics. Some hens are simply more fertile than others, just like some people conceive naturally while others might need a little help from science. Speaking of which, human fertility treatments offer interesting parallels. In the UK, knowing if an egg is fertile is crucial for procedures like IVF. IVF success depends on things like the woman’s age and egg quality. In 2021, the average IVF pregnancy rate with frozen embryos was 36% per embryo, with a 27% birth rate. And the rise in egg storage cycles – from about 2,500 in 2019 to over 4,200 in 2021 – shows more people are thinking about preserving their fertility. Interestingly, while confirming egg viability is paramount in human fertility treatments, directly figuring out if a hen’s egg is fertile, like we’re discussing, isn’t part of those procedures, but it’s everything in poultry keeping.
Understanding Egg Fertility
All this to say, there’s a lot happening behind the scenes with egg fertility. Those first 24 hours after laying are a whirlwind of biological processes, easily disrupted. Grasping these nuances will help you interpret what you see when checking for fertility, whether you’re candling, float testing, or even just cracking one open.
Let’s look at some key differences between fertile and infertile eggs. The following table outlines some telltale signs you might encounter when examining your eggs.
To help illustrate these points, I’ve put together a handy table summarizing the characteristics of fertile and infertile eggs.
| Characteristic | Fertile Egg | Infertile Egg | Detection Method |
|---|---|---|---|
| Early Development (Day 1-3) | Blood spot, faint blood vessels | No blood spot or vessels | Candling |
| Mid-Development (Day 4-7) | Darkening of the embryo, visible blood vessels | Clear, yolk may move freely | Candling |
| Late Development (Day 8-14) | Embryo takes up significant space, movement may be visible | Clear or slightly cloudy, no distinct embryo | Candling |
| Air Cell Size | Increases slightly as the embryo develops | May increase significantly or remain small | Candling, Float Test |
| Yolk Appearance | Well-defined, may have a slightly darker ring | May appear watery or diffused, especially in older eggs | Cracking open |
So, as you can see, observing these characteristics can give you valuable clues about the fertility status of your eggs. This knowledge will save you from some common headaches, even if you’re a seasoned breeder. You might even find this helpful: How to Hatch Duck Eggs at Home. After all, who doesn’t love ducklings?
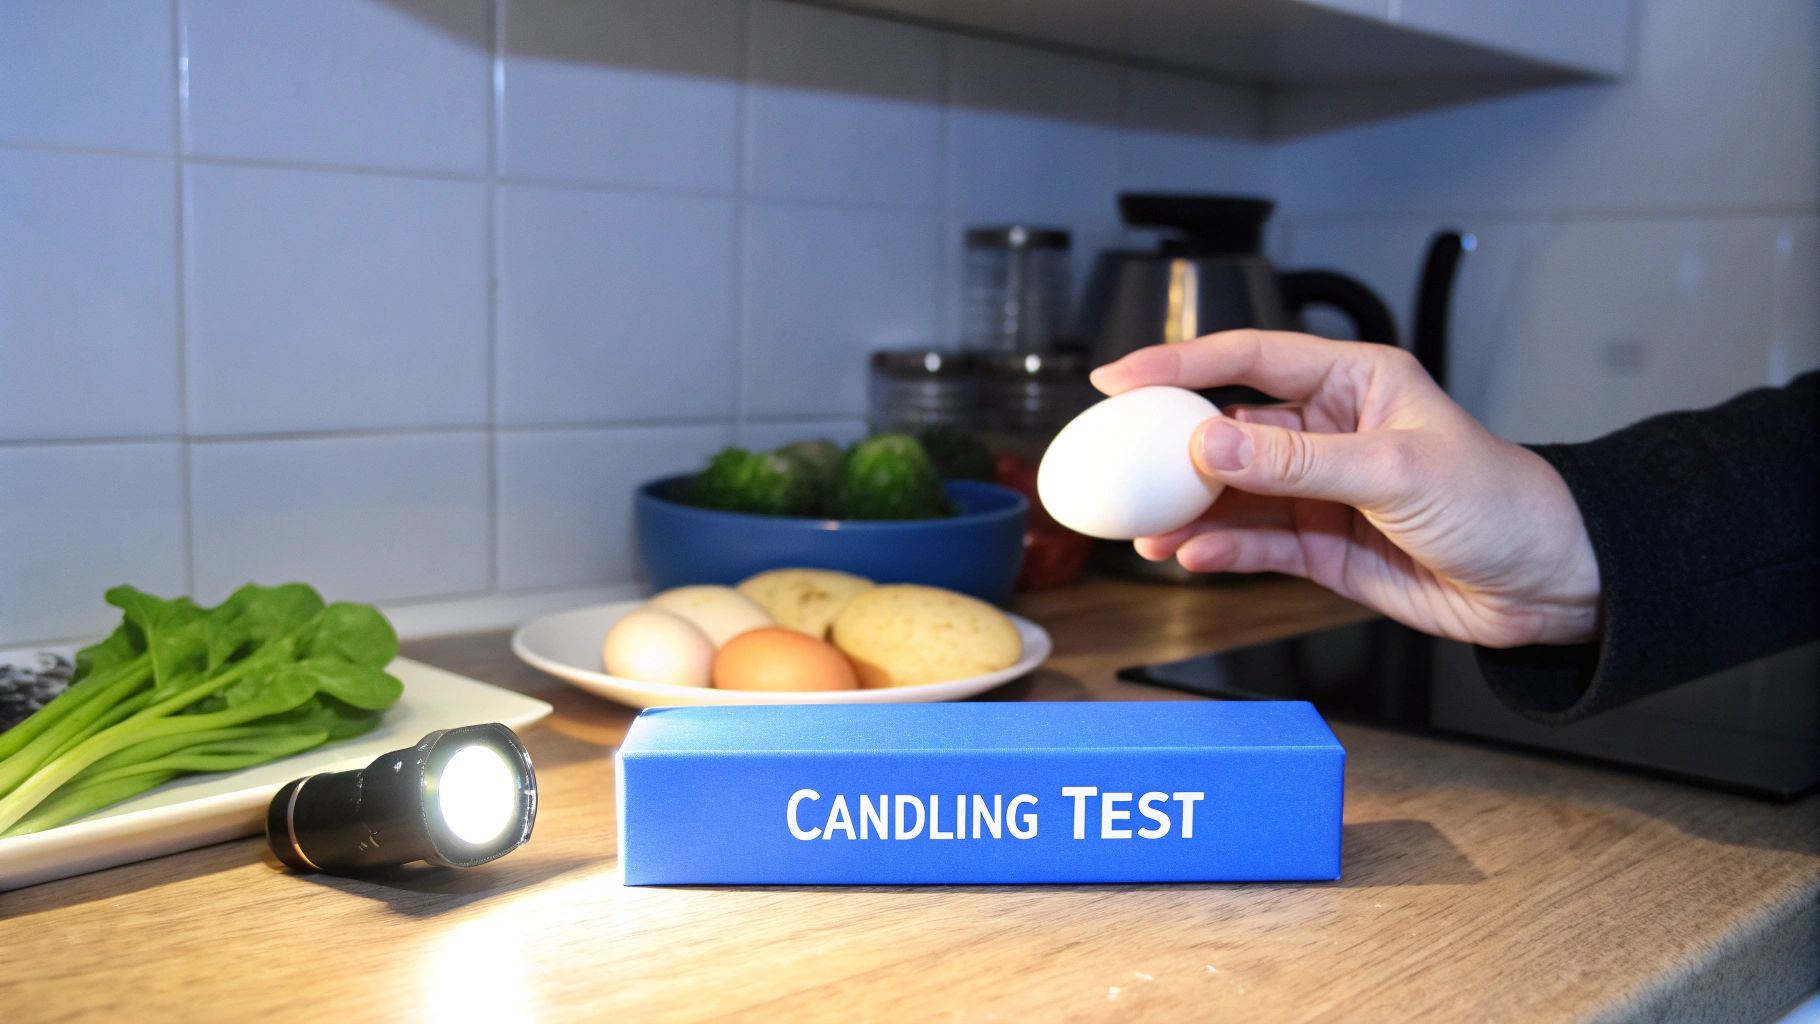
Candling Like a Pro (Without Expensive Equipment)
This image shows you the basics of candling: using a bright light to see inside an egg. Notice how the light goes through the shell, showing what’s inside. It’s a simple trick that’s been used for ages to check if eggs are fertile. Forget those pricey candling lamps – a regular LED flashlight and some cardboard work just as well. It’s all about technique, not fancy gadgets.
Creating the Perfect Candling Environment
New to candling? The biggest mistake is trying to do it in a bright room. It’s like trying to see stars in daylight. You need darkness! A closet, a dark room, or even a thick blanket over your head and the egg will do the trick. Trust me, this makes a huge difference. A basic flashlight in a dark room will show you more than a fancy lamp in a bright room.
How you hold the egg is important, too. Don’t shine the light directly at it. Angle the light slightly to the side, almost grazing the shell. This creates shadows, highlighting the internal structures. Play around with different angles until you find what works best. It’s like finding the perfect lighting for a selfie – practice makes perfect!
Timing is Everything (Especially With Candling)
Want more detail? Check out this link: When to Candle Chicken Eggs. Generally, days 7 to 10 of incubation are ideal for candling. Too early, and the embryo is too small to see. Too late, and the chick fills the egg, making it hard to see details. This sweet spot gives you the best chance of figuring out if an egg is fertile.
But fertility isn’t everything. Even in humans, lots of factors affect reproduction. For example, female fertility in the UK starts to decline significantly after age 37, with only about 25,000 eggs remaining. This impacts fertility treatments like IVF. Even though IVF with donor eggs increased a lot between 1991 and 2019, only 17% of patients over 40 used donor eggs in 2019. This highlights the challenges of using one’s own eggs later in life. The overall birth rate in England and Wales has also dropped since 2010, reaching 1.49 children per woman in 2022. This shows us wider fertility trends across the UK. Discover more insights. Just like with chickens, timing and biology play a big role in reproduction across different species.
Deciphering the Shadows: What You’re Actually Looking For
Got your setup and timing right? Great! Now comes the tricky part: understanding what you see. A fertile egg will have a network of blood vessels spreading out from a dark spot (the embryo). You might even see movement – a tiny flicker of life! An infertile egg will look clear, maybe with just the yolk visible. Sometimes you’ll see a faint blood ring. This means an early embryo that stopped developing, not a fertile egg. Don’t give up on an egg too quickly, though. Sometimes development is just slow. Check again a few days later to be sure.
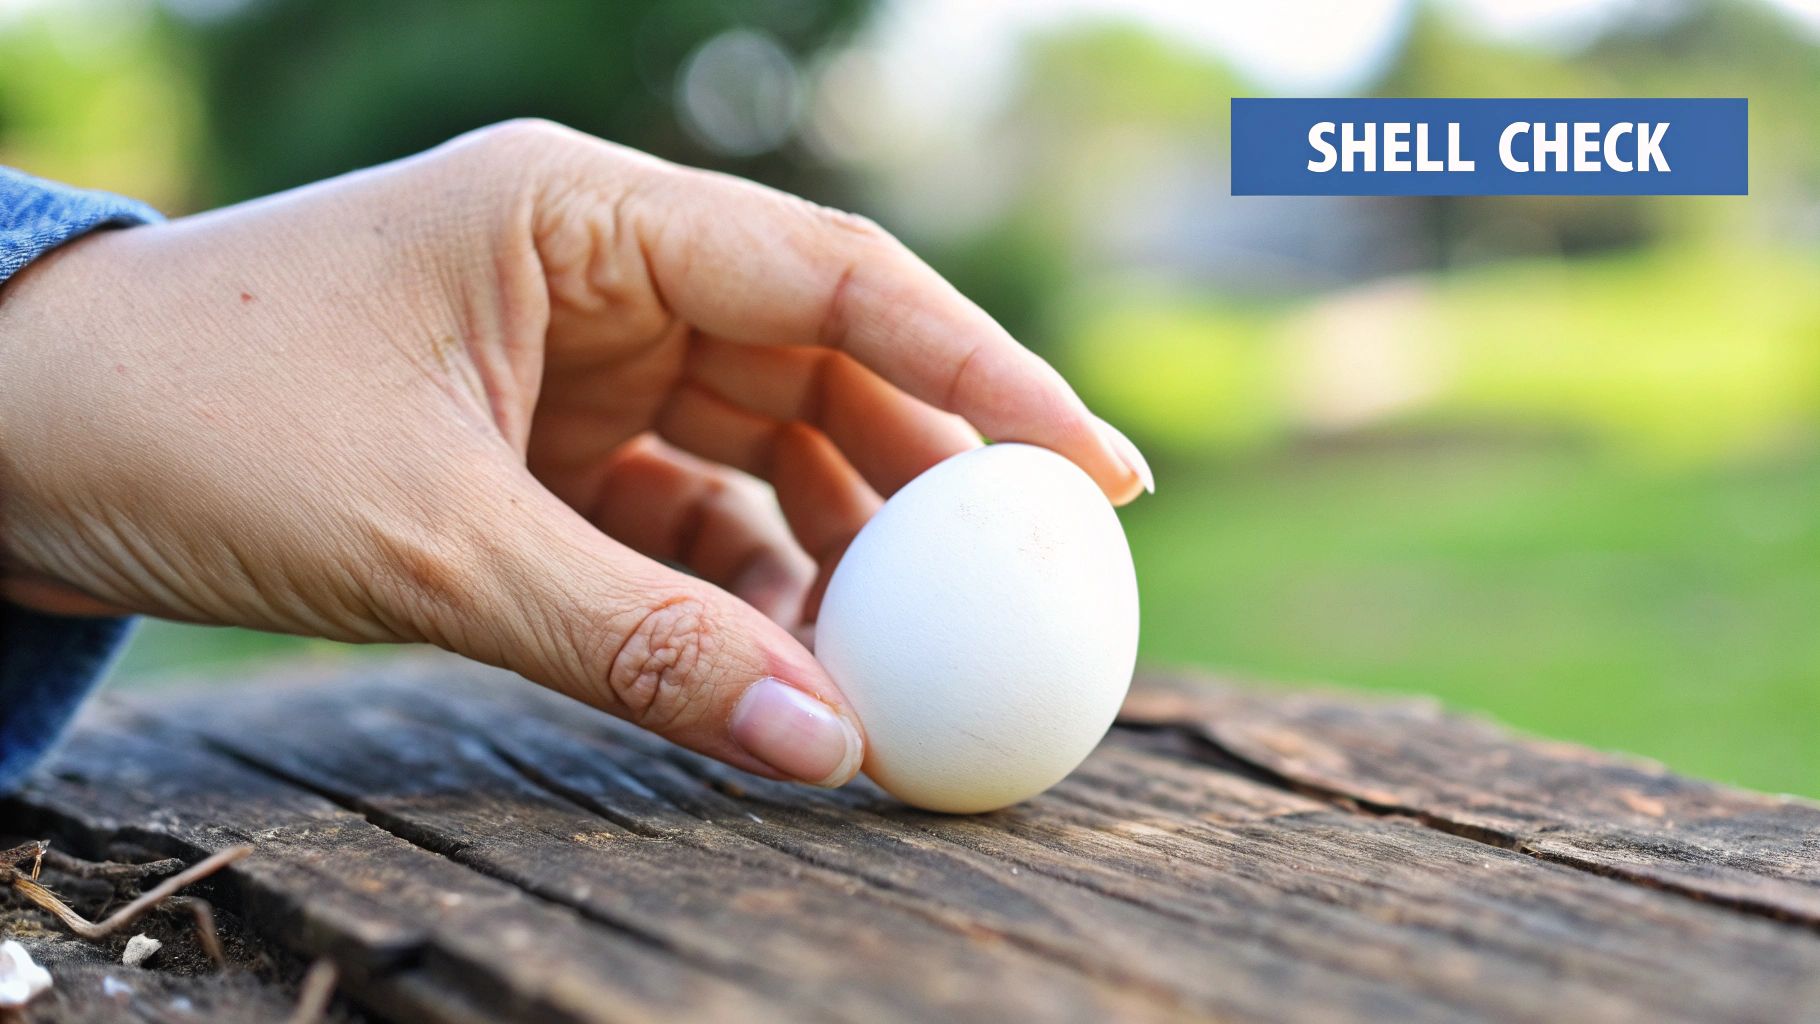
The Crack Test and Other Visual Clues That Work
Sometimes, you just need to know if those eggs are fertile before you even have a chance to set up your candler. Trust me, I’ve been there! Thankfully, there are some surprisingly reliable visual methods that even experienced breeders rely on. You might have heard of the bullseye test, where you crack an egg open. There’s definitely a knack to it, though, and understanding what you’re seeing can be a bit tricky.
The Bullseye: Cracking the Code (Without Cracking the Embryo)
So, let’s dive into the crack test. The key is to be gentle! You want just enough of a peek inside without causing any harm to a potentially developing embryo. I like to gently tap the egg against the side of a bowl – it seems to distribute the pressure evenly. A small crack is all you need – no need to smash the egg!
Inside, you’ll see the yolk (obviously!). Look closely for a white ring around the yolk. This is the germinal disc. If it’s prominent and opaque, like a little bullseye, chances are good that your egg is fertile. If it’s faint or you can barely see it, the egg might be infertile, or it simply might be too early to tell.
Beyond the Bullseye: Shell Texture and Freshness as Clues
The bullseye isn’t the only tell-tale sign. Over the years, I’ve noticed that some breeders look at shell texture. Some folks swear that slightly rougher shells indicate fertility. While I haven’t seen any scientific studies on this, it seems to be true more often than not in my experience, especially with my Indian Runners. Keep in mind, though, that shell texture can vary based on the hen’s breed, her diet, and even her age.
Freshness matters, too. A freshly laid egg will often show different clues than one that’s been sitting around for a while. For example, those white stringy bits that hold the yolk in place, the chalazae, are much more noticeable in fresh eggs. I’ve noticed that in fertile eggs, the chalazae sometimes seem a bit thicker or more twisted. It’s a subtle thing, but along with the other visual checks, it can help you get a better sense of whether your egg is fertile. Remember, no single one of these clues is a guarantee. But taken together, they can give you a much better overall picture.
DIY Candling With Everyday Items
Don’t worry if you don’t have a fancy candling setup! In a pinch, a smartphone flashlight in a dark room can work wonders. Just cup your hand around the egg and the flashlight to block out extra light. It’s like creating your own little candling device! You won’t get the same level of detail as you would with a proper candler, but it can give you a decent idea.
These DIY methods aren’t perfect, but they’re incredibly useful when you can’t use a real candler. It’s like using a magnifying glass instead of a microscope – you won’t see every detail, but you’ll see enough. It’s all about using what you’ve got to learn more about those precious eggs.
Getting Your Timing Right for Accurate Results
Knowing when to check your eggs for fertility is crucial. Miss the window, and you’ll be second-guessing yourself. Each method, like candling, has its optimal time, and understanding these timelines can save you from a lot of head-scratching. Too early, and you might get a false negative, thinking an egg isn’t viable when it’s just taking its time.
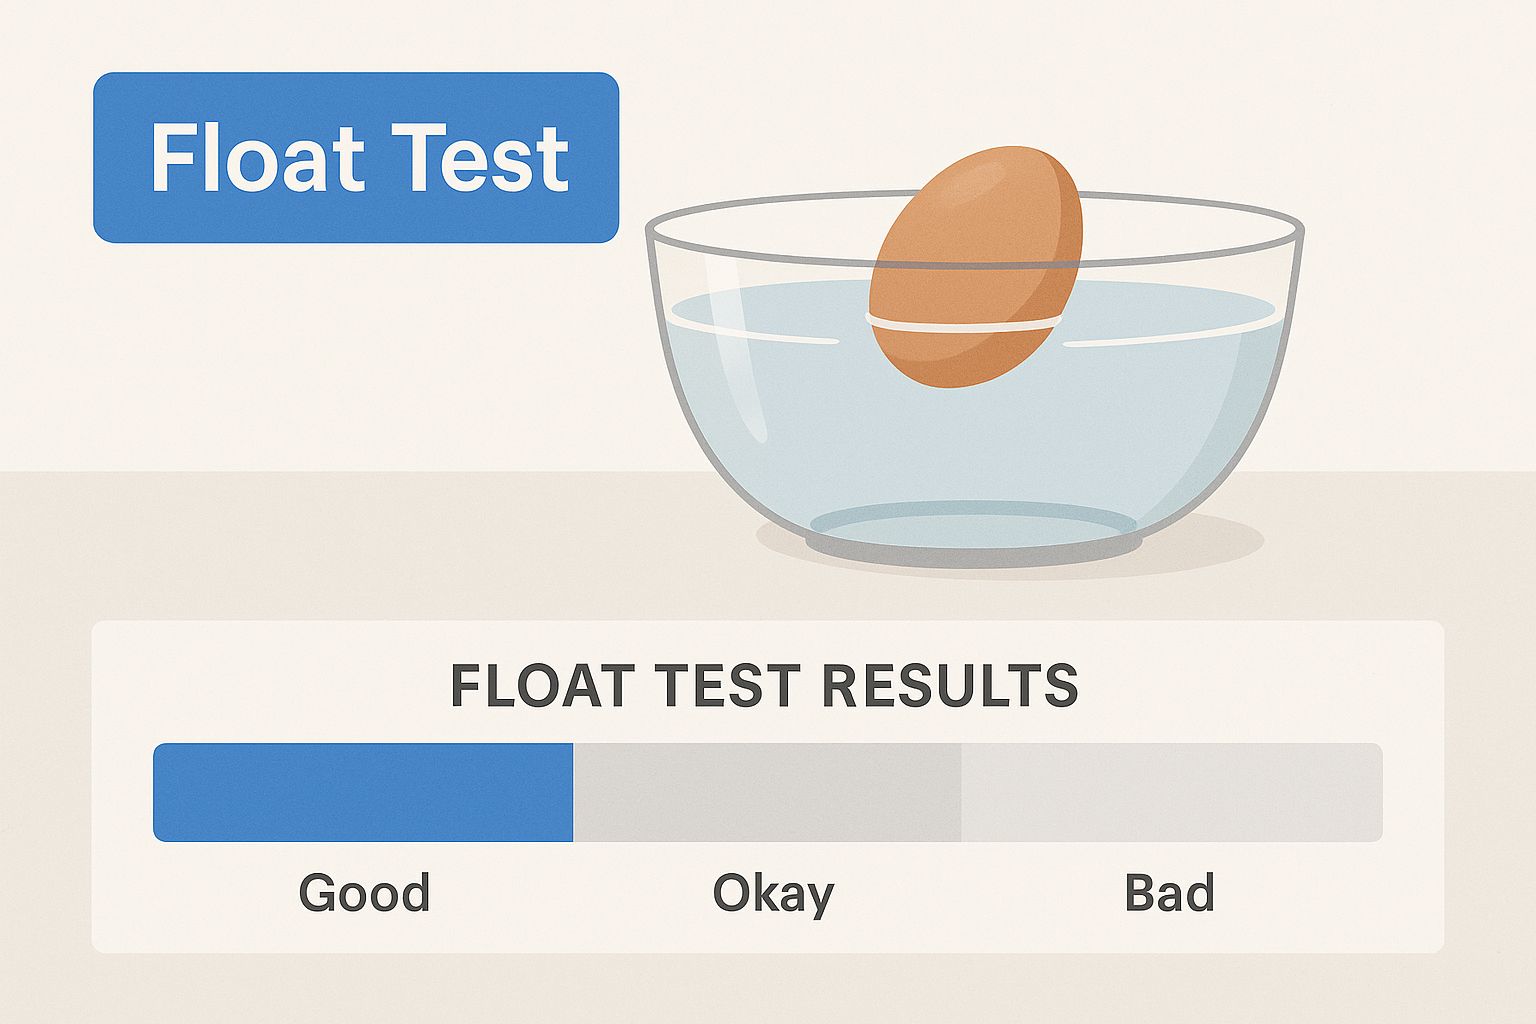
This infographic demonstrates a simple float test, one way to check for fertility. It really highlights how easy it is to do these checks at home. It’s a good visual reminder that simple methods can be surprisingly effective when you know what you’re looking for.
Even the temperature in your incubator can influence when those little signs of life show up. I remember one particularly cold spell; a batch of my Silkie eggs looked completely infertile. A few days later, things warmed up, and suddenly, there were clear signs of development.
Tracking Your Incubation Schedule
A detailed incubation schedule is your best friend. Knowing exactly when each egg was laid and when it went into the incubator is essential. This pinpoints the ideal time for each fertility check, whether you’re candling, float testing, or using another method. You’ll get much more reliable results.
For example, check out this guide on duck incubation periods. It really shows how crucial timing is. And these timing principles apply across many different types of poultry.
Breed and Seasonal Variations
Even your hen’s breed can affect when those signs of fertility appear. My Rhode Island Reds, for instance, tend to show signs earlier than some of my other breeds. And don’t forget about the seasons! I’ve noticed that both fertility rates and the visibility of those early signs can dip during extreme heat or cold.
Thinking about broader fertility trends, the rise of assisted reproduction in humans is fascinating. In the UK, the use of donor eggs and sperm has grown significantly over the past few decades. IVF using double donation, for example, saw a 50-fold increase between 1991 and 2019. Discover more insights on UK fertility treatment trends. It’s a reminder of how important understanding fertility is in so many different contexts.
Keeping Detailed Records
Keep a dedicated notebook or spreadsheet to record your findings. Note the date, the method you used, and exactly what you observed. Over time, this builds your confidence. You’ll start to recognize patterns, learning how your flock—and even individual hens—tend to show signs of fertility.
This data-driven approach makes your fertility detection more accurate and efficient. You’ll become a pro at spotting those tricky borderline cases—the ones where an egg might be fertile but needs a bit more time to show it.
To help you visualize the best timing for different methods, take a look at the table below:
Optimal Timing for Different Fertility Detection Methods: A schedule showing when to use various methods throughout the incubation period for maximum accuracy.
| Day | Detection Method | What to Look For | Accuracy Rate |
|---|---|---|---|
| 3-5 | Candling | Blood vessels | Low (early signs) |
| 7-10 | Candling | Embryo development, air sac | Medium |
| 14-18 | Candling | Movement, clear embryo | High |
| 5-7 | Float Test | Slight tilt/wobble | Low (early signs) |
| 10+ | Float Test | Egg floats higher | Medium |
This table provides a general guideline. Remember to adjust based on your specific breed and environmental factors. Consistent record-keeping will help you fine-tune these timings for your own flock.
When Results Don’t Make Sense (Troubleshooting Guide)
So, you’ve been diligently candling, trying the float test, even cracking a few eggs (gently, of course!), and the results are just…confusing. Trust me, you’re not alone. Even seasoned poultry breeders have those head-scratching moments. Let’s explore some common troubleshooting scenarios, sharing a few insights from my own experience.
Early Promise, Then Nothing: Understanding Embryonic Death
It’s incredibly disheartening to see initial signs of life – maybe a faint blood ring during candling – only to discover no development a few days later. This often indicates early embryonic death. It’s like a tiny seed sprouting, then withering. Sometimes, despite providing the best environment, nature has other plans.
The key is distinguishing this from infertility. A truly infertile egg will show no development whatsoever. Think of it as a dud seed versus one that germinates, however briefly. Meticulous record-keeping is crucial here. Write down exactly what you observe during each candling session. This creates a clearer picture of what’s happening inside the egg.
Conflicting Results? Don’t Panic!
What if your candling results contradict the float test? It’s like getting two different medical opinions! This is where experience and a little intuition come in handy. Consider all the factors. How fresh is the egg? What are your incubator conditions like?
Sometimes environmental factors can mask fertility. Temperature fluctuations, for example, can slow development, making an egg appear infertile in early candling. An automatic egg incubator can help maintain stable temperatures.
Breed-Specific Quirks and the Power of Community
Some breeds are simply tougher to assess. I’ve found Marans eggs, with their dark brown shells, are notoriously difficult to candle. It’s like trying to read through tinted glass! This is where connecting with other breeders, especially those with the same breed, becomes invaluable.
Online forums and local poultry groups are amazing resources. Learning from others’ experiences can offer new insights and a much-needed confidence boost.
Trusting Your Gut (and Knowing When to Seek a Second Opinion)
Over time, you’ll develop a “feel” for things. You’ll begin to recognize subtle clues beyond textbook examples. This intuition, honed by experience, is incredibly powerful. But don’t hesitate to seek a second opinion! If you’re unsure about an egg, ask a more experienced breeder for their perspective. A fresh pair of eyes can make all the difference.
Don’t be discouraged by those puzzling moments. Troubleshooting is part of learning. Every challenge you overcome builds valuable skills and confidence. It’s all part of the amazing journey of bringing new life into the world. And remember, even the most experienced breeders have their off days!
Building Confidence in Your Fertility Detection Skills
Mastering egg fertility is a journey, not a sprint. Like perfecting a family recipe, it takes practice, patience, and maybe a few scrambled-egg moments along the way. Don’t expect to be a pro overnight. Developing that sharp eye and a confident touch just takes time.
Building Your Fertility Detection Toolkit
Think of it like assembling your own egg-spertise toolkit! Start with a reference collection. Snap photos of candled eggs at different stages, jotting down your observations. A simple journal documenting each batch becomes your personal visual guide, making it easier to spot patterns and subtle changes. A good starting point is making sure your eggs are squeaky clean – check out my guide on cleaning hatching eggs for the best practices.
Consistent lighting is key for accurate candling. It’s like photography – good lighting makes a world of difference. A dark room, a reliable light source (I even play around with different colored filters on my candler!), helps minimize variations and gives you dependable results.
Practicing Candling Techniques and Seeking Second Opinions
Practice candling regularly, even with eggs you aren’t incubating. The more you handle eggs and observe their insides, the more comfortable you’ll become. It’s like learning a musical instrument – regular practice is key. Try some candling exercises: slowly rotate the egg, looking for movement, shadow changes, and air cell development. This helps train your eye to catch those subtle but tell-tale differences between fertile and infertile eggs.
Don’t hesitate to ask for help! Local poultry groups and online forums are goldmines of information. Connect with experienced breeders; they can offer hands-on advice and second opinions. Showing someone a photo of a candled egg and saying, “I’m not quite sure about this one, what do you think?” can be incredibly helpful.
Managing Expectations and Celebrating Small Victories
Even seasoned breeders make mistakes. It’s all part of the learning curve. Set realistic expectations. Don’t get discouraged by a few misidentified eggs. Every correct ID, every successful hatch, is a win! Celebrate those successes, learn from your mistakes, and remember that confidence grows with time. It’s all about turning those initial fumbles into a skill you can trust.
Your Practical Action Plan for Fertility Detection Success
So, you’ve explored candling, float tests, and even the slightly messy but definitive crack test. Now, how do you put it all together? It’s like having all the tools and lumber but no blueprint for your birdhouse – this section is that blueprint for hatching success!
Creating Your Fertility Checklist
A simple checklist keeps you organized and on track. Trust me, I’ve been there, staring at a clutch of eggs, wondering if I missed something. A checklist is like your co-pilot, making sure everything goes smoothly.
- Gather your tools: Think flashlight (or a proper candler if you’re fancy), a piece of cardboard to make a snug tube, a darkened room, and a bowl of lukewarm water for the float test.
- Incubation schedule: Keep tabs on how long each egg has been incubating. This is key!
- Choose your method: Candling between days 7 and 10 usually gives the clearest view.
- Technique matters: Remember those candling tips? Light angle, rotating the egg – these small details make a big difference.
- Record everything: Date, method used, and what you observed. This helps you track progress and troubleshoot later.
Choosing the Right Tools (Without Breaking the Bank)
You absolutely don’t need expensive gear. A regular LED flashlight works wonders for candling. It’s the dark room that’s truly important, not the price tag of your light source. I started with a flashlight and a cardboard tube – it worked like a charm! If you’re dealing with hundreds of eggs regularly, a dedicated candling lamp might be a good investment down the line.
Finding Support and Building Your Confidence
Connecting with other poultry keepers is a game-changer. Local groups, online forums – it’s like having a whole team of cheerleaders (and experienced troubleshooters) in your corner! Sharing your wins, asking for advice, and learning from others’ experiences is invaluable.
Troubleshooting Quick Reference: When Things Don’t Go as Planned
Here’s a quick cheat sheet for those head-scratching moments:
- No development after initial signs of fertility? Sadly, this can happen. It might be early embryonic death, not necessarily infertility.
- Conflicting results? Think about the age of the egg, incubator conditions – there are so many variables.
- Hard-to-candle eggs? Some breeds, like those gorgeous dark Marans eggs, are just tricky.
Don’t hesitate to ask for help. Experienced breeders are a wealth of knowledge and are usually happy to share their wisdom.
Ready to start hatching your own flock? HatchingEggs.eu offers top-notch hatching eggs from various breeds, delivered right to your doorstep. Whether you’re a backyard hobbyist or a seasoned pro, they’ve got you covered.