


Understanding Duck Incubation: A 28-Day Countdown to New Life
Think of duck incubation as a perfectly timed biological sequence, where every day unlocks a new stage of development. It’s a remarkable journey that transforms a simple egg into a fluffy, lively duckling. Far from being a basic timer, the incubation period for ducks is a complex affair shaped by genetics, environmental conditions, and the quality of care provided. This transformation from a single cell to a fully formed bird is an intricate dance of nature, with each step building on the last.
Having a solid grasp of this natural schedule is vital. It allows you to track normal development, look forward to key milestones, and identify when a little help might be needed. It’s not just about marking days off a calendar; it’s about appreciating the incredible biological process happening inside the shell.
A Glimpse at the Timeline
The entire process plays out over several weeks, with major changes happening at predictable intervals. For most common domestic ducks, the finish line is at about four weeks, but the path to get there is dotted with crucial developmental checkpoints.
This infographic breaks down the typical 28-day cycle, showing the beginning, middle, and end of the duckling’s development inside the egg.
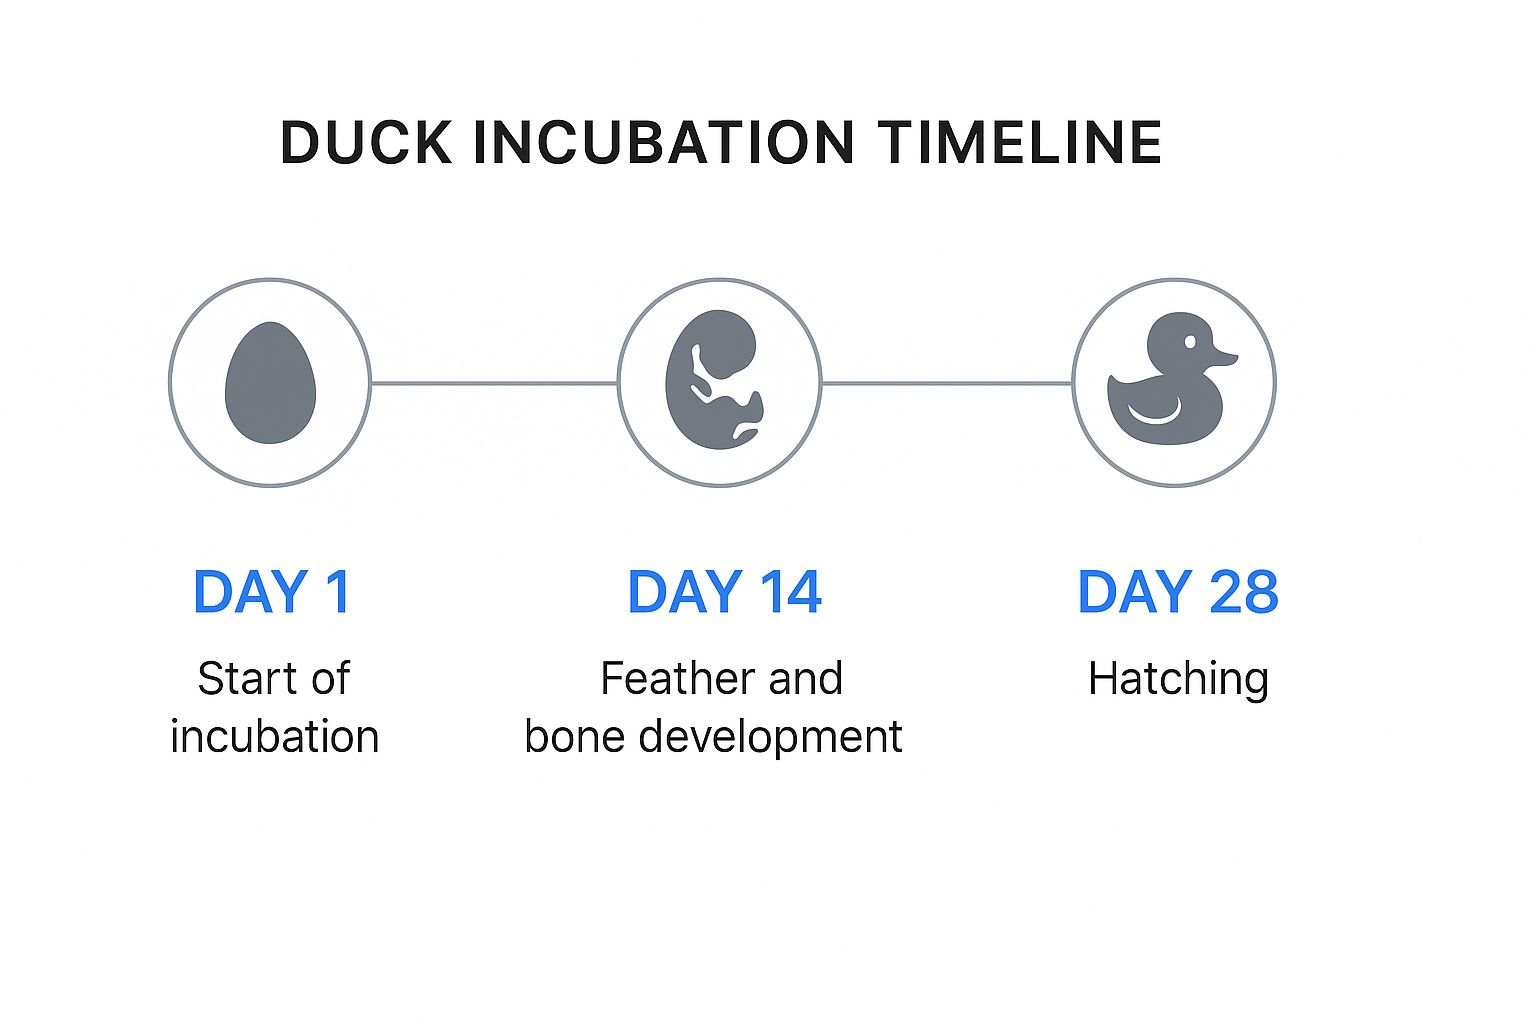
This visual guide demonstrates how an embryo grows from a tiny, almost invisible speck into a creature ready to greet the world, all in a surprisingly short time. Each phase depends on specific conditions to go smoothly, which is why consistent and careful management is so important. You can learn more by reading our complete guide to the duck incubation period.
The Standard Countdown: How Long Does It Really Take?
While different duck species have their own timelines, a general schedule gives you a reliable benchmark. For popular domestic breeds in the UK like the Aylesbury and Shetland, the incubation period typically lasts around 28 days. However, it’s not uncommon to see hatches happen anywhere from 26 to 31 days, even among eggs from the same batch. These small variations are completely normal and can be influenced by factors like incubator temperature stability and the overall health of the parent ducks. For more practical advice, you can find great information on hatching domestic ducklings from South Yeo Farm West.
This 28-day schedule is a fundamental piece of knowledge for anyone planning to hatch duck eggs. It guides your candling schedule, tells you when to ‘lock down’ the incubator, and helps you anticipate the exciting moment of the first “pip”—the tiny crack in the shell that signals hatching is about to begin. Getting this timeline right is the first step towards a successful hatch.
Species Differences: Why Not All Ducks Follow The Same Clock
A common mistake for those new to hatching is assuming all ducks operate on the same schedule. It’s like thinking you can use a single cooking time for both a delicate fairy cake and a dense fruitcake—the results would be disastrous. The incubation period for ducks isn’t a fixed number; it’s a biological timer that varies greatly between species and breeds, shaped by their unique evolutionary paths.
Getting this timing right is fundamental for a successful hatch. For instance, most common domestic ducks that trace their lineage back to the Mallard—like the popular Pekin, Aylesbury, and Khaki Campbell—reliably follow a 28-day incubation cycle. In stark contrast, the Muscovy duck, which belongs to a different species (Cairina moschata), needs much longer. Their eggs require a patient 35 to 37 days to hatch, a full week more than their Mallard-derived relatives.
Wild vs. Domestic Timelines
This variation isn’t just a quirk of domestic breeding. Wild ducks have their own schedules adapted to their specific environments. Studies of wild Mallards in the UK, for example, reveal their incubation can be shorter, often lasting between 24 to 26 days in their natural habitat. This faster turnaround is a crucial adaptation to seasonal changes and the constant threat of predators. You can explore more about these natural timelines in this detailed research on wildfowl incubation.
This natural fine-tuning shows why it’s so important to know exactly what breed you’re working with before you even think about starting the incubator.
A Closer Look at Popular Duck Breeds
To help you move beyond guesswork and set your incubator with confidence, we’ve put together a table comparing the incubation periods for several well-known duck species. This information is your first step towards planning a successful hatch.
Duck Species Incubation Period Comparison
Comprehensive comparison of incubation periods across different duck breeds and species
| Duck Species/Breed | Incubation Period (Days) | Clutch Size | Natural Habitat | Special Considerations |
|---|---|---|---|---|
| Pekin/Aylesbury | 28 | 8-15 eggs | Domestic (from Mallard) | Large, heavy breeds; excellent for meat and eggs. |
| Indian Runner | 28 | 10-20 eggs | Domestic (from Mallard) | Upright posture; prolific layers and active foragers. |
| Call Duck | 26-27 | 6-10 eggs | Domestic (from Mallard) | Small bantam breed; often hatch slightly sooner. |
| Mallard (Wild) | 24-28 | 8-13 eggs | Wetlands, parks, ponds | The ancestor of most domestic ducks. Wild ones may hatch faster. |
| Muscovy Duck | 35-37 | 8-16 eggs | Forested areas, S. America | Technically a separate species, not a “true” duck. Requires a much longer incubation. |
Understanding your breed’s specific timeline is the key to success. This knowledge prevents common errors like putting shorter-incubation eggs into lockdown too late, or tragically chilling longer-incubation eggs by ending the process too soon. By giving each embryo the exact time it needs, you set the stage for a healthy and successful hatch.
Environmental Factors That Make Or Break Hatching Success
Think of the conditions around your duck eggs as a finely-tuned support system. Much like a baker relies on a precise oven temperature, a successful hatch depends on getting the external environment just right. Key factors like temperature, humidity, and even the time of year all play a part in the incubation period for ducks, and the results can be quite surprising. When you create the perfect microclimate, you set the stage for life to flourish. If these elements are off, even the healthiest eggs may not hatch.
The Critical Trio: Temperature, Humidity, and Timing
The environment directly influences how an embryo develops, setting the pace and affecting its overall health. For anyone using an incubator, mastering these three settings is the bedrock of achieving a good hatch rate.
- Temperature Stability: This is arguably the most important factor. Even minor temperature swings can put stress on the developing embryo. This can speed up or slow down development, potentially leading to birth defects or causing the hatch to fail altogether. Consistent warmth is essential. For a deeper dive, take a look at our guide on duck egg incubation temperature.
- Humidity Levels: Humidity is like the egg’s moisture controller. If it’s too low, the egg risks dehydrating. If it’s too high, the duckling might have trouble breaking through the shell or could even drown in the excess fluid inside. The right humidity ensures the air sac inside the egg develops properly, giving the duckling the room it needs to take its first breath before hatching.
- Seasonal Influence: Wild ducks are brilliant at timing their nesting. They seem to know instinctively when the conditions are ideal for laying and incubating eggs. For example, a late, cold spring can delay when they start to breed and lay. Research shows that Mallard females will often renest if their first clutch fails, but the number of eggs they lay tends to decrease with each new attempt as the season wears on. To learn more about this natural behaviour, you can read the full research about mallard nesting patterns.
Beyond the Basics: Altitude and Nest Location
Beyond the big three, a few other environmental details can subtly alter the incubation timeline. One of these is altitude. At higher elevations, the air pressure is lower, and there’s less oxygen. This can slightly lengthen the incubation period and may mean you need to adjust your incubator settings to make sure there’s enough air exchange for the embryos.
The nest location itself also plays a role, whether it’s in the wild or a coop. A nest situated in a draughty or damp area will struggle to hold a steady temperature. This forces the mother duck to work much harder and could negatively impact the embryos. If you’re looking after a broody duck, giving her a sheltered, dry, and secure spot is crucial for her success. A stable, controlled environment is the secret to a predictable and successful incubation period for ducks.
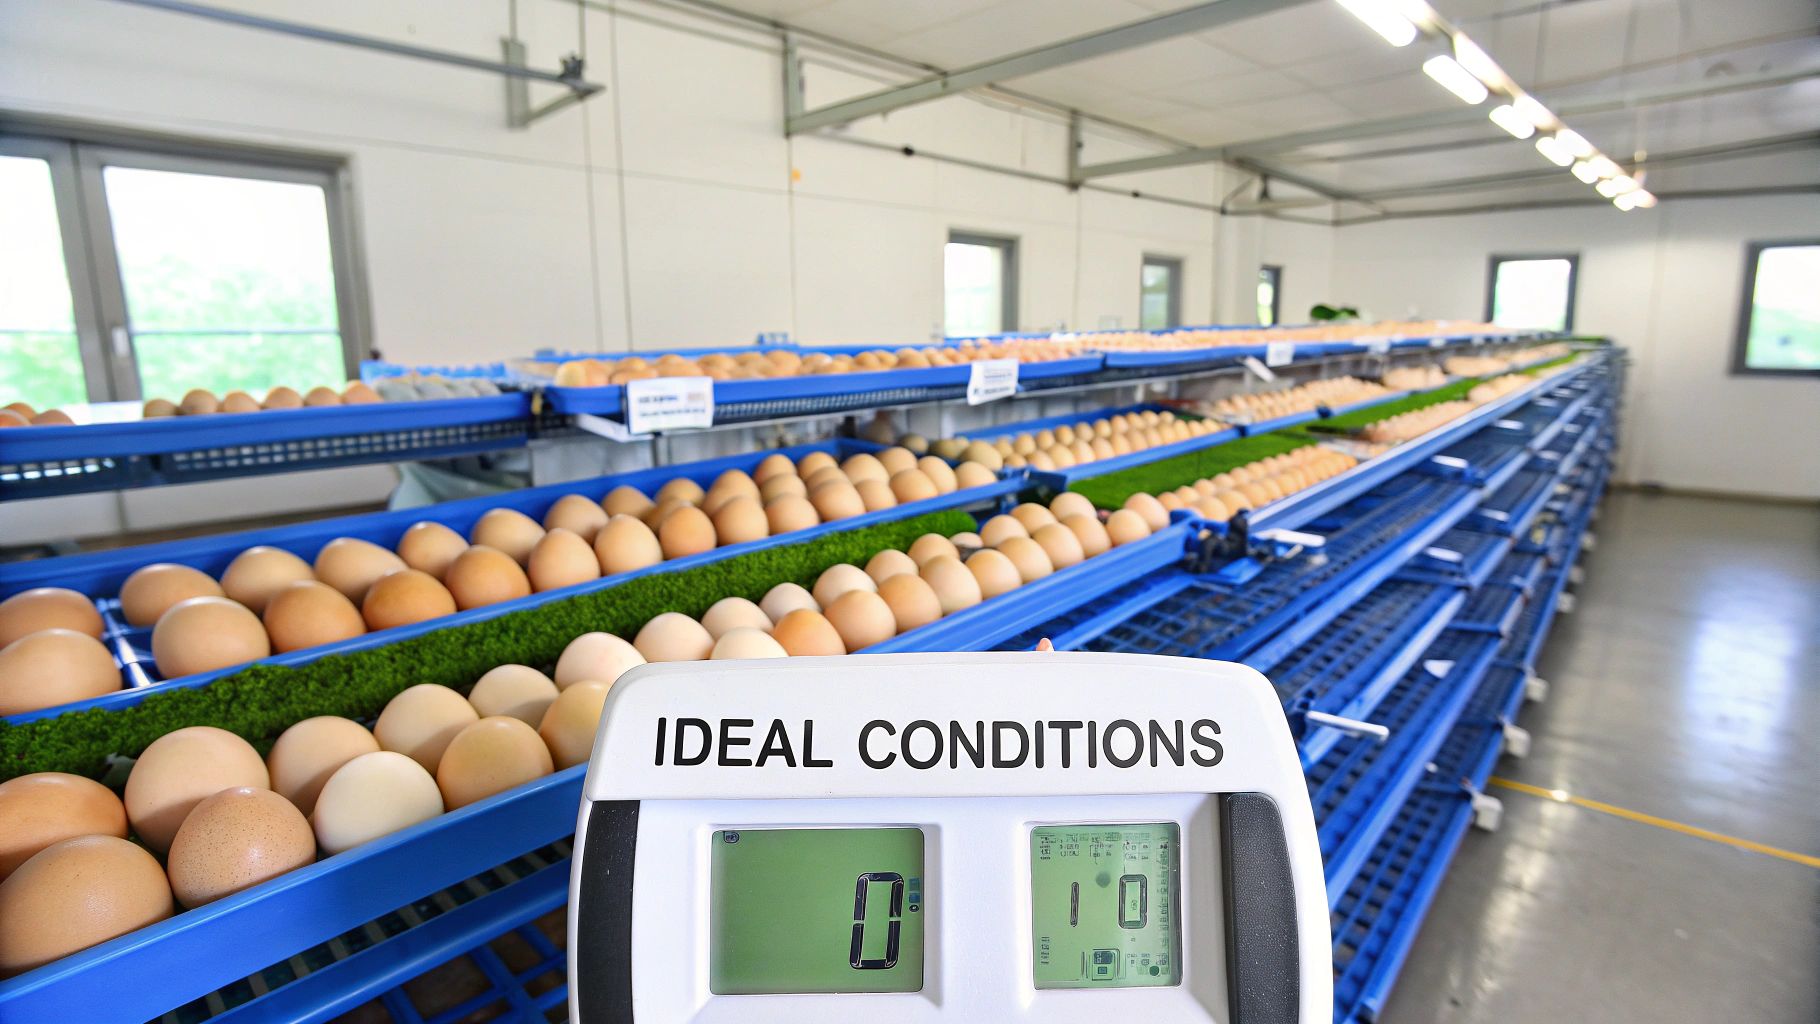
Mastering Artificial Incubation Technology And Techniques
Modern technology has transformed duck breeding from an uncertain waiting game into a precise science. Today’s incubators give you remarkable control over the hatching environment, but success really comes down to knowing how to use them. This knowledge is essential for correctly managing the specific incubation period for ducks you’re raising.
Choosing Your Incubator
The first step on your incubation journey is picking the right equipment. The best choice for you will depend on your goals, whether you’re starting a small hobby project or planning a larger breeding operation.
- Tabletop Incubators: These are ideal for beginners or for hatching small clutches of eggs. They are compact, easy to manage, and often include automatic turners, which takes a lot of the manual work out of the process.
- Cabinet Incubators: If you’re looking to hatch in larger numbers, cabinet models are the way to go. They offer much more space and usually come with more sophisticated controls for temperature and humidity, allowing for very precise adjustments.
No matter which model you choose, the aim is to replicate the conditions a mother duck would provide. Your goal is to create a stable and nurturing environment throughout the entire incubation period. For more hands-on advice, you might find our guide on how to hatch duck eggs at home very helpful.
Critical Settings and Techniques
Once your incubator is set up, getting the settings right is absolutely crucial. Consistency is the key to a successful hatch. Your incubator must hold a steady temperature for the whole cycle. Most setups involve adding water to manage humidity, but some experienced breeders try out dry incubation methods, particularly in the early stages.
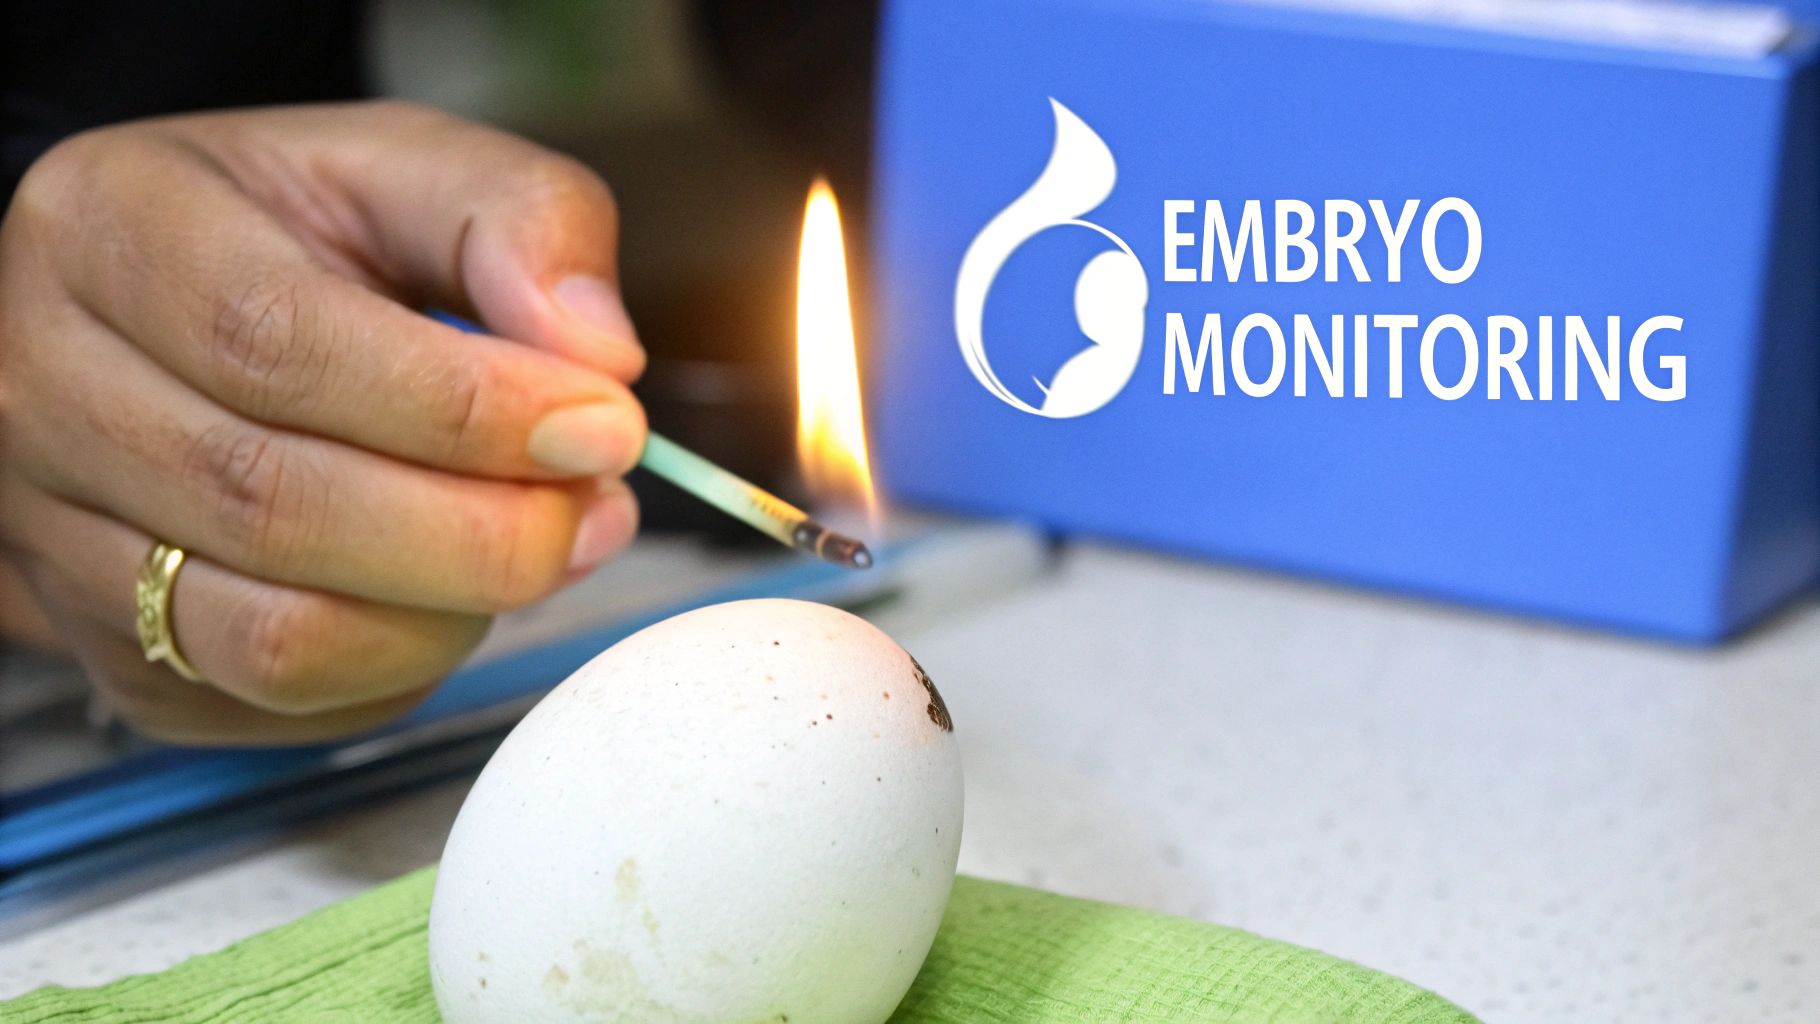
A vital technique you’ll need to learn is candling. This simply means shining a bright light through the egg to see what’s happening inside. It’s like having a little window into the shell, letting you check for fertility and see if the embryo is developing as it should. Performing candling around days 7, 14, and 21 helps you identify and remove any eggs that aren’t viable, giving the healthy ones the best chance to thrive. You can learn more about these practical duck hatching techniques and their importance in this detailed guide.
By pairing the right technology with these proven techniques, you can confidently oversee the artificial incubation process and greatly improve your chances of welcoming a brood of healthy, happy ducklings.
Monitoring And Assessment: Reading The Signs Of Success
Think of yourself as a detective during the incubation period for ducks, carefully investigating the fascinating mystery of life developing inside each shell. Unlike a typical whodunnit, your observational skills directly shape the outcome. Keeping a close watch on your eggs is essential for a successful hatch, and thankfully, you don’t need a high-tech lab to do it.
The Art of Candling
The most common and effective monitoring technique is candling. This simple process involves shining a bright light through the egg in a dark room, giving you a window into the world of the developing embryo. It’s like having X-ray vision for your future ducklings.
- Around Day 7: You should be able to see a small, dark spot—the embryo—with a network of blood vessels spreading out from it, much like a tiny spiderweb. If an egg is completely clear with no signs of development, it is likely infertile and should be removed.
- Around Day 14: The embryo will be much larger and more active. You’ll notice a dark mass that takes up a good portion of the egg, and you might even catch a glimpse of movement.
- Around Day 21: The duckling now fills most of the shell. The air sac at the blunt end of the egg will be very clear, and the rest of the egg will look dark as the duckling gets ready to hatch.
Removing eggs that aren’t developing is important. It stops them from potentially rotting and releasing bacteria that could contaminate the incubator and harm the healthy, growing eggs. To learn more about creating the perfect environment, you can read our guide on incubation humidity.
Beyond Candling: Floating and Other Clues
Another clever, non-invasive method for checking on progress is egg flotation. As the embryo develops, the air sac inside the egg gets bigger, making the egg more buoyant. By placing an egg in lukewarm water for just a few seconds, you can estimate its stage of development based on the angle at which it floats.
This technique is surprisingly accurate. One study of 187 eggs found that the age predicted by flotation was within two days of the actual embryo age 84% of the time. You can discover more insights about these findings on wildfowl.wwt.org.uk.
By combining these monitoring methods, you can make informed decisions, spot problems early, and give your ducklings the best possible start. This careful assessment turns incubation from a simple waiting game into a proactive process, significantly increasing your chances of a successful hatch.
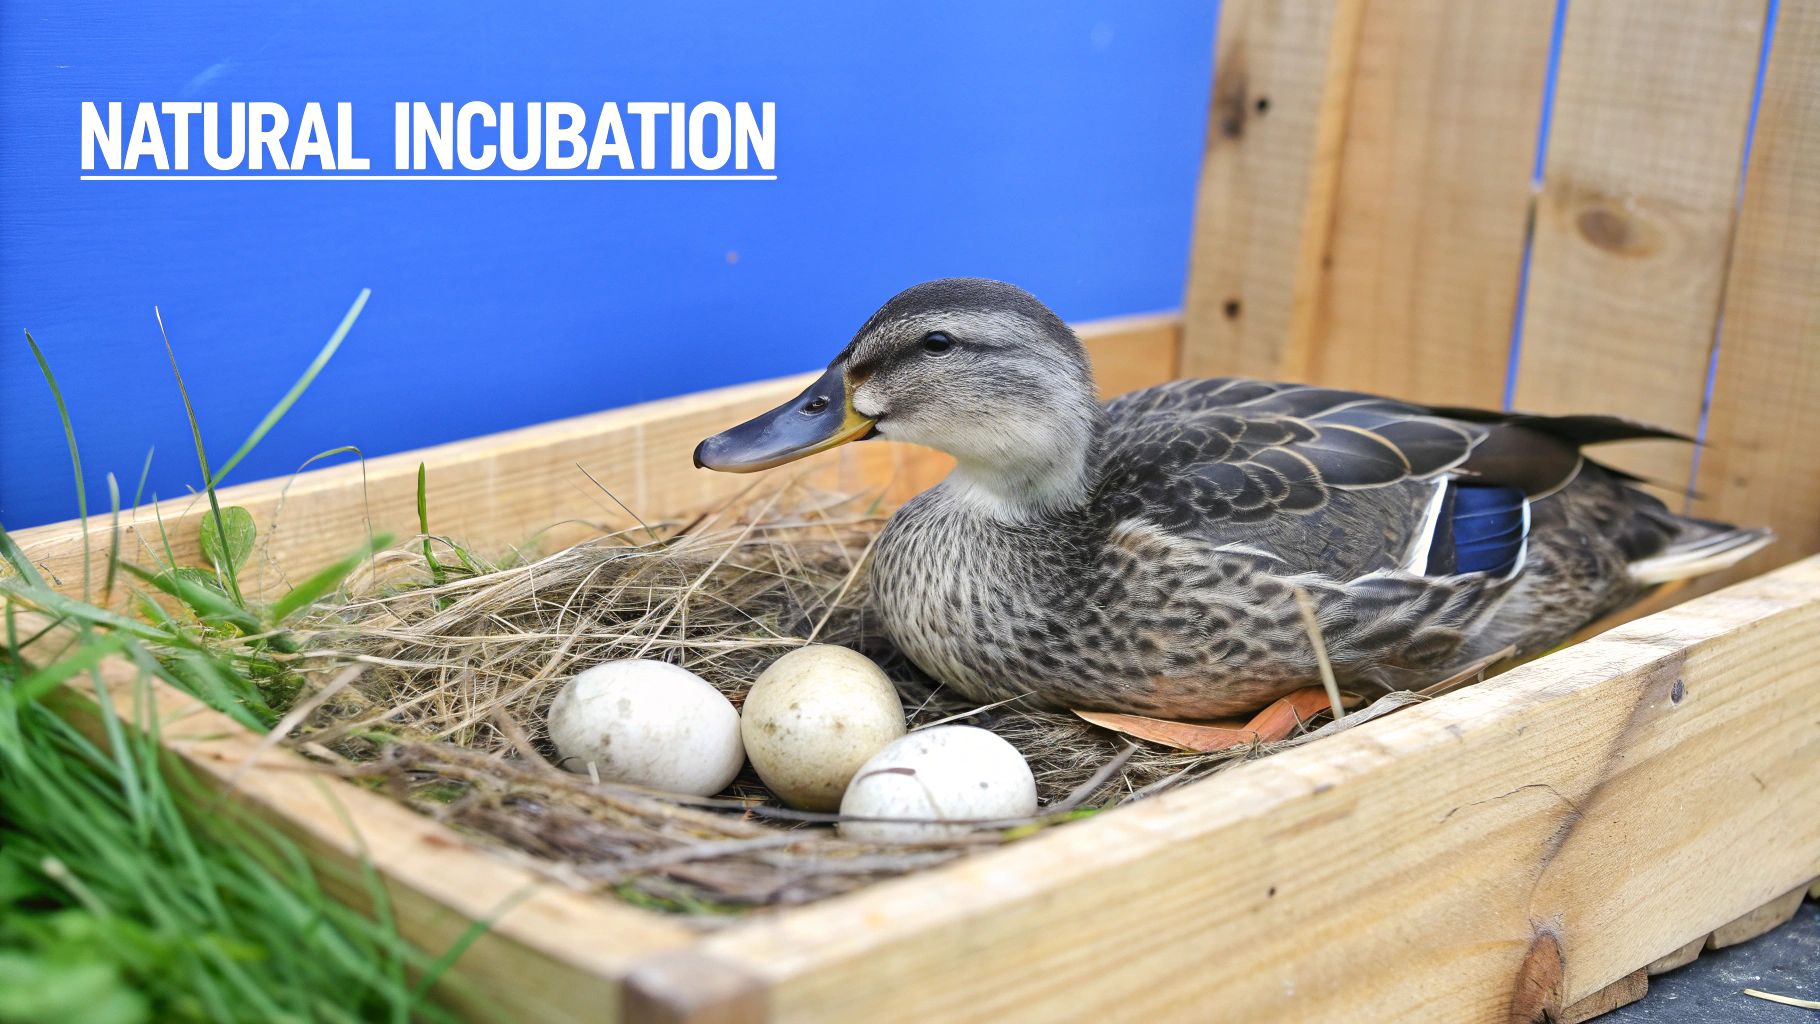
Natural Versus Artificial: Choosing Your Incubation Strategy
Deciding between letting a mother duck hatch her own eggs and using an incubator is a bit like choosing between a traditional, handcrafted wooden toy and a modern, precision-engineered one. Both can be wonderful, but they serve different purposes and offer unique benefits. While the incubation period for ducks doesn’t change, the path to seeing those little ducklings pip through their shells can vary greatly.
A broody duck is nature’s own perfect incubator. She instinctively knows how to maintain the ideal warmth, humidity, and turning schedule, making minute adjustments that even sophisticated machines can’t fully mimic. This method is wonderfully hands-off, requiring little more than a safe, quiet space for her to nest. It’s an excellent option for small-scale keepers, especially if a duck is already showing signs of wanting to sit.
On the other hand, artificial incubation provides predictability and the ability to scale up. An incubator gives you complete control, allowing you to hatch large batches of eggs on a timetable that suits you, without being dependent on a duck’s maternal instincts. This is the go-to method for serious breeders or anyone working with duck breeds that rarely go broody. To get a better idea of the options available, you can learn more about finding the right automatic egg incubator.
Making the Right Choice for Your Flock
The best approach really comes down to your individual goals and resources. To figure out which path is right for you, think about these key factors:
- Success Rates: A good mother duck can achieve a fantastic hatch rate because she is perfectly attuned to the eggs’ needs. However, she can typically only manage about a dozen eggs at once. An incubator can handle many more eggs but relies on you to monitor and maintain the correct settings.
- Time and Effort: With a broody duck, your main job is to provide food, water, and a secure environment; she handles the rest. Artificial incubation requires daily attention, from checking temperature and humidity levels to candling eggs to monitor development.
- Cost: Relying on a broody duck is virtually free, apart from her keep. An incubator is an upfront investment, with prices that range widely depending on its capacity and features.
Exploring Hybrid Approaches
You don’t have to stick to just one method. Some keepers use a hybrid strategy to combine the strengths of both. For example, you could let a broody duck sit on the eggs for the first two weeks, giving the embryos a fantastic, natural start. Then, for the final week and the hatch itself, you could move them into an incubator.
This gives you more control during the critical “lockdown” phase when conditions must be precise, while still taking advantage of the mother duck’s skills early on. Ultimately, by considering your goals, resources, and the nature of your ducks, you can choose the strategy that gives your future ducklings the very best chance of success.
Troubleshooting Common Problems Before They Become Disasters
Even the most carefully planned incubation can feel like a journey with unexpected twists and turns. Problems can pop up, but a quick and informed response can transform a potential disaster into a minor hiccup. Understanding these common challenges is the first step to protecting your future ducklings.
Power Cuts and Equipment Failure
A power cut is often the most common cause for panic. When the incubator falls silent and cold, it’s easy to assume the worst, but embryos are surprisingly tough, especially in the early stages. If the power goes out, the most important rule is do not open the incubator. Instead, wrap the entire unit in thick blankets or duvets to trap as much heat as possible.
Once power is restored, let the incubator warm back up to its correct temperature on its own. While the interruption might delay the hatch by a few hours, the embryos will usually recover, especially if the outage was less than 6-8 hours. However, it’s important to remember that long or repeated drops in temperature can be fatal.
Handling Developmental Issues
Candling offers a fascinating glimpse inside the egg, but sometimes what you see can be a cause for concern. Recognising developmental problems early allows you to manage your expectations and keep the incubator environment healthy for the viable eggs.
- Blood Rings: If you see a distinct reddish ring inside the egg during candling, it is a clear sign that the embryo has stopped developing. These eggs must be removed straight away. If left inside, they can begin to decompose and release harmful bacteria that could endanger the other healthy eggs.
- “Stuck” Ducklings (Pipped but Not Progressing): This is one of the most stressful moments for any duck keeper. A duckling might break a small hole in the shell (pipping) but then make no further progress for more than 12-24 hours. This is often caused by incorrect humidity levels during the final “lockdown” phase, which can make the inner membrane dry and tough. While interfering is risky, you can sometimes help by very carefully chipping away tiny bits of shell around the pip hole with sterilised tweezers. Be extremely careful to avoid tearing the delicate membrane underneath.
- Angel Wing: This condition, where the wing feathers twist outwards instead of lying flat, is often linked to a diet too high in protein after hatching. However, consistently high incubation temperatures can also be a contributing factor. While it’s primarily a post-hatch issue, maintaining precise temperatures helps to reduce the risk from the very beginning.
By preparing for these common setbacks, you can approach the incubation period for ducks with much more confidence. Knowing how to troubleshoot issues as they appear is a key skill that will greatly improve your chances of a successful and rewarding hatch.
For those looking to build their flock on the best possible foundation, sourcing high-quality fertile eggs is essential. At HatchingEggs.eu, we provide premium fertile eggs from expertly managed breeding stock to give you the best possible start on your hatching journey.