


Why Most Humidity Advice Falls Short (And What Actually Works)
Let’s face it, you’ve probably seen tons of articles promising the perfect incubator humidity level. One person swears by 55%, the next insists on 45%, and your eggs? They’re just sitting there, not hatching. I’ve been there, trust me. It’s incredibly frustrating. The problem is, these generic humidity guidelines miss the important details that really matter.
For instance, consider egg size. A tiny quail egg loses moisture way faster than a big goose egg. Shell thickness matters too; thicker shells mean less evaporation. And don’t forget about our lovely UK weather! A rainy day will naturally boost your incubator’s humidity, while a dry spell will drop it.
This is why blindly following charts can actually hurt your hatch. What works for someone in a dry climate might not work for you here in the UK, especially with our unpredictable weather. Getting the incubator humidity just right is key for successful hatching in the UK. Most birds need around 45-50% humidity during incubation, rising to 60% or higher for hatching. But maintaining those levels gets tricky with things like ventilation and the ever-changing humidity outside. For example, a ‘dry’ incubator here might only hit 40% humidity during a dry spell, but jump much higher when it’s damp outside.
Brinsea, a well-known UK incubator maker, recommends sticking to their specific guidelines and using weight loss to fine-tune humidity for different species. Brinsea’s guide is a fantastic resource. High humidity during hatching is super important, often aiming for 65-75%.
Recognizing the Signs of Humidity Trouble
So, how can you tell if your humidity is off? Look for clues. Sticky chicks struggling to get out? Too much humidity. Eggs drying out and chicks dying before they even pip? Too little. This article on incubation humidity might also be helpful.
Experienced hatchers often use a technique called “weight loss monitoring.” Weigh your eggs regularly to track how fast they’re losing moisture. This gives you a much better understanding of your actual humidity levels than relying on a hygrometer (which, let’s be honest, can be a bit finicky).
This way, you adjust your humidity based on what your eggs are telling you, not some random chart. Losing weight too fast? Bump up the humidity. Too slow? Lower it. It’s like having a direct line to your developing chicks!
Let’s talk specific humidity needs for different poultry. The table below outlines the optimal humidity levels for various species during incubation and hatching.
Here’s a handy table showing the ideal humidity levels for different birds:
| Species | Incubation Humidity (%) | Hatching Humidity (%) | Critical Notes |
|---|---|---|---|
| Chicken | 45-50 | 65-70 | Ensure adequate ventilation during hatching |
| Duck | 50-55 | 70-75 | Higher humidity needed due to thicker shells |
| Goose | 55-60 | 75-80 | Monitor weight loss closely for adjustments |
| Quail | 40-45 | 60-65 | Smaller eggs are more sensitive to humidity fluctuations |
| Turkey | 45-50 | 65-70 | Similar to chickens but may benefit from slightly higher humidity during hatching |
This table highlights how humidity requirements can vary. Notice the higher humidity needed for ducks and geese compared to chickens and quail. Paying attention to these differences is essential for a successful hatch.
Finally, don’t be afraid to experiment and keep good records. Every incubator, every batch of eggs, and even your home environment is unique. By paying close attention, you’ll figure out exactly what “perfect” humidity means for your setup.
Building A Monitoring System That Won’t Let You Down
That cheap hygrometer that came with your incubator? Toss it. Seriously. I’ve witnessed too many promising hatches go bad because breeders relied on inaccurate readings. I’ve even seen them off by 10-15%. Heartbreaking. Let’s talk about a monitoring system that actually works.
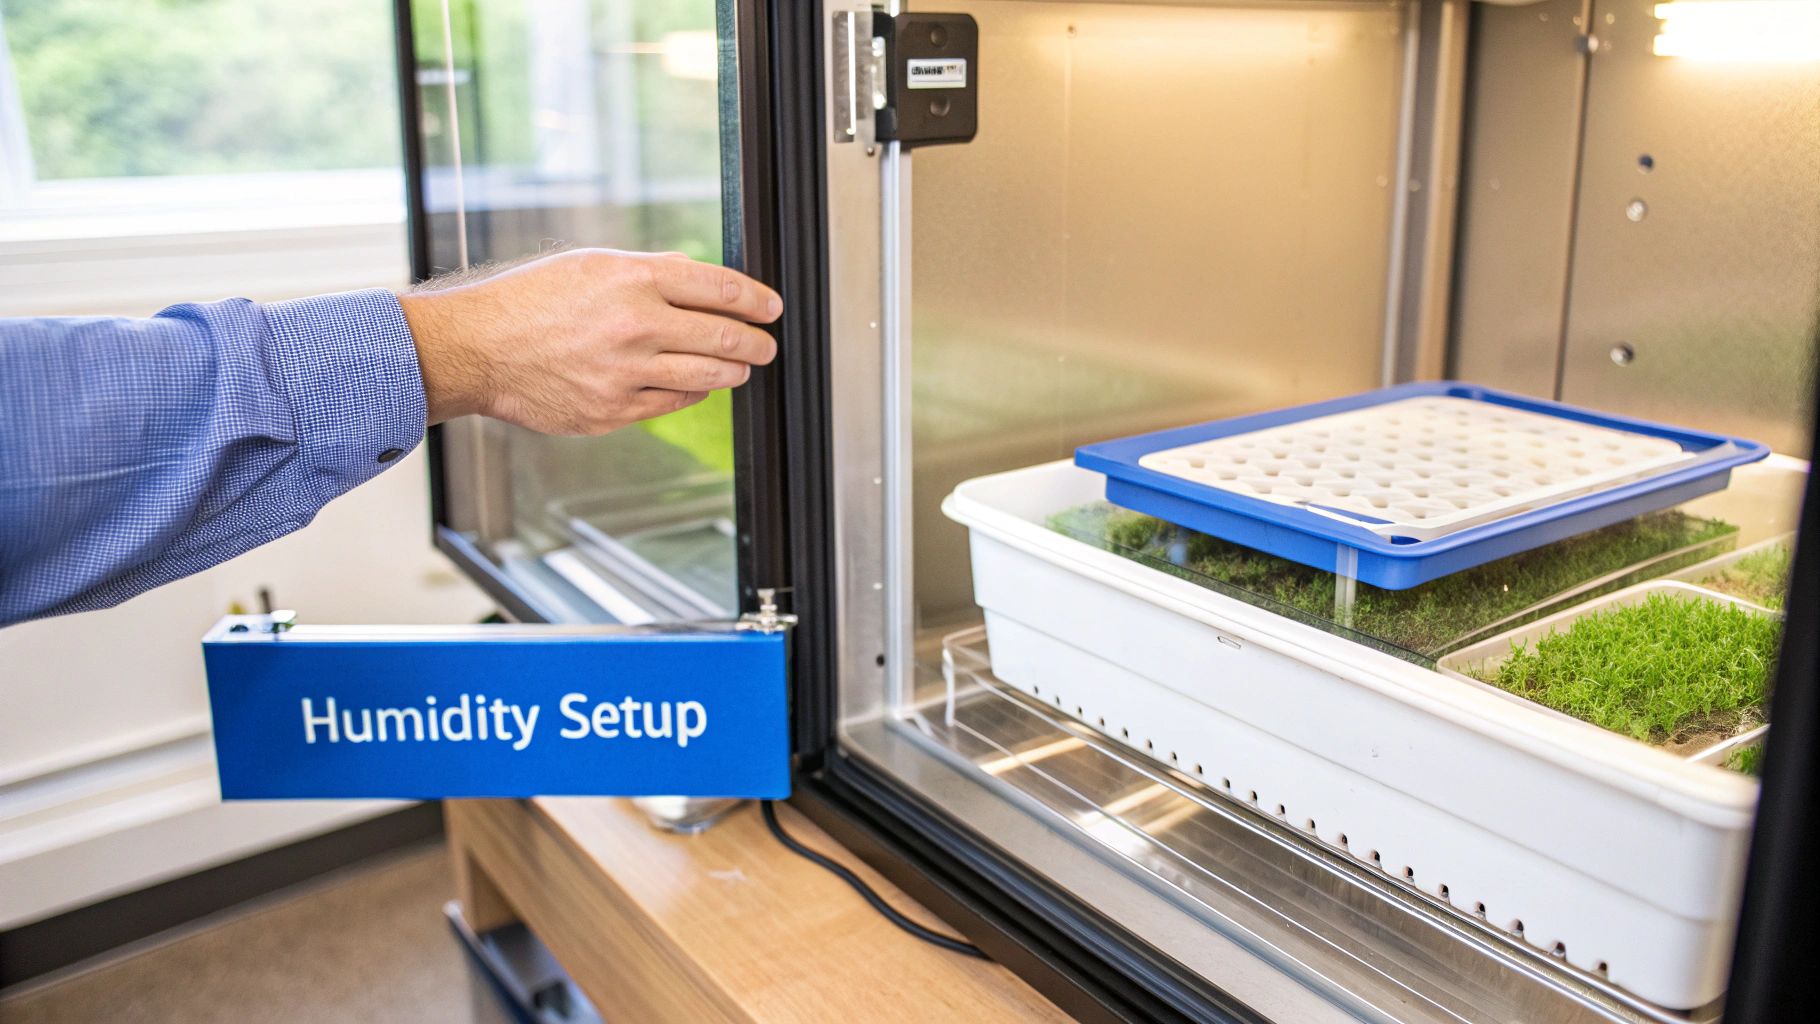
Through my own trials and errors, and chats with other experienced hatchers, I’ve figured out what makes a reliable humidity setup. Placement is key. Sticking your sensor in a corner will often give you misleading data. Corners have less airflow, so the humidity there won’t reflect the humidity around your eggs. Air circulation matters! Position the sensor where it gets a good average reading of the incubator’s air.
Choosing the Right Tools for the Job
Let’s talk tools. Digital hygrometers are usually more accurate than analog ones, but they’re also usually pricier. That extra precision? Worth every penny, especially when you consider the cost of a failed hatch. Some digital models even have wireless monitoring! Check on your incubator from your phone without constantly opening it and messing with the environment. You might also find our guide on incubating chicken eggs at home helpful.
Backup Strategies and Calibration
Even with a fancy digital system, you absolutely need a backup. What if your main hygrometer decides to take a vacation mid-hatch? A simple, reliable analog hygrometer can be a lifesaver. It’s like having a spare tire in your car.
Calibration is crucial. Even the best hygrometers can drift over time. Regular calibration keeps your readings accurate. A saturated salt solution provides a known humidity level for calibration – super useful!
Troubleshooting Your Humidity Monitors
What if your monitor starts acting up? Don’t freak out! First, check the batteries. Sounds simple, but a low battery can cause all sorts of strange readings. Then, make sure the sensor is clean. Dust and fluff can mess with accuracy. Still having issues? Check the manufacturer’s instructions – they often have helpful troubleshooting tips.

A good monitoring system isn’t just about expensive gadgets; it’s about knowing how to use them. Pay attention to placement, calibration, and backups. You’ll significantly boost your chances of a successful hatch. Trust me, seeing those healthy chicks is worth all the effort. This careful approach will save you headaches down the road. Accurate monitoring is the foundation of successful hatching.
Making Real-Time Adjustments Without Panicking
So, your humidity is way off, and you’re envisioning a disaster. Been there! Take a deep breath. Instead of making big changes, let’s talk about how to gently nudge your incubator’s humidity back on track.
It’s like driving – small corrections are better than jerky movements. Humidity creeping up? Crack a vent just a bit. Dropping down? Try a small, damp sponge. Tiny tweaks can have a surprisingly big impact.
Handling Sudden Humidity Swings
What about those moments when your humidity suddenly plummets or spikes? That’s when you need a quick fix. For sudden drops, a light mist of lukewarm water inside the incubator (never on the eggs!) can help while you find the root cause. If it spikes, briefly opening the incubator (carefully so you don’t chill the eggs) can help lower it. These are just temporary solutions, though. The important thing is to figure out why the sudden change happened.
Patience is your best friend here. After making a change, give your incubator time to react. They all have their own little quirks. Some respond quickly, others are slower. Watch what happens, don’t keep fiddling with it constantly. You might want to check out automatic egg incubators if this sounds like a hassle.
Practical Solutions for Humidity Control
A few basic tools can really help you fine-tune your incubator’s humidity. Adjusting the water surface area is a tried-and-true method. A bigger surface area means more evaporation, which raises humidity. Smaller area, less humidity. Your ventilation settings also play a big role. More airflow usually lowers humidity, while less airflow lets it build up. Getting these two working together is the key – it’s a balancing act.
Here in the UK, stable humidity can be a real headache thanks to our ever-changing weather. In summer, the ambient humidity can get so high that incubators struggle to maintain a lower setting. This is because they can’t remove moisture; they can only add it or maintain it. Lots of UK breeders put their incubators in the coolest room, away from direct sunlight and damp areas like kitchens and bathrooms. Some even run their incubators ‘dry’ during summer, relying on the high ambient humidity. A target of 50-55% relative humidity is common, but actual levels can fluctuate between 40% and 65% due to our climate. Learn more about UK humidity challenges here.
Understanding Your Incubator’s Quirks
Remember, every incubator is unique. Some have finicky thermostats, others have leaky seals. Get to know the personality of your machine. Does it run hot or cold? Does humidity always read high or low? By observing its behavior, you’ll get better at making adjustments based on what you actually see, not just what the manual says should be happening. Trust your gut!
This hands-on experience, combined with patience and a good understanding of your incubator, will help you make smart decisions and keep those humidity levels right where they need to be. Don’t be afraid to experiment – every hatch is a learning opportunity. It’s all part of the process!
Nailing The Critical Timing Transitions
This is where the real magic happens. Successfully hatching chicks isn’t just about what you do, it’s about when. It’s about knowing the perfect moment to adjust your incubator’s humidity and trusting your gut. Forget those rigid schedules! We’re not baking a cake here; we’re nurturing life.
Those last few days are crucial. Humidity control is everything. You’ve probably held steady at about 50% humidity for the first 18 days, but what happens next? Most folks will tell you to bump it up to 70% for those final days before hatch. But sometimes, you need to go off-script.
I’ve learned from some seasoned breeders that individual eggs can develop at different rates. You might see one little egg pipping a day or two before the others. That egg might need that humidity boost right then, even if its siblings aren’t ready. It’s about close observation and being willing to adjust your plan.
Let’s take a look at a typical humidity timeline for a 21-day incubation period:

See how that humidity ramps up in the final days? That’s key to helping those chicks break free.
Recognizing When Your Timeline Shifts
Here’s the thing: room temperature matters. A cold room can slow down development. That “Day 18” humidity increase? Might need to happen on Day 19 or even 20. A warm room can speed things up.
Then there are the curveballs. Power outages. Equipment malfunctions. These things happen! Don’t freak out. Assess the situation. How long was the power out? Did the temperature drop much? Adjust your strategy based on the condition of your eggs. You might need to extend the incubation period a bit or adjust the humidity to make up for lost moisture. This article on duck incubation is a good read on how timing can vary between species.
Recovery Strategies for Unexpected Events
Here’s a tip I learned the hard way: always have a backup. A small, battery-powered incubator can be a lifesaver during a power outage. A second hygrometer is a good idea, too, just in case your main one decides to take a break.
Incubation Stage Humidity Timeline And Adjustment Points
This table outlines a typical 21-day incubation humidity schedule, along with key actions and potential warning signs. Keep in mind that this is a general guideline, and you may need to adapt it based on your specific circumstances.
| Days | Humidity Target (%) | Key Actions | Warning Signs |
|---|---|---|---|
| 1-18 | 50 | Maintain consistent temperature and humidity. Regularly turn eggs. | Eggs losing moisture too quickly. |
| 19-20 | 65-70 | Increase humidity. Stop turning eggs. | Eggs not showing signs of pipping. |
| 21 | 70-75 | Monitor hatch. Assist chicks if necessary (only if absolutely necessary). | Chicks struggling to emerge. Sticky chicks. |
Remember, every hatch teaches you something new. Don’t be discouraged if things don’t go perfectly. Pay attention to your eggs. Be flexible. You’ll get the hang of humidity control. You’ll be hatching healthy, happy chicks in no time. It’s about observation, adapting, and trusting your instincts.
Fixing Problems Before They Destroy Your Hatch
Incubator humidity problems? It can feel like the world is ending, I know. I’ve been there. Panic sets in, and you start making changes you might later regret. Trust me, a calm, methodical approach is way better than frantic adjustments. Let’s break down how to troubleshoot humidity control issues.
Diagnosing the Source of Erratic Humidity
First things first: find the root of the problem. Is your equipment acting up? Did the weather suddenly shift? Or maybe it’s something you’re doing (or not doing)?
I remember one hatch where my humidity kept dropping. I was sure my hygrometer was broken. Turns out, there was a hairline crack in my water reservoir! It was slowly leaking. Easy fix, but talk about unnecessary stress.
Condensation is another common issue. Those foggy incubator windows aren’t just annoying—they create little microclimates inside, messing with your readings. This can cause uneven development and lower hatch rates. Regularly wiping down the windows helps, but be careful not to chill the eggs.
Stabilizing Stubborn Humidity and Handling Sudden Changes
Sometimes, humidity just won’t cooperate. If it keeps creeping up or down, try playing with the water surface area inside your incubator. Larger surface area means more evaporation and higher humidity. Smaller surface area, lower humidity.
For example, if your humidity is too low, try adding a shallow dish of water. It can make a surprisingly big difference.
Sudden weather changes can also throw things out of whack. A heatwave can send humidity soaring, while a cold snap can make it plummet. A good environmental control system is essential, but sometimes even that isn’t enough. In a pinch, you might have to temporarily adjust your incubator’s ventilation, or even add a damp sponge (keep it away from the eggs!) to rebalance things.
Emergency Protocols and Assessing Egg Viability
What if a real disaster strikes? Power outage? Incubator malfunction? First, breathe. Assess the situation. Check the temperature and humidity. If the temperature dropped significantly, your eggs might not be viable. Candling can help you see if development has stopped.
If the eggs seem okay, work to stabilize the environment ASAP. Different species have different tolerances, so knowing your incubation periods is key. You might find our guide on duck incubation periods helpful.
If the damage is extensive, you may have to accept the loss. It’s a tough call, but sometimes it’s the best choice.
By understanding the potential problems and having a plan, you’ll be much better prepared to handle humidity emergencies. A little knowledge and a dose of patience go a long way!
Advanced Strategies That Separate The Experts
Want to take your incubator humidity game to the next level? This is where we dive deep into the secrets of truly impressive hatches. Forget the basics – we’re talking expert techniques used by breeders who consistently get amazing results.
Fine-Tuning Humidity with Egg Weight Loss
One of the most powerful tools is calculating egg weight loss. This takes all the guesswork out of humidity adjustments. By tracking weight loss, you’re basically having a conversation with your developing chicks!
Weigh your eggs regularly, every few days, and calculate the percentage lost. Too fast? Your humidity is probably too low. Too slow? It’s likely too high. This method is especially helpful for different species because ideal weight loss varies. I’ve found this to be absolutely critical with peacock eggs, for example, which are much more sensitive to humidity fluctuations.
Creating Controlled Microclimates
Incubating multiple species? Microclimates can be a game-changer. Think of it like having different rooms in your house, each with its own thermostat setting. You can create separate environments within your incubator, each with custom humidity.
This can be done with separate containers and damp sponges, or even by partitioning your incubator with humidity-retaining materials. It’s not as complicated as it sounds, and it allows you to optimize conditions for each species. I’ve had great success hatching quail and chickens simultaneously using this method.
Implementing Automated Systems
Automation takes humidity control to a whole new level. Automated systems, like the Brinsea Advanced Humidity Control, constantly monitor and adjust conditions, so you don’t have to. They track temperature, humidity, and even turning, giving you precise control and freeing up your time.
It’s like having a 24/7 incubator assistant! While an investment, it’s worthwhile for serious breeders. I personally use an automated system for my larger hatches and it’s been a lifesaver.
Data Logging for Continuous Improvement
Data is your best friend. Log your incubator data – temperature, humidity, even egg weight – to gain valuable insights. A simple spreadsheet or an incubator logging app works wonders. You’ll start to see patterns and trends that’ll help optimize your process.
This helps you troubleshoot problems before they impact a hatch. I’ve learned so much from reviewing my incubator logs, it’s invaluable for making adjustments and improving each hatch.
Advanced Troubleshooting and Backup Systems
Sometimes things go wrong, even with the best planning. Advanced troubleshooting means looking beyond the obvious. This might involve checking for air leaks, calibrating your hygrometer, or checking ventilation.
A solid backup system is crucial, especially for important hatches. A second incubator, a backup power supply, or even a manual humidity control method can save the day. I learned this the hard way during a power outage a few years back. Luckily, I had a backup incubator ready to go.
Standard Operating Procedures and Record Keeping
Consistency is the key to predictable hatches. Standard Operating Procedures (SOPs) ensure consistent practices, no matter what incubator you use or the time of year. These SOPs should cover everything from setup and monitoring to troubleshooting and maintenance.
Detailed records are vital for learning and improvement. Log everything: humidity, temperature fluctuations, hatch dates, chick health. This data is pure gold as you refine your techniques. I keep a detailed log for each hatch, and it’s been instrumental in my success. By combining these advanced strategies, you’ll become a true incubator humidity master. It’s a learning process, but the rewards – those fluffy, healthy chicks – are absolutely worth it.
Your Roadmap To Consistent Hatching Success
Mastering humidity in your incubator isn’t about luck; it’s about understanding your specific setup and making little tweaks along the way. Think of it like baking a cake – you wouldn’t just throw the ingredients together and hope for the best. You follow the recipe but adjust the oven temperature or baking time depending on your oven. Incubator humidity is similar – it requires that same attention to detail.
Creating Personalized Humidity Protocols
Most poultry needs around 45-50% humidity during incubation, bumping up to 60% or higher during hatch. These percentages are great starting points, but consider them more like guidelines than hard and fast rules. Things like egg size, shell thickness, and even your incubator’s location can all influence the ideal humidity level.
For example, I noticed my incubator tends to run dry, especially during the winter. So, I added a small extra water container to boost the humidity. It’s a trick I learned through trial and error, not from any manual. You’ll get to know the quirks of your own incubator too, and discover the small adjustments that work best for you.
Seasonal Adjustments and Backup Plans
Just like the weather outside, the humidity inside your incubator can be affected by seasonal changes. Here in the UK, I have to adjust my incubator settings more frequently during the dry winter months compared to the more humid summer. Anticipating these changes is key to a successful hatch.
Having a backup plan is just as important. Imagine a power cut right in the middle of hatching – devastating! A second hygrometer and a small, battery-powered backup incubator can be lifesavers. You might also find this helpful: Raising Chickens From Eggs.
Measuring Progress and Maintaining Equipment
Don’t just rely on hatch rates alone. Think of egg weight loss, chick health, and even hatch times as vital clues. These metrics can reveal subtle issues with your humidity control long before a hatch goes completely sideways.
Regular maintenance also keeps things running smoothly. A clean incubator, calibrated hygrometers, and regular checks for leaks are all essential for maintaining the right humidity.
Continuous Learning for Long-Term Success
The world of poultry breeding is a constant learning process. Joining online forums or connecting with other breeders is a great way to pick up new tips and tricks. Sharing experiences is invaluable. Remember, every hatch, successful or not, is a learning experience.
By paying close attention, making tweaks as needed, and constantly learning, you’ll develop a real feel for incubator humidity. It’s a journey, and every hatch gets you closer to your poultry goals! Ready to hatch your dreams? HatchingEggs.eu offers premium hatching eggs from carefully selected breeding stock. With over 18 years of experience, we provide high-quality eggs and expert support to breeders across Europe. Visit us today and start your hatching journey with confidence.