


Why Raising Chickens From Eggs Changed Everything For Me
There’s something truly magical about watching a tiny chick peck its way out of an egg you’ve cared for over the past three weeks. It’s a deeply connecting experience, bringing you closer to the cycle of life in a way that’s hard to describe. After chatting with countless chicken keepers across the UK, from Devon to Yorkshire, I’ve realized it’s so much more than just getting chickens. It’s about taking control, building a connection with nature, and that incredible sense of accomplishment.
For example, I spoke with Sarah in Devon, who started incubating her own eggs after a devastating illness swept through her flock. Her motivation was to raise healthier birds with known genetics – a desire for resilience I completely understand. Then there’s James in Yorkshire, who started hatching eggs simply to show his kids where their food really comes from. He told me how surprisingly rewarding the whole process was, fostering a connection to nature he never expected. These stories, and so many others, illustrate a real shift in how we think about our food.
This move towards hatching your own eggs aligns perfectly with the growing desire for food security and sustainable living. In a world increasingly focused on where our food comes from and how it’s produced, hatching your own flock gives you a tangible sense of control. You’re not just getting chickens; you’re gaining a deep understanding of genetics, health management, and the entire lifecycle of your birds. This hands-on approach empowers you to make informed decisions, shaping the health and well-being of your flock right from the start. Backyard chicken-keeping, especially raising chickens from eggs, has exploded in popularity across the UK. In fact, domestic fowl are now the fourth most popular pet in Britain, with roughly 0.4% of UK households owning them. This growing trend reflects increasing concerns about food sourcing and a desire for more self-reliance, a trend that became especially noticeable during the COVID-19 pandemic. Discover more insights on urban chicken-keeping trends.
Let’s not forget the financial benefits. While there’s an initial investment for equipment, the cost per chick is drastically lower than buying them from a feed store. Think pennies versus pounds! This makes hatching your own a very attractive option for those looking to start or expand their flock on a budget. Plus, it allows you to choose specific breeds based on what’s important to you, whether that’s egg production, meat quality, or simply the joy of a diverse and colorful flock.
In the end, hatching your own chickens isn’t just about the end result; it’s about the journey. The learning process, the challenges you overcome, and the deep satisfaction of watching life unfold – those are the real rewards. It connects us to a more sustainable and self-sufficient way of life, deepening our understanding of the natural world, and empowering us to nurture life from its very beginning.
Finding And Preparing Eggs That Actually Hatch
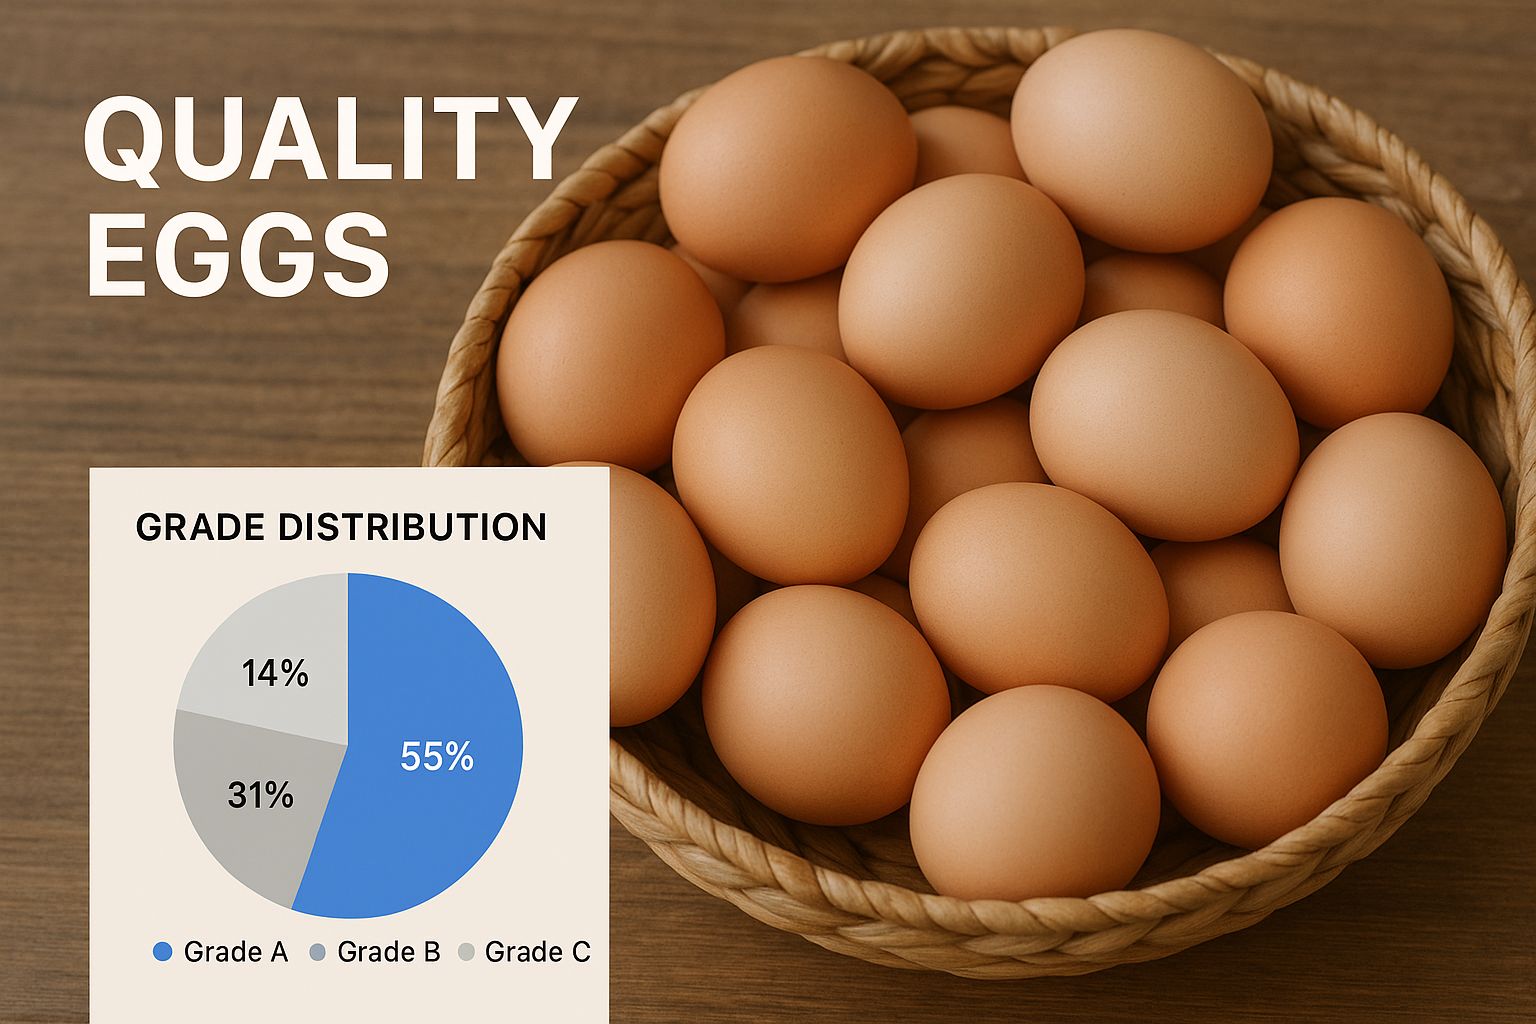
The picture above shows a basket of nicely sized eggs, and it reminds me how important choosing the right eggs for incubation really is. When you’re starting out raising chickens from eggs, it’s easy to think any fertile egg will do. After talking to lots of experienced hatchers, I’ve learned that picking the right eggs is the most important part – it can absolutely make or break your hatch.
This means getting eggs from healthy, well-fed chickens. Fresh is best – ideally less than a week old. Local breeders are a fantastic option, and the eggs are often better quality than shipped ones. Though, I’ve had success with both! The real key is how you handle those eggs once you have them.
Handling Hatching Eggs: Avoiding Temperature Shock
One of the biggest, and most often overlooked, problems is temperature shock. It can wipe out your embryos without you even realizing what happened. Never take eggs straight from the fridge and put them in the incubator. I learned this the hard way – my first batch didn’t develop at all because of this mistake! Learn more in our article about when to candle chicken eggs.
Proper storage is also critical. Store eggs pointy end down, and turn them every day until they’re ready for the incubator. This keeps the yolk centered and stops the embryo from sticking to the shell. Think of it like rotating a cake in the oven so it bakes evenly.
Candling: Your Secret Weapon
Once you’ve got your eggs and stored them correctly, candling becomes your best friend. It’s a simple trick: shine a bright light through the egg in a dark room to see inside without cracking it open. Candling helps you see which eggs are developing well and which ones need to be removed before they cause problems for the others.
Understanding Candling Results
The signs are easy to spot once you get the hang of it. You’re looking for clear blood vessels, a growing dark spot (the embryo), and the air cell getting bigger. That air cell is super important – it gives the chick its first breath of air and helps regulate humidity inside the egg.
Before we talk more about candling, let’s look at a handy table summarizing egg quality:
Egg Quality Assessment Guide
A comprehensive comparison of fertile egg characteristics from excellent to poor quality. This guide will help you quickly assess the quality of your hatching eggs.
| Quality Indicator | Excellent | Good | Poor | Reject |
|---|---|---|---|---|
| Shell | Clean, smooth, uniform, no cracks | Mostly clean, minor imperfections | Dirty, rough, thin spots, hairline cracks | Cracked, broken, misshapen |
| Air Cell | Small, fixed | Medium, slightly mobile | Large, very mobile | Extremely large, detached |
| Yolk | Faintly visible, centered | Visible, slightly off-center | Clearly visible, significantly off-center | Blood spots, stuck to shell |
| Albumen (White) | Clear, firm | Mostly clear, slightly watery | Cloudy, watery | Blood streaks, dark spots |
This table highlights the key differences between egg qualities, allowing you to make informed decisions about which eggs to incubate. Remember, selecting high-quality eggs significantly increases your chances of a successful hatch.
Recognizing Problems Early
Candling also helps you catch problems early. A blood ring, for instance, means the embryo died early on. A cloudy or opaque egg could mean bacterial contamination. Taking these eggs out quickly keeps the incubator healthy for the other eggs and improves your overall hatch rate. It’s like weeding a garden – remove the weaker plants so the healthy ones can thrive. A successful hatch isn’t just about luck, it’s about careful observation and quick action.
Building An Incubation Setup That Actually Works
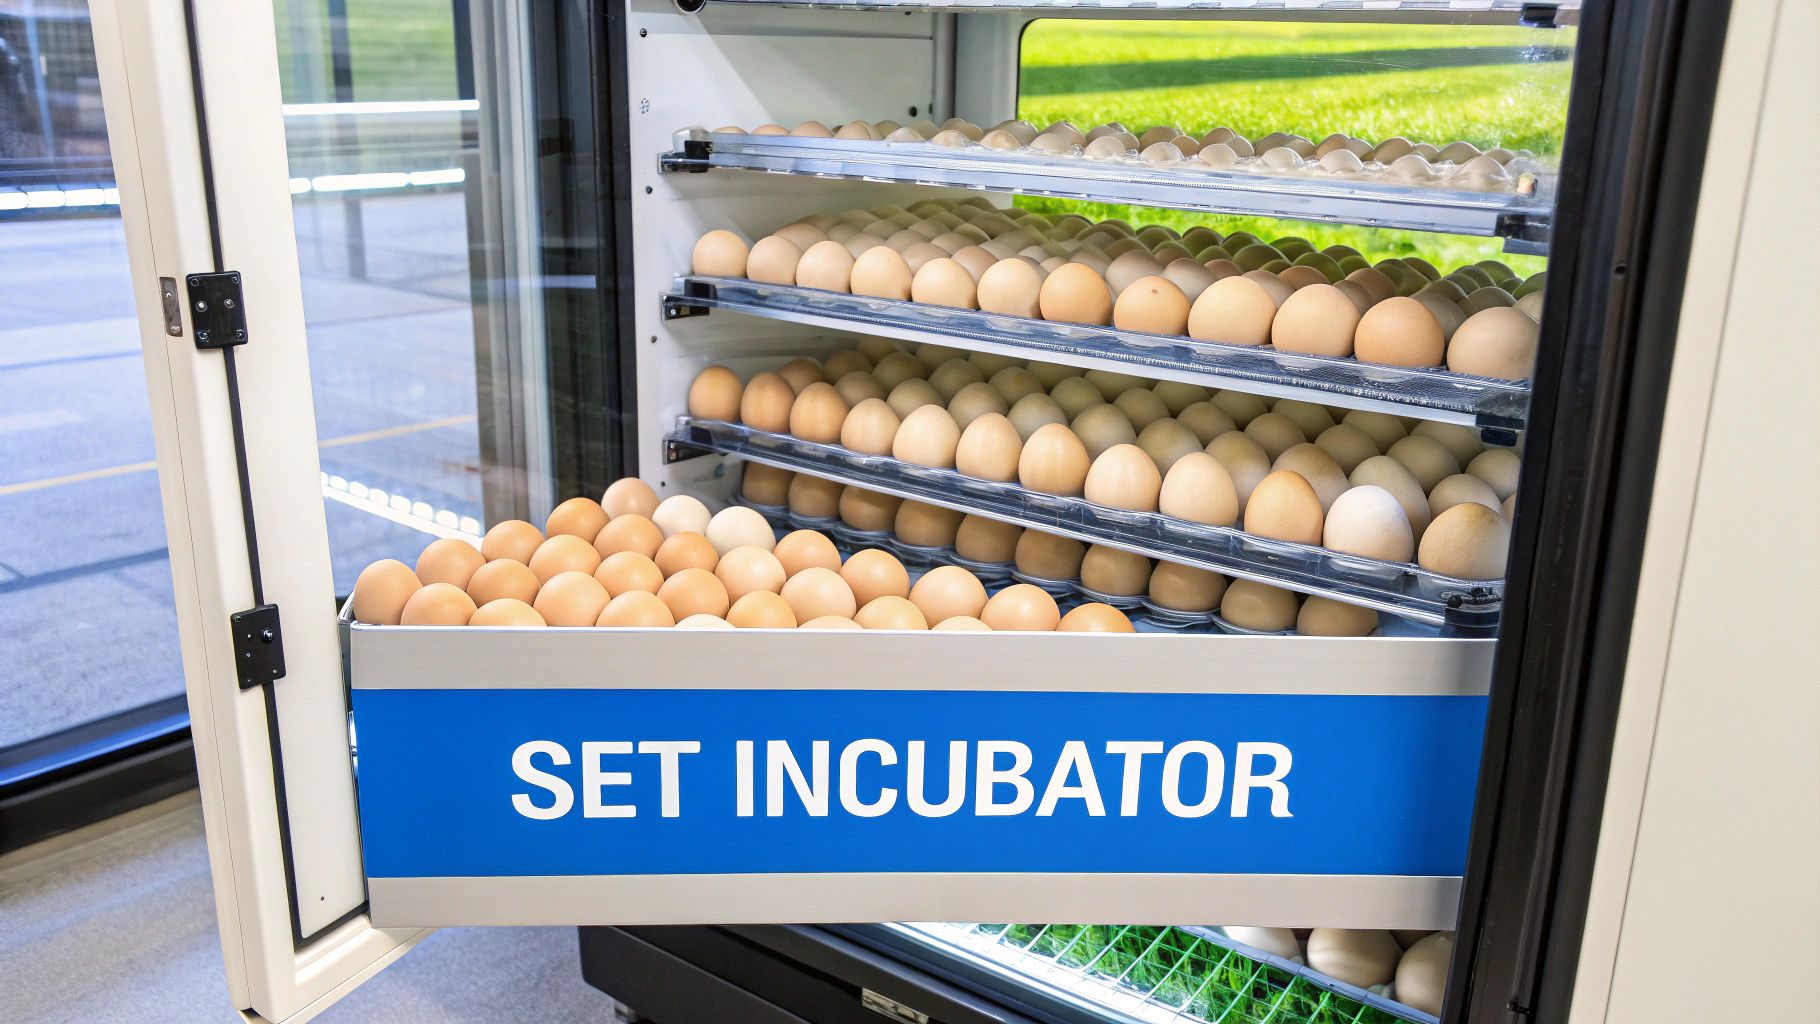
This image shows different types of incubators – from simple still-air models to more complex setups. It really illustrates the range of options out there. A successful hatch isn’t about fancy equipment, it’s about careful management. You can get amazing results with a basic incubator if you understand the fundamentals.
Let’s talk about building an incubation setup that actually works. Forget those perfect automatic conditions promised in brochures – it rarely works out that way! After trying different incubators and talking to experienced hatchers, including commercial operations, I’ve learned success comes down to knowing your environment. That means understanding your home’s temperature fluctuations, humidity levels, and even which room is best suited for your incubator.
Location, Location, Location: Positioning Your Incubator
Everything from drafts to sunlight can impact your hatch rate. I’ve seen folks achieve a 90% hatch rate with a basic still-air incubator through careful monitoring. Others struggle with pricey forced-air models because they over-relied on automation. The key? Redundancy.
This means having backup thermometers and hygrometers. A backup power supply is a solid investment, too, if you’re serious about hatching. Imagine a power cut during lockdown – a disaster! Room placement is crucial. Keep your incubator away from direct sunlight, heating vents, and high-traffic areas where vibrations can disturb those developing embryos. Avoid spots like next to the washing machine or a frequently used doorway.
Temperature and Humidity: The Dynamic Duo
Temperature stability is more important than perfect accuracy. A steady 37.2°C is much better than fluctuating around 37.5°C. Think of a baby’s nursery – consistent warmth is key. Humidity becomes especially important during lockdown (the last three days before hatching). Too low, and chicks struggle to hatch. Too high, and they might drown in their shells. You might find this helpful: our guide on incubation humidity.
Turning: A Consistent Routine
Whether automatic or manual, your turning mechanism needs consistent attention until day 18. Think of gently rocking a cradle – you’re helping the embryo stay positioned correctly. Skipping turns or being inconsistent can lead to the chick sticking to the shell. I mark my calendar and set phone reminders – it’s that important!
Redundancy: Your Safety Net
Don’t rely solely on the incubator’s built-in thermometer and hygrometer. Invest in separate, calibrated instruments. I even keep a small, battery-powered fan circulating air near my incubator to minimize temperature gradients. It might seem like overkill, but these extra steps make a huge difference, especially with fluctuating weather.
Keep a detailed incubation log, too. Record temperature and humidity readings several times a day, note any adjustments, and even jot down observations about the eggs during candling. This log becomes a treasure trove of information for troubleshooting and improving your hatch rate. It’s like a personal incubator diary! This helps you spot patterns, track progress, and learn from each hatch. Successful incubation is about the right equipment and proactive management.
Surviving Hatch Day Without Losing Your Mind
Hatch day. It’s a rollercoaster, a potent mix of excitement and nerves that no one quite prepares you for. After 21 days of hovering over your incubator, the moment that first tiny beak pips through is pure magic. Thrilling, terrifying, and something you’ll never forget.
The Art of Doing Nothing
Here’s a hard-earned lesson from my own hatching adventures: sometimes the best thing you can do is nothing. It goes against every instinct to not help a chick that seems to be struggling, but trust me, interfering too early can do real damage. Learning the difference between normal hatching struggles and true distress is key.
Pipping, that initial crack in the eggshell, can take anywhere from 12-18 hours. If you jump in too soon, you risk causing bleeding. A chick that looks stuck might just be absorbing its yolk sac – a crucial step before it fully emerges. Patience is your best friend here, even when it’s hard to come by.
Temperature and Humidity: Critical Factors
Temperature and humidity become absolutely crucial on hatch day. Even a quick peek inside the incubator can cause a dangerous drop in both, and that can spell trouble for chicks mid-hatch. Think of it like baking a cake – you wouldn’t keep opening the oven door, would you?
The Symphony of Hatching Sounds
The sounds of hatch day are an experience in themselves. From the first faint peeps inside the shell, to the scratching and zipping as they move around, and finally the contented chirps of the newly hatched – it’s a beautiful symphony of new life.
Accepting the Unhatched
Here’s the truth: not every egg will hatch. Even with perfect conditions, some just won’t make it. This is a normal part of the process. I’ve started keeping detailed records – noting which eggs pip first, how long each stage takes, and any issues that come up. It’s like a gardening journal – tracking your progress helps you learn and improve for future hatches. It also helps manage expectations, so you’re not disappointed.
Post-Hatch Patience: Letting Nature Take Its Course
Once a chick pips, resist the urge to help it out. Let them fully absorb that yolk sac, which provides crucial nutrients for those first few hours. Interfering too early can disrupt this vital process. Give them time to dry and fluff up in the incubator before moving them to the brooder.
Recognizing True Distress
While patience is important, you also need to know when a chick genuinely needs help. If a chick has pipped but hasn’t made any further progress in 24 hours, or shows signs of bleeding, careful intervention might be necessary. But before you do anything, seek advice. Experienced hatchers or reliable online resources can guide you. A botched rescue attempt can be more harmful than doing nothing at all.
This whole experience, from the first pip to the last fluffy chick, is what makes hatching your own chicks so rewarding. It’s a lesson in patience, observation, and respecting the natural rhythm of life.
Creating A Brooder That Keeps Chicks Thriving
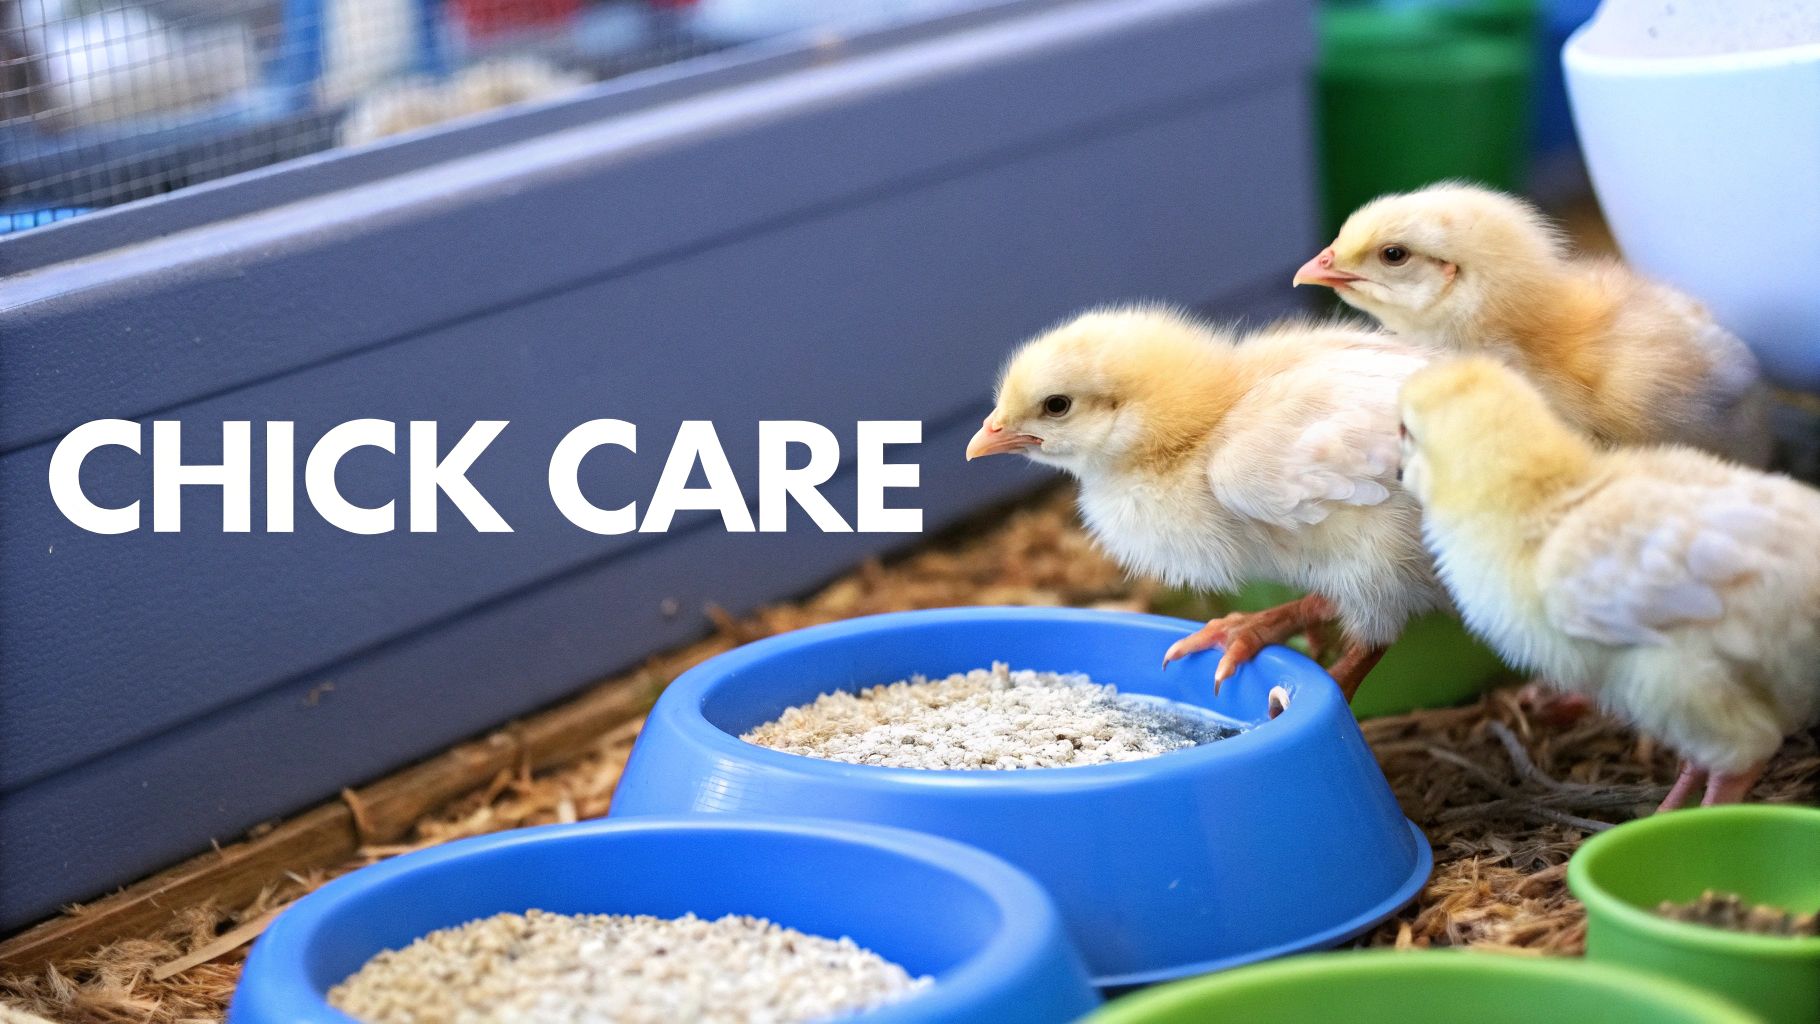
So, you’ve successfully hatched those adorable, chirping balls of fluff! Now, they need a home away from the incubator – the brooder. This is a crucial step, a bridge between hatching and a healthy, thriving flock. Over the years, I’ve tried all sorts of brooder setups, and I’ve learned that bigger isn’t always better. Tiny chicks in a massive brooder can actually get stressed. Think about it – they’re suddenly in this huge space, struggling to stay warm and find their food and water.
Brooder Size: Finding the Sweet Spot
Initially, aim for about one square foot of space per chick. This gives them enough room to snuggle up for warmth but also allows them to explore. As they grow (and they grow fast!), you can gradually expand the brooder. It’s like adjusting a baby’s playpen as they become more mobile. This gradual expansion helps them feel secure and makes it easier to manage the temperature and keep things clean.
Heat Distribution: More Important Than Intensity
It’s not about blasting the heat, it’s about distributing it effectively. Create different temperature zones within the brooder. This lets your chicks choose their comfort level. They can move closer to the heat source when they’re cold and further away when they’re warm. Watch their behavior – it’s the best indicator. Huddled chicks? Too cold. Scattered and panting? Too hot. The Goldilocks scenario is what you’re after: contentedly scattered chicks, some eating, some sleeping, some exploring – “just right.”
Flooring: Impacting Leg Development
The flooring you choose plays a big role in your chicks’ leg development. Slippery surfaces like newspaper or glossy cardboard can lead to spraddle leg, a condition that can permanently affect their mobility. For the first week, paper towels are fantastic. They prevent the chicks from confusing food and bedding, and they make cleanup a breeze. Once they learn the difference between food and bedding, pine shavings are a great option. Trust me, chicks are messy little creatures, so easy cleanup is a must! If you ever encounter digestive issues, you might find our guide on diarrhea in chicks helpful.
Water Systems: Preventing Drowning
While water is essential, traditional waterers can be dangerous for little chicks. They can easily drown. Shallow dishes with marbles or pebbles inside prevent accidents. Nipple waterer systems are great for older chicks, but you’ll need to teach them how to use them. Gently dip each chick’s beak onto the nipple a few times – they’ll catch on quickly. Speaking of raising chickens, the increasing popularity of hatching your own has led to a boom in the chicken coop market, especially in the UK. The UK is a major player in this growing market, projected to reach USD 907.2 million by 2035, up from USD 562.3 million in 2025. Discover more insights about the chicken coop market.
Other Important Considerations:
- Feed placement: Make sure food is readily available at all times, and place feeders strategically to avoid overcrowding and wasted food.
- Ventilation: Fresh air is key to a healthy brooder, preventing ammonia buildup. However, avoid drafts, especially in the early weeks. It’s all about balance.
- Predator protection: Even indoors, your chicks aren’t entirely safe. Cats, dogs, and even rodents can be a threat. Secure the brooder with covers or barriers for peace of mind.
A well-designed brooder is a nurturing environment where your chicks can thrive. Their behavior will tell you everything you need to know. Pay attention to the details, and you’ll give your chicks the best possible start. This is a rewarding part of raising chickens from eggs.
Here’s a handy table I’ve put together over the years to help guide you:
Chick Development Temperature Schedule
Weekly temperature requirements from hatching to coop transition
| Week | Temperature (°C) | Heat Source Height | Signs to Watch |
|---|---|---|---|
| 1 | 35-37 | 15-20 cm above chicks | Huddling (too cold), Panting (too hot) |
| 2 | 32-35 | 20-25 cm above chicks | Huddling (too cold), Panting (too hot) |
| 3 | 29-32 | 25-30 cm above chicks | Huddling (too cold), Panting (too hot) |
| 4 | 26-29 | 30-35 cm above chicks | Huddling (too cold), Panting (too hot) |
| 5 | 23-26 | Gradually remove heat source | Observe comfort levels |
| 6+ | Room temperature | No heat source needed | Monitor during cold spells |
This table summarizes the key temperature adjustments needed as your chicks grow. Remember to observe their behavior and make adjustments as needed. It’s not a rigid schedule, but rather a helpful guideline based on my experience.
Keeping Your Home-Raised Chicks Healthy
Raising chicks from fluffy little balls of fluff to clucking members of your flock is incredibly rewarding. But it’s also a big responsibility, especially when it comes to their health. Here in the UK, biosecurity is more important than ever. We’re not just talking about keeping your chicks healthy, we’re talking about protecting the whole poultry community.
Biosecurity: Protecting Your Flock and Others
With Avian Influenza Prevention Zones a regular occurrence these days, strong biosecurity measures are absolutely essential. These measures aren’t just bureaucratic hurdles, they genuinely protect your feathered investment and your neighbours’ flocks too. A few years back, a local avian flu outbreak kept my young chicks, just itching to explore the great outdoors, cooped up inside for months. It was a tough lesson, but it really drove home the importance of being prepared.
Speaking of being prepared, building a relationship with a poultry-savvy vet early on is a smart move. You might even want to read up on how to worm chickens. As of early 2025, the UK is under an Avian Influenza Prevention Zone, which means strict biosecurity measures are in place for all hen keepers. This includes things like keeping birds indoors, regularly cleaning and disinfecting equipment, and making sure their feed and water are squeaky clean. For those of us raising chickens from eggs, maintaining these biosecurity standards is key to preventing the spread of diseases like avian influenza. Learn more about avian influenza and biosecurity here.
Finding a Poultry Vet: Essential Expertise
Many general vets simply don’t have specific poultry knowledge. In an emergency, you need someone who knows chickens inside and out, someone who can quickly assess the situation and give you informed advice. Chickens aren’t cats or dogs; their health needs are different, and a specialist can make all the difference. Vaccination schedules also vary quite a bit depending on your region and the specific risks in your area. A good poultry vet can guide you through these decisions and ensure your chicks get the right protection.
Common Chick Health Challenges: Environmental Factors
A lot of common health problems in young chicks, like pasty butt (a blockage of the vent), respiratory problems, and leg issues, are often caused by environmental factors. Pasty butt, for instance, is frequently caused by temperature stress. Poor ventilation can lead to respiratory illnesses, and the wrong type of flooring can contribute to leg problems like spraddle leg. Addressing these environmental factors head-on is often the best way to prevent these issues in the first place.
The Power of Prevention: Clean Water and Observation
Cleanliness, especially when it comes to your water systems, can prevent more problems than any medication. I’ve found that adding apple cider vinegar to the water once a week helps keep things fresh and clean. During stressful times, like introducing new chicks to the flock or when the weather changes drastically, I also add probiotics to their water. Opinions on supplements vary, but everyone agrees: clean water is absolutely essential.
Regularly observing your chicks is another key to success. Get to know their normal behavior – how they eat, sleep, play, and interact with each other. This will help you spot anything unusual right away. Early detection is critical because treatment options are always most effective when problems are caught early.
Recognizing the Signs: Acting Quickly
For example, if your chicks are huddled together under the heat lamp instead of spread out comfortably, it might mean they’re too cold. On the other hand, if they’re panting and avoiding the heat source, they could be overheating. Changes in their droppings, lethargy, or a loss of appetite are also warning signs that you should investigate further.
Raising healthy chicks requires vigilance and proactive management. It’s not just about reacting to illness; it’s about creating an environment that helps them thrive from the moment they hatch. By focusing on prevention, early detection, and getting expert advice when you need it, you’ll be well on your way to raising a happy, thriving flock.
Successfully Transitioning To Adult Chicken Life
Raising chicks isn’t just about the hatch; it’s about guiding them to adulthood. This final stage can surprise first-timers, but with a little know-how, you’ll navigate this transition with ease. You’ve brought these little ones from egg to chick, and now it’s time for their next adventure.
Gradual Temperature Reduction: Observing Behaviour
Reducing supplemental heat is crucial, but don’t be a slave to the thermometer. A weekly reduction is a good guideline, but your chicks’ behavior is the best indicator. Feathered birds, no matter their age, naturally need less heat. Huddled chicks? They’re cold. Relaxed and spread out? You’ve likely hit the sweet spot.
Outdoor Introduction: A Safe and Supervised Start
Introducing your chicks to the outdoors is exciting, but requires careful planning. Pick a mild day and supervise constantly, especially at first. Predators are a real danger to young birds who haven’t yet learned the ropes. They’re easy targets for experienced hunters. A secure run is essential until your birds develop that crucial street smarts.
Flock Integration: Easing the Transition
Adding home-raised birds to an existing flock requires a delicate touch. Your hand-reared chicks, as sweet as they are, might struggle with the pecking order of your older hens. One trick I’ve learned is to use see-through barriers for initial introductions. This lets them see each other and get acquainted without the risk of a brawl. Think of it as a pre-party meet-and-greet!
Coop Design Considerations: Personalized Poultry Housing
Raising chicks from eggs gives you unique insight into their personalities. Some love high perches, others prefer ground-level nesting boxes. Use this knowledge to your advantage when designing your coop. Catering to their preferences creates a happier, more harmonious flock. For a closer look at chicken egg development, check out this helpful resource: Chicken Egg Development Stages.
The Rewards of Raising Your Own: Tame, Friendly, and Connected
The bond you create through this process results in incredibly tame and friendly birds. They’ll often recognize their names and actively seek you out. It’s a special connection. This goes beyond just keeping chickens; it’s about gaining agricultural knowledge and understanding our food system. Celebrate this achievement – you’ve not only raised chickens, you’ve fostered a deeper connection with nature.
Ready to start your own flock? HatchingEggs.eu offers premium hatching eggs from carefully chosen breeds, perfect for beginners and experienced keepers alike. Start your flock today with HatchingEggs.eu!